
Making a Murphy Bed with Cutshop®
If you’re interested in learning about the detailed process involved in making a Murphy Bed, this project’s for you.
With a recent addition to their family, interior architect Sacha and her fiancé, Michael, felt like they were running out of space in their three-bedroom home. Having already given it a full renovation, they were hesitant to sell and move on but with a new baby, a need for a home office, and a requirement for a room to accommodate their frequently visiting family - they decided to make their third bedroom dual-functional. The obvious solution? A Murphy Bed.

“Being an interior designer, I was very underwhelmed with the Murphy Bed offerings available in New Zealand”, explains Sacha. “Luckily for me, my fiancé is a very capable, practical man - he’s great at putting things together and loves doing it. So, we just decided that we were going to do it DIY.”
Designing the Murphy Bed
After ordering a basic Murphy Bed kit from Trade Me, the couple set about redesigning it to make it suit their needs. But it wasn’t an easy project.
“The technicality came from tweaking the panels to make something beautiful but, because of the hardware, every little tweak that you made to the cabinet on the front meant you had to also make a tweak on the inside. There were a lot of mental gymnastics involved in figuring that out.”
“We also wanted to make sure that it was adaptable in terms of materiality, colour and width – there’s nothing worse than pushing a cabinet into a niche and it’s either awkwardly small or a centimetre too big so it just won’t go.”
Creating the Murphy Bed with Cutshop®
Because of the complexity of the project, Sacha and Michael sat down with the Mt Wellington Cutshop® team in person to discuss how we could help them to achieve their ideal result.
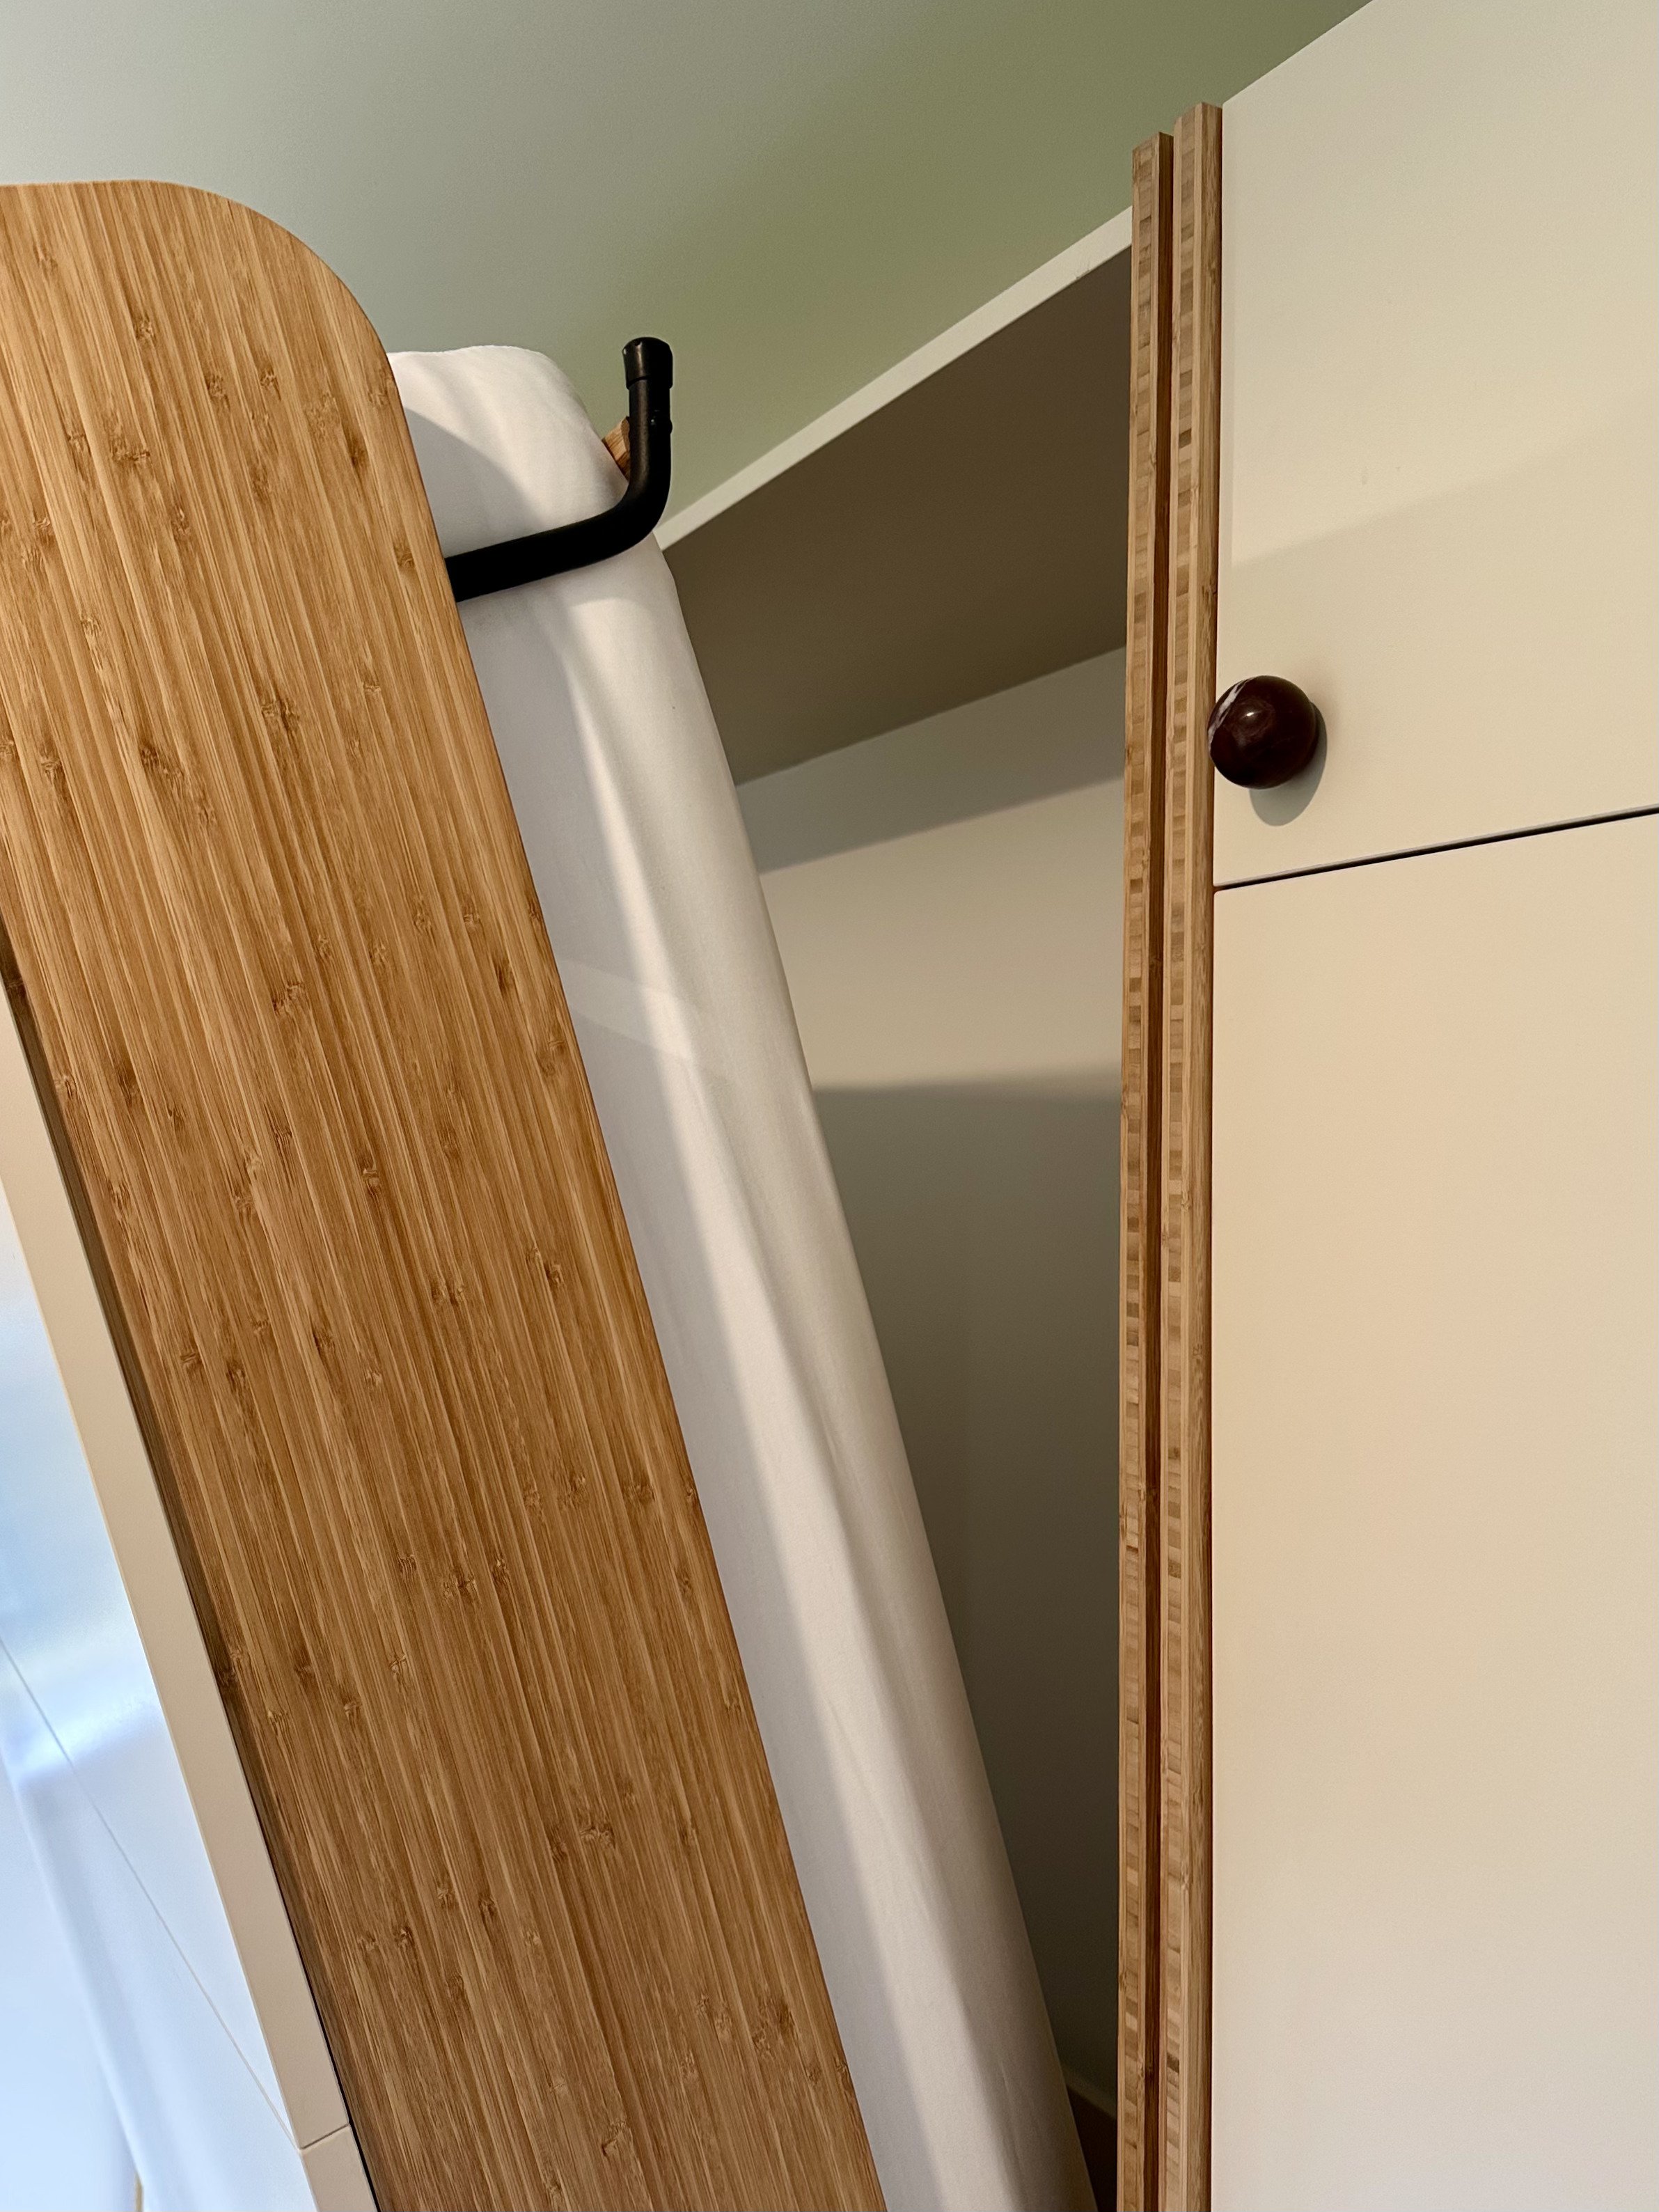
“Cutshop® were very helpful. They pre-drilled all of the holes for the lift mechanisms that needed to be millimetre-accurate for all of the components, which saved us a lot of time and stress because, when we received the panels, we knew exactly where the components needed to go - and they were perfect. There was no human error. It was plug and play.”
“They also gave us the drill patterns for the Blum hinges that we used to attach the doors, which made it a lot quicker when the time came to assemble the unit.They made it so easy. This project would not be possible without them because it relied completely on the precision of CNC cutting. It’s such a precise art. It’s in the millimetres. It’s not a DIY job - it’s definitely a technical Cutshop® job.”
Project materials
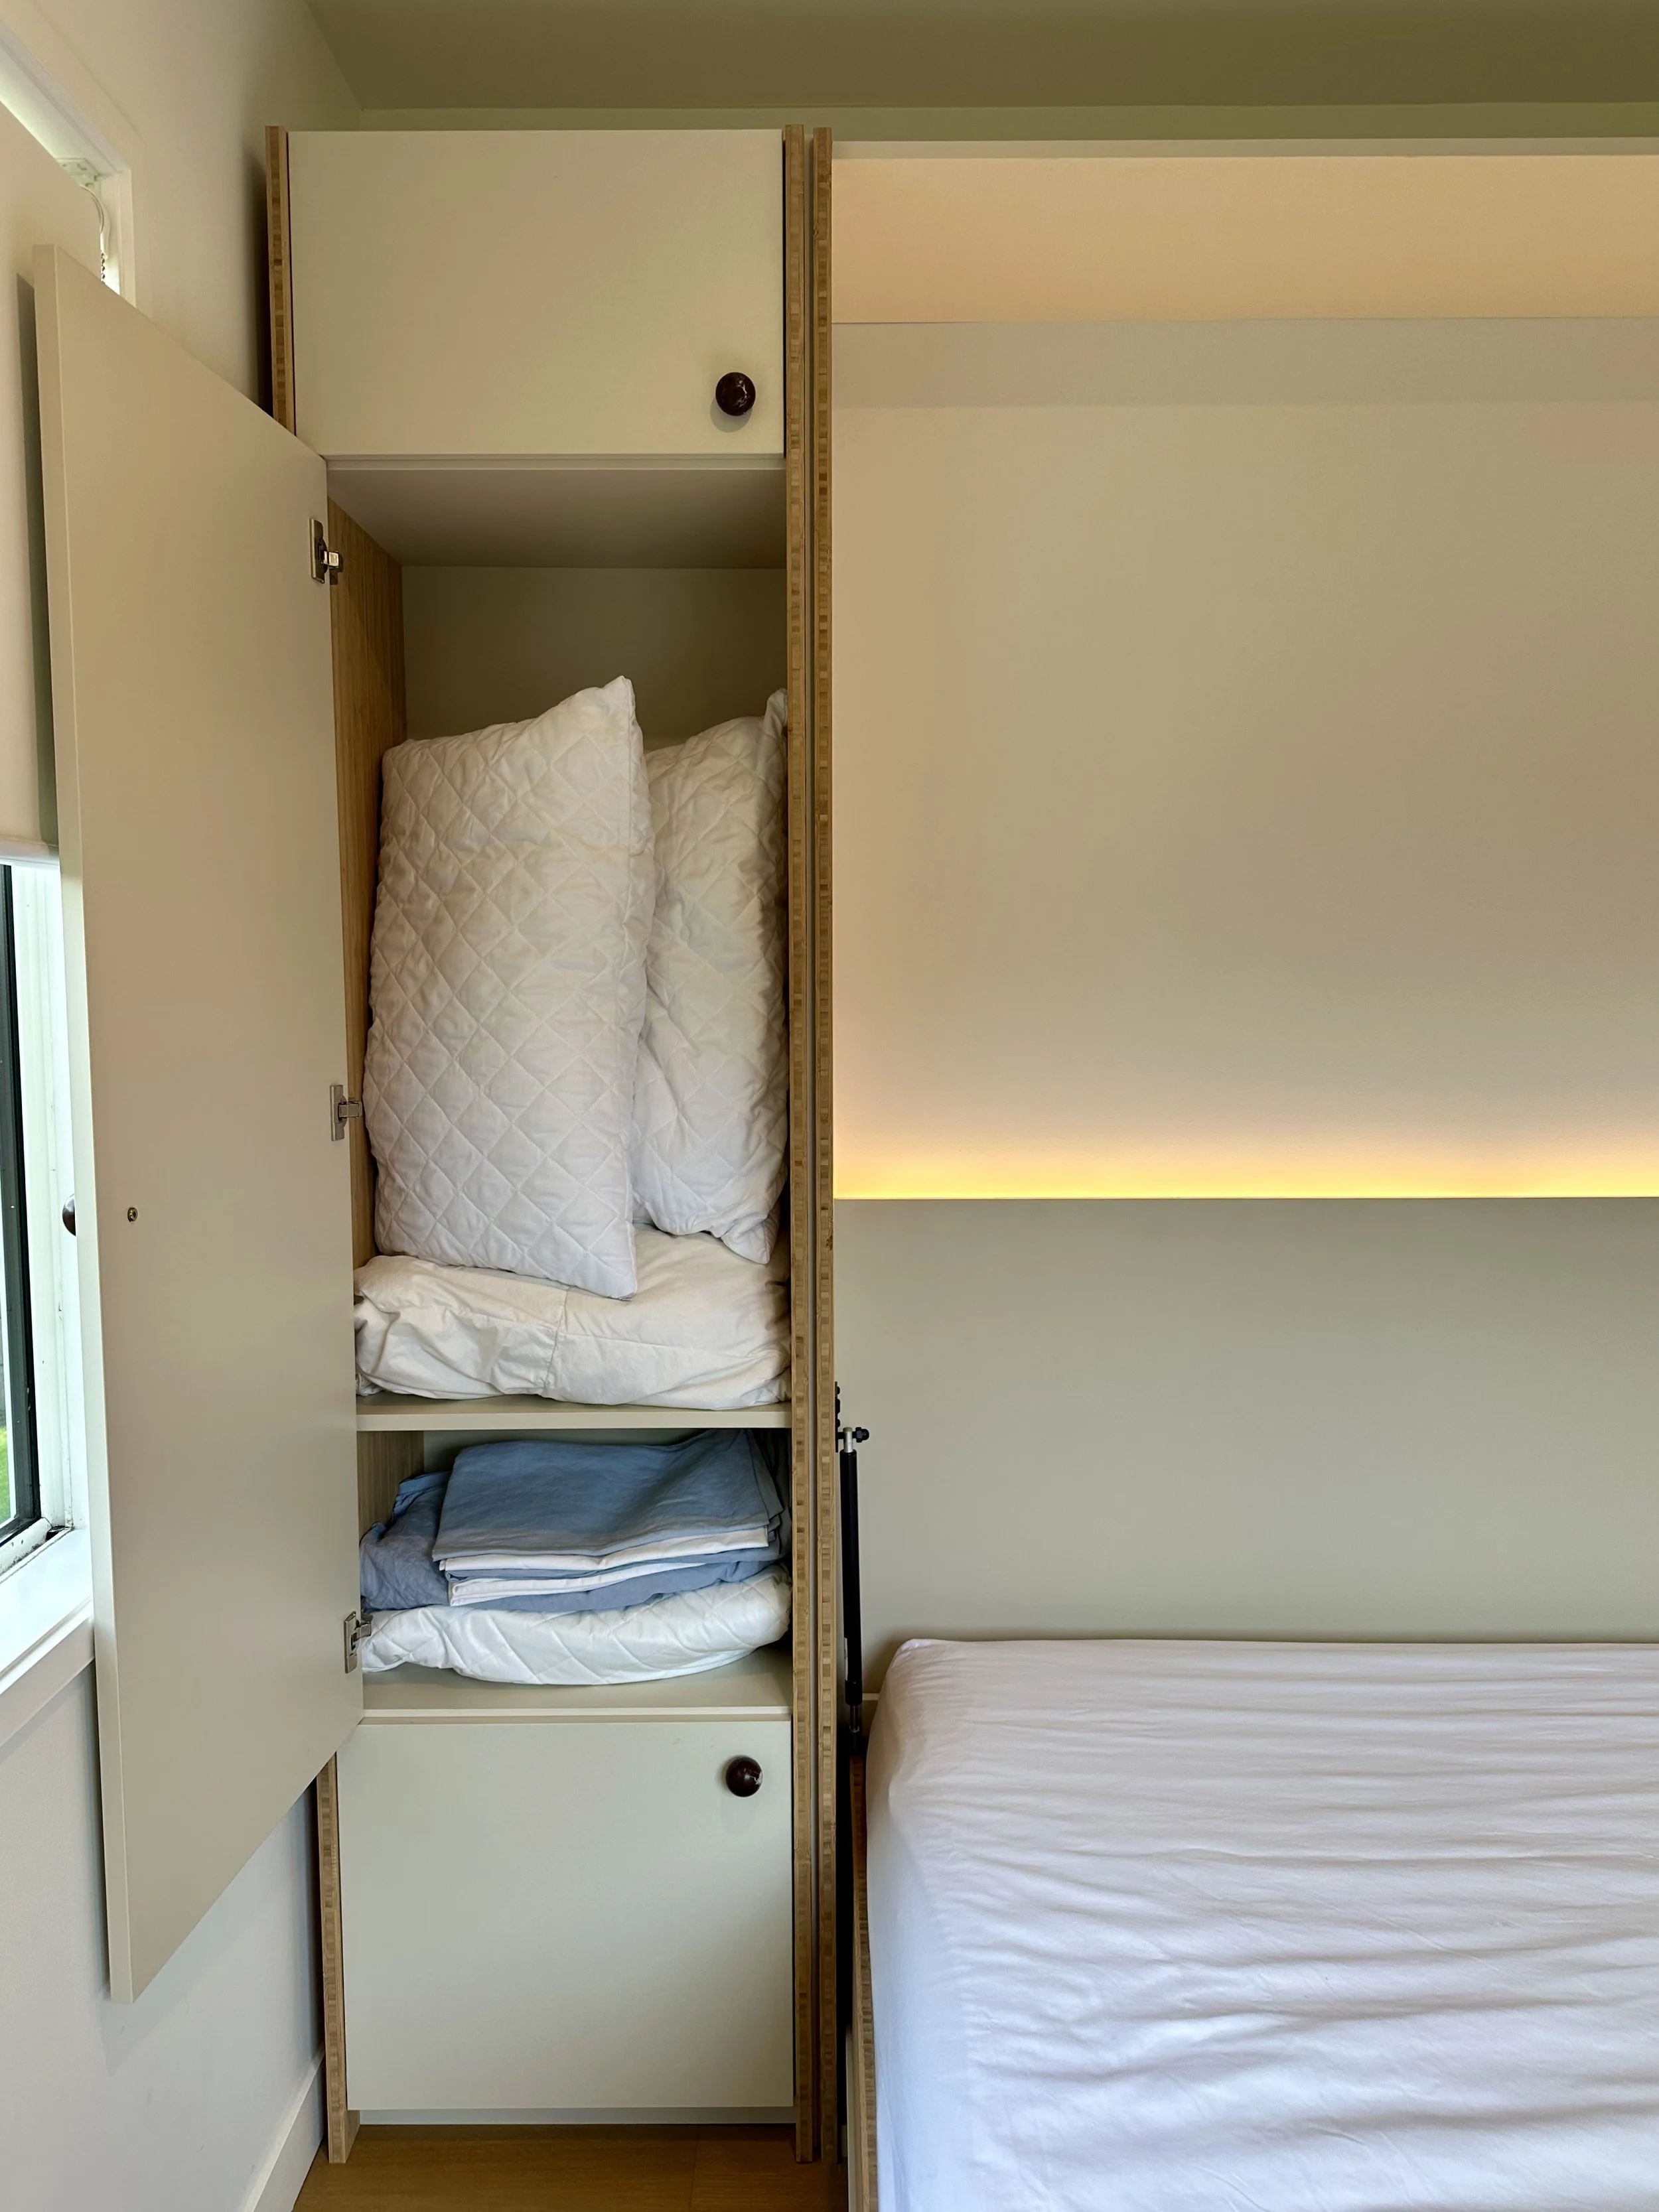
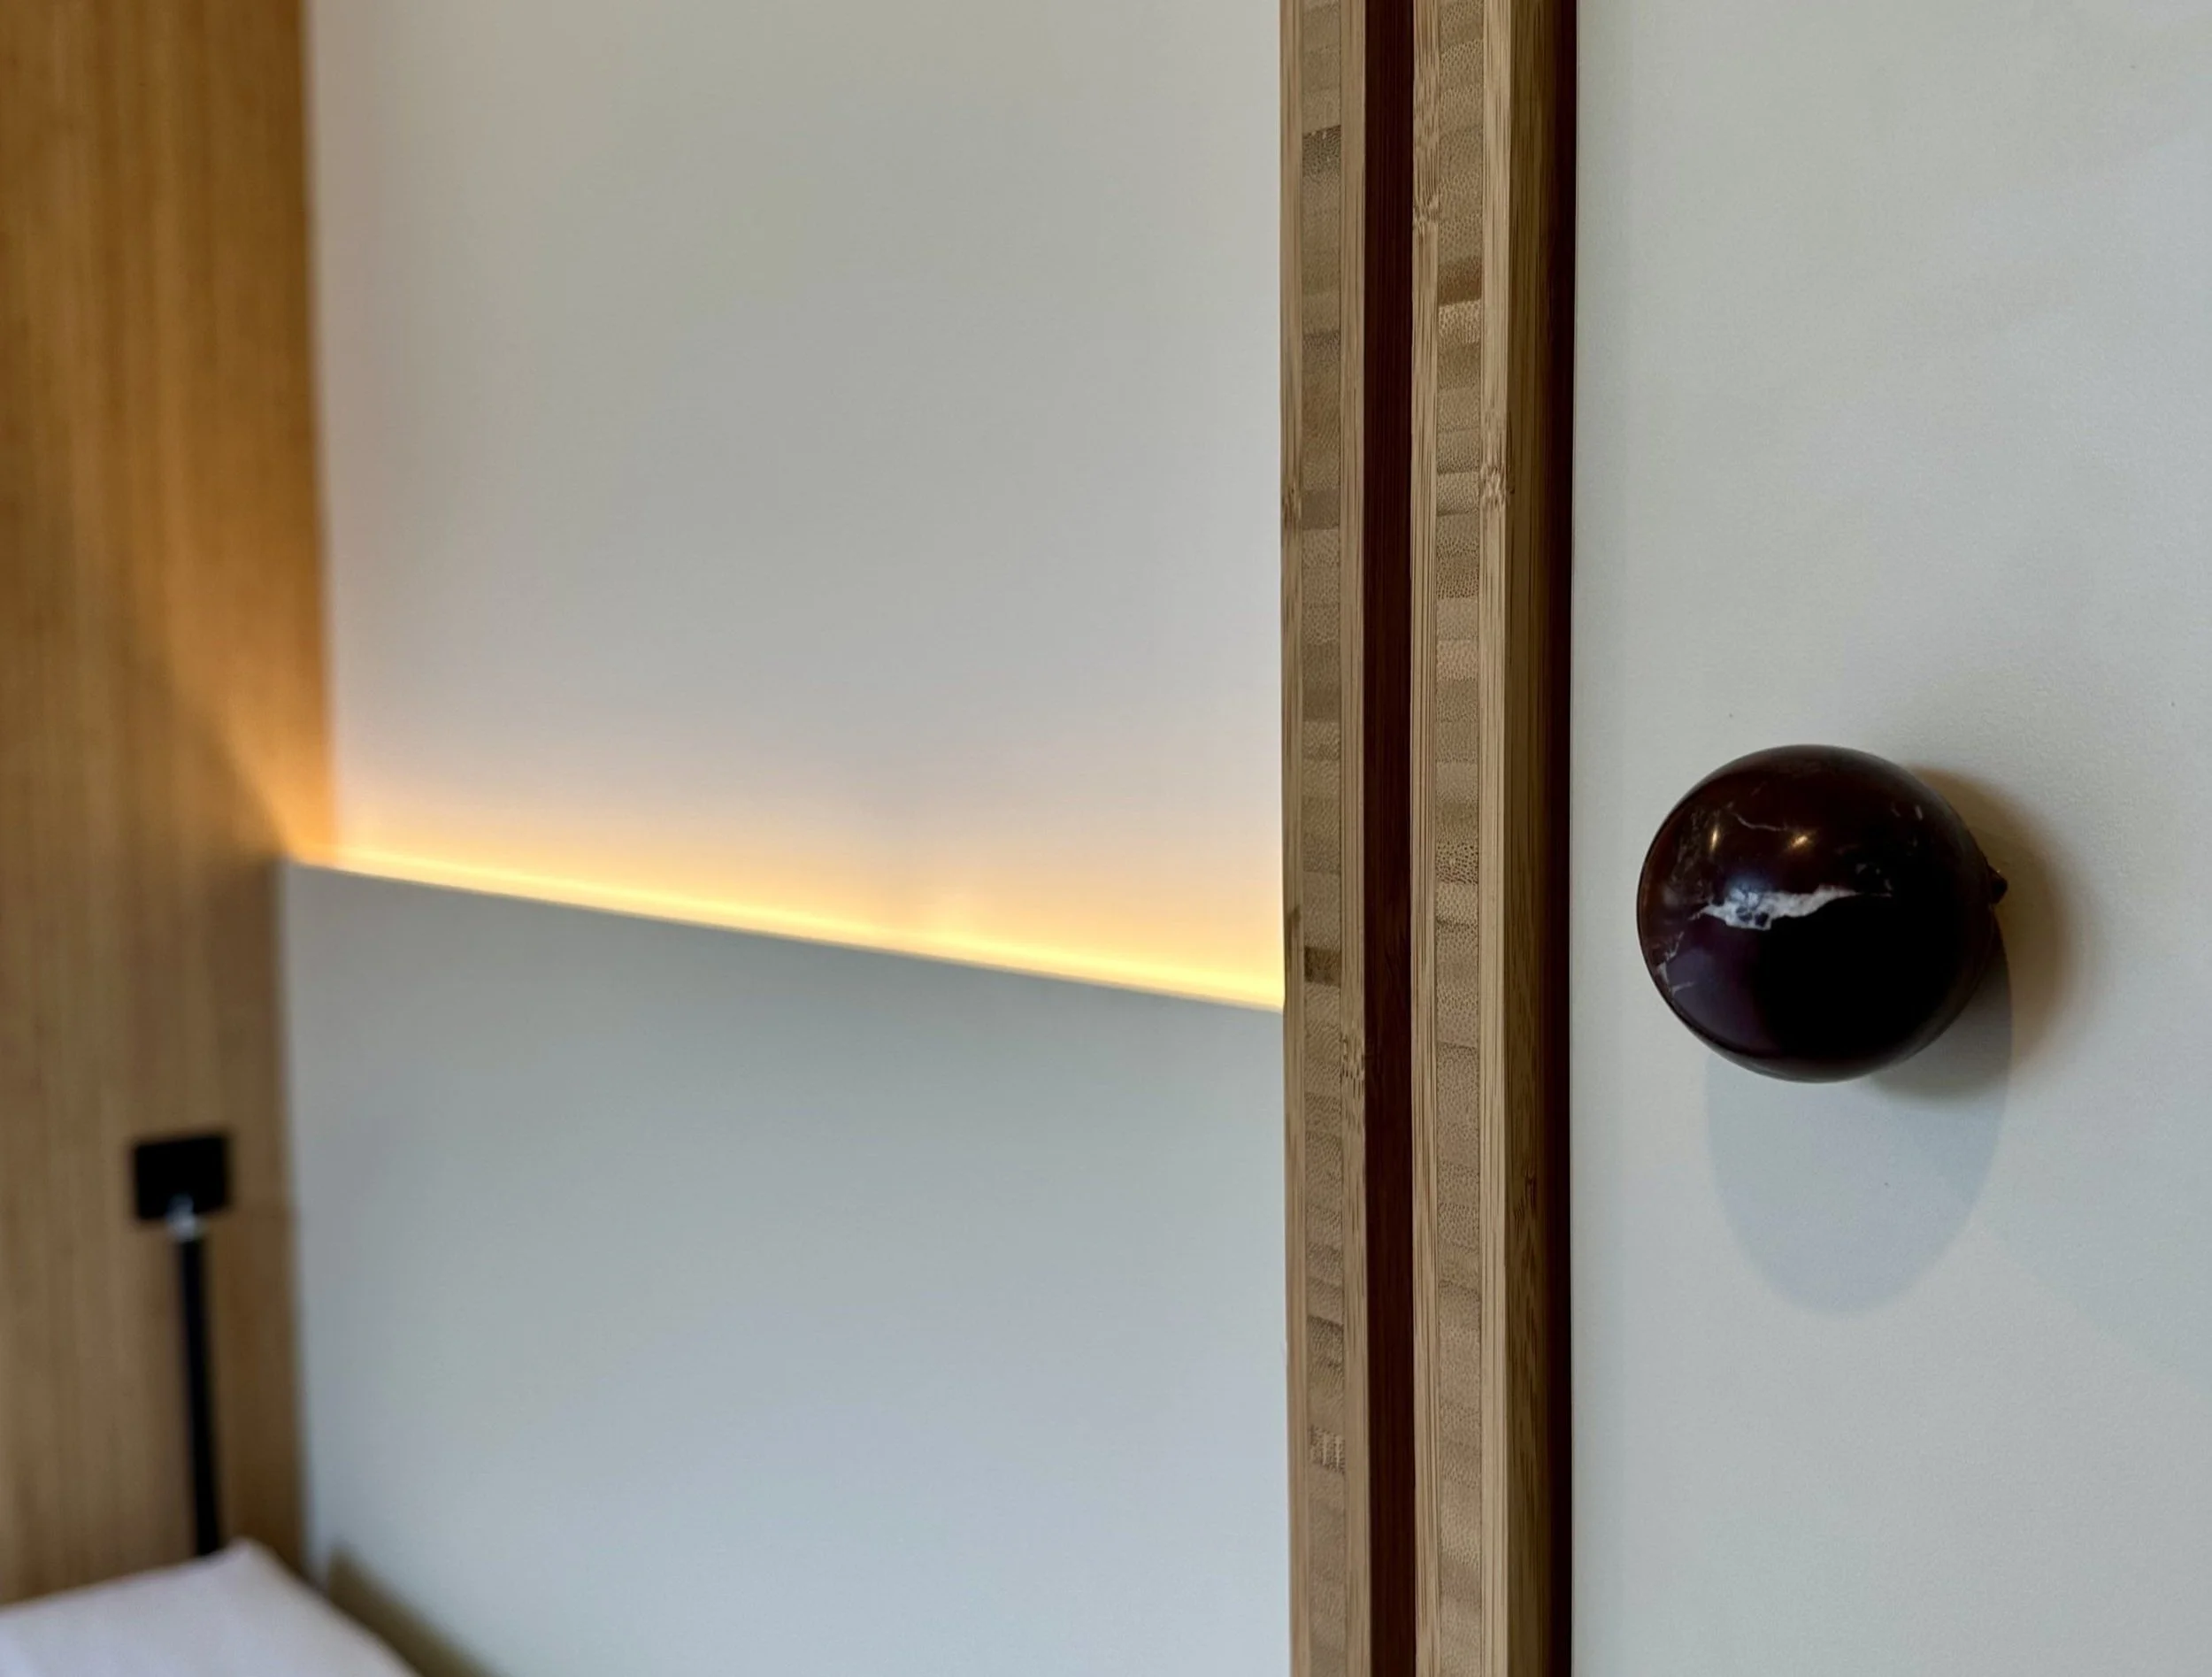
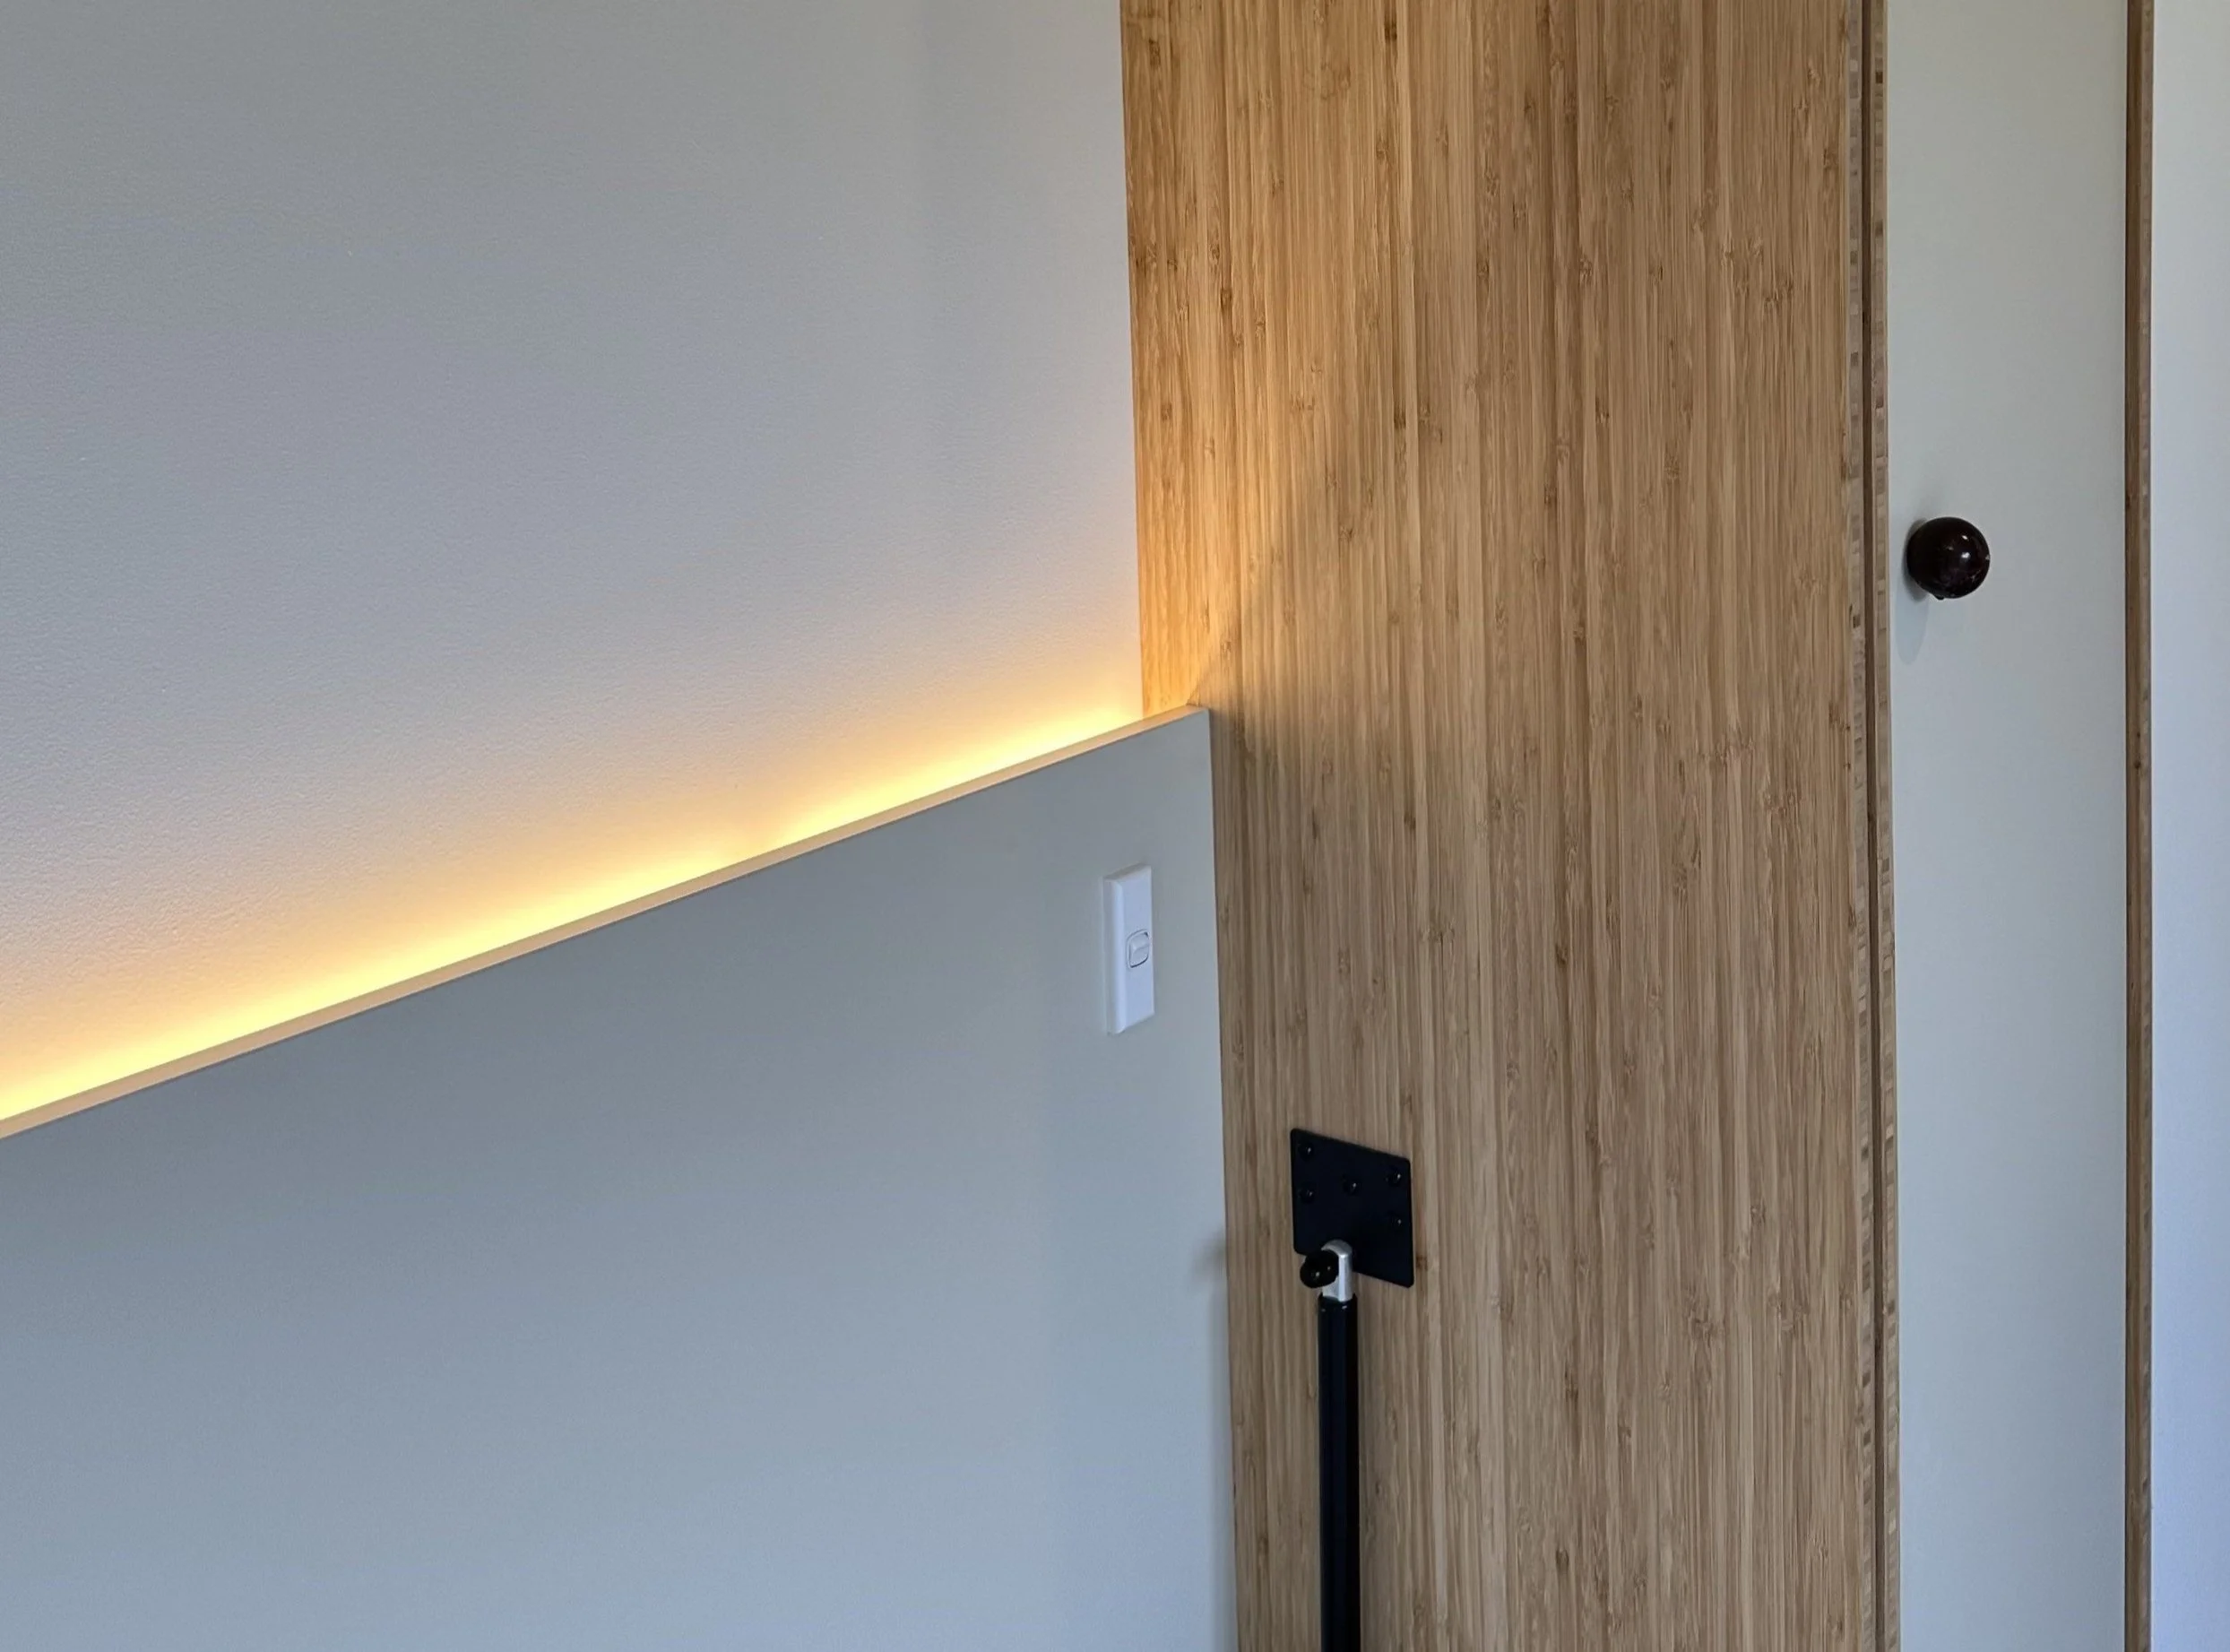
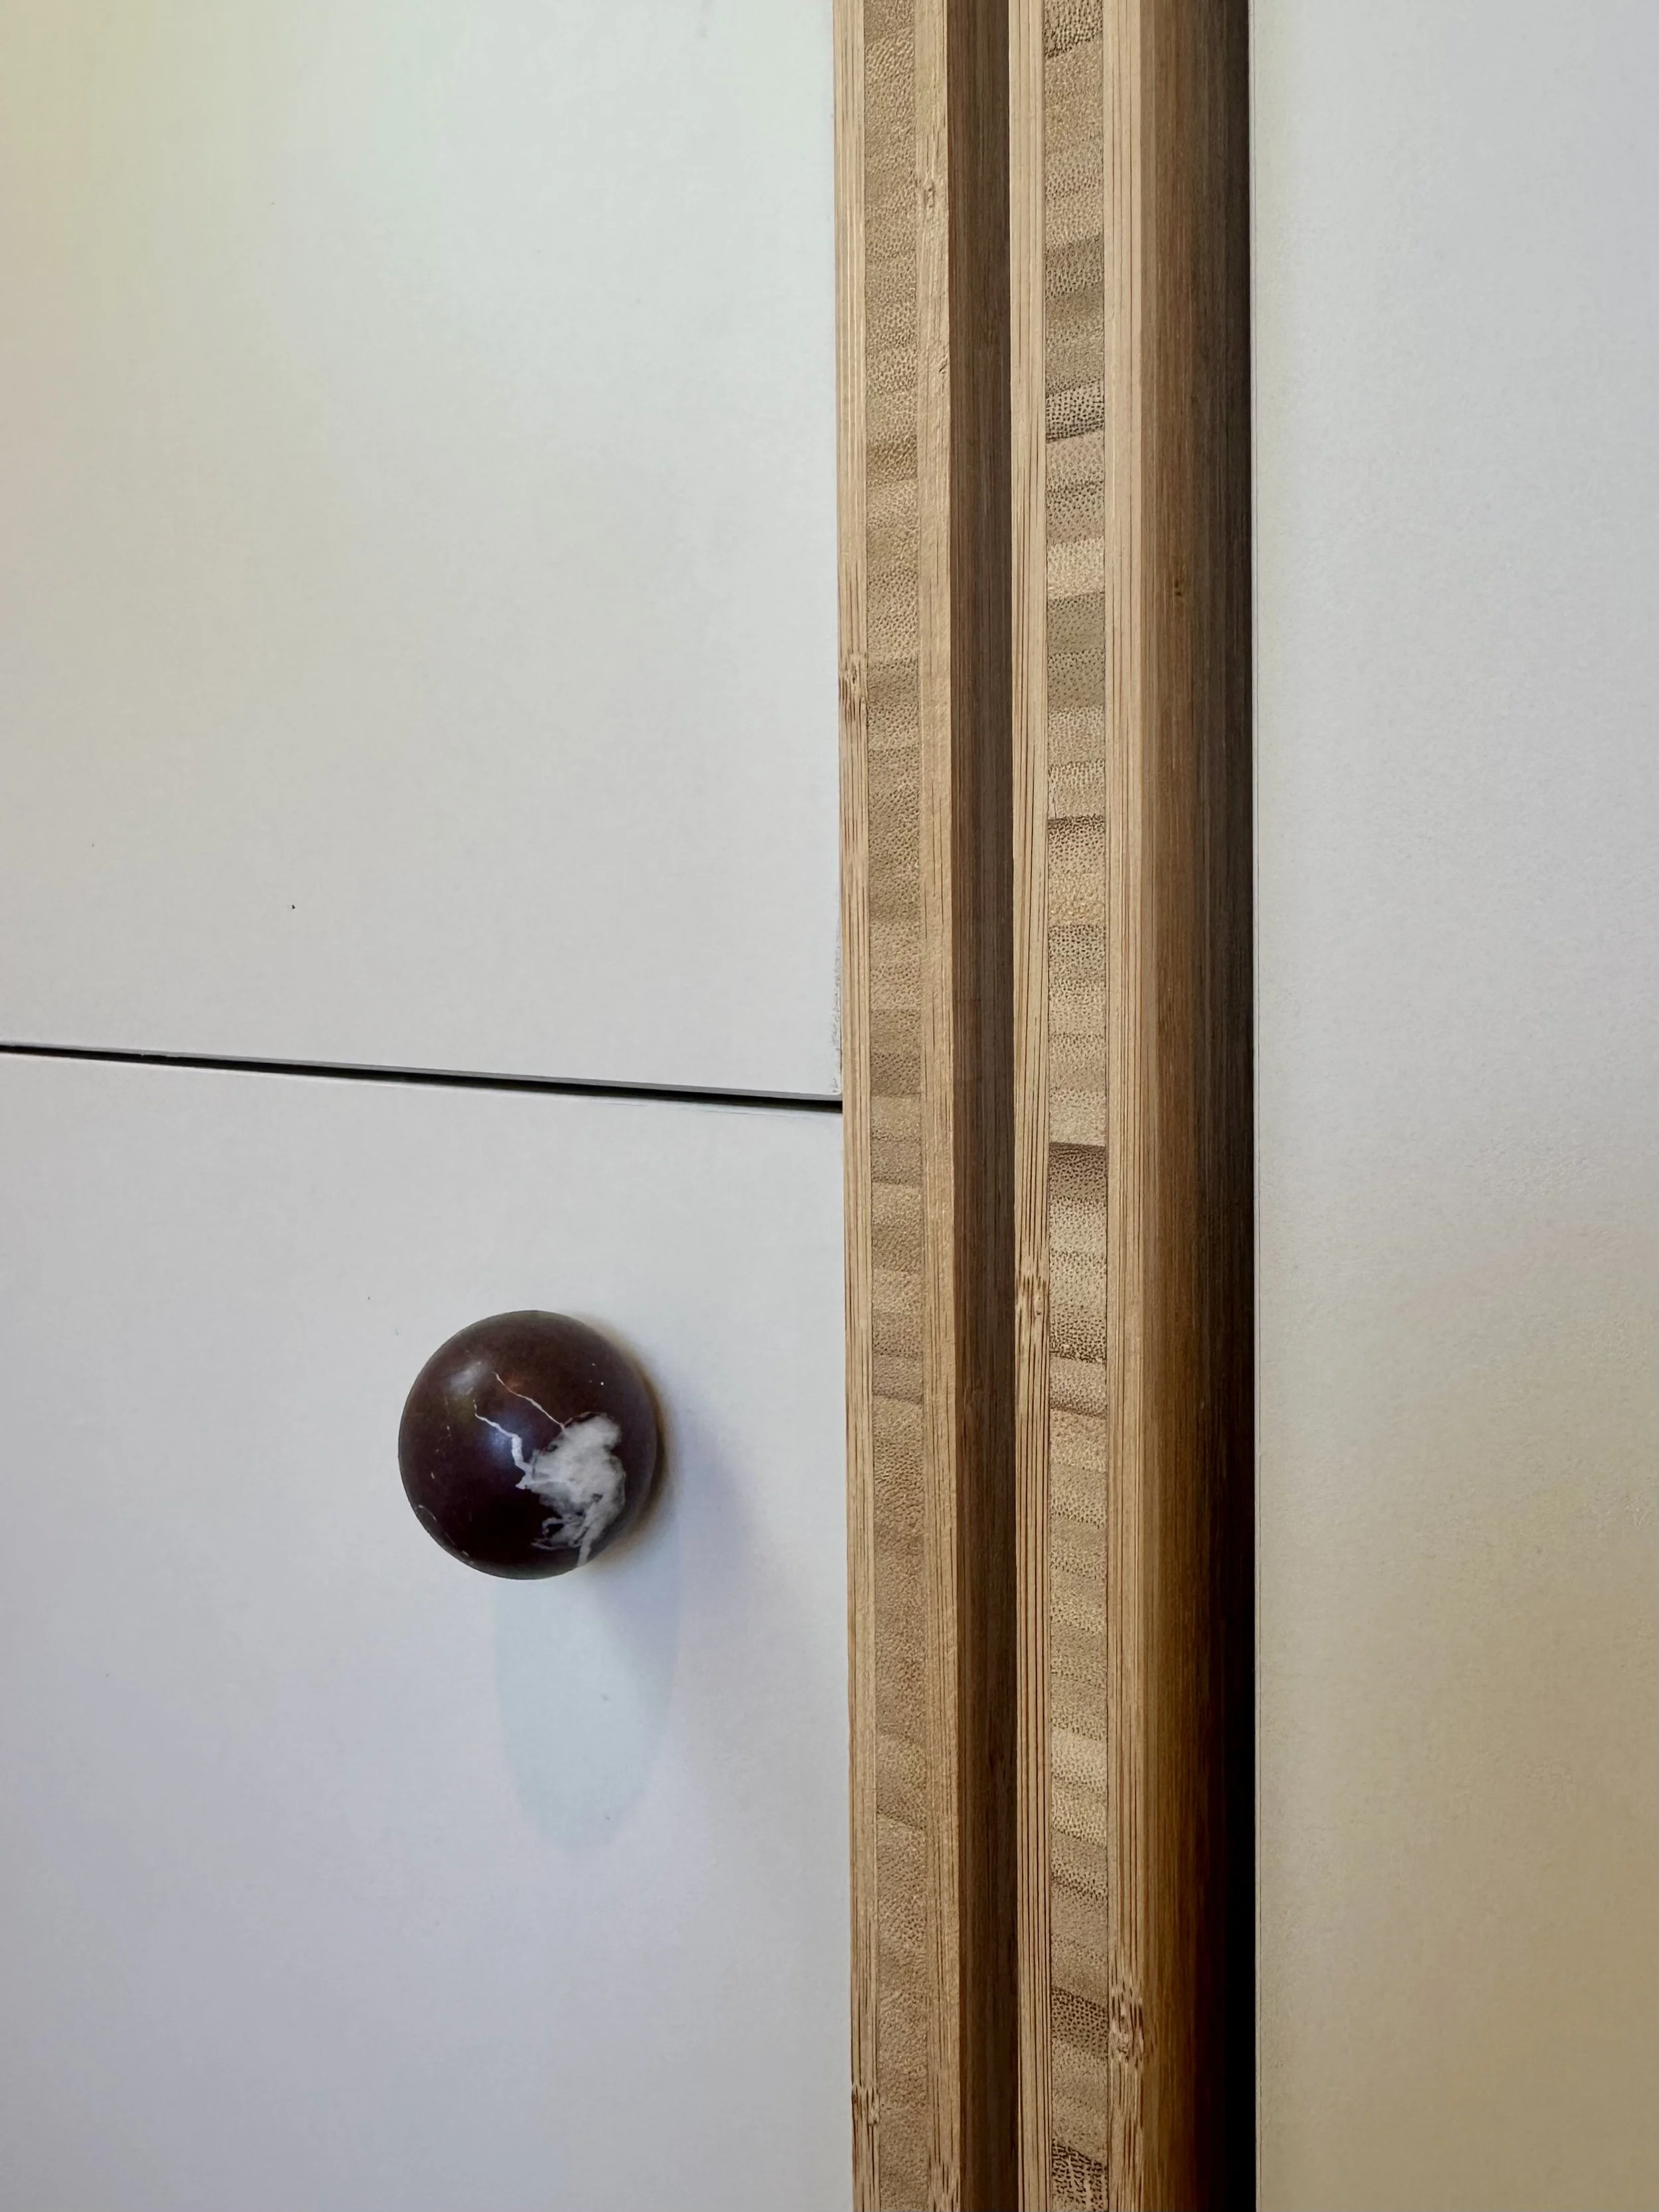
“We have used a combination of bamboo plywood and MDF laminate. The laminate is common and cost-effective - it makes up maybe 70% of the materials, to keep costs down. The bamboo plywood comes in for its strength on the parts that really need to be strong to hold up the weight of the Murphy Bed. I also loved the bamboo plywood because of its really beautiful end-grain - it’s very unique, and it’s also very sustainable. It is a more expensive material but we used it sparingly.”
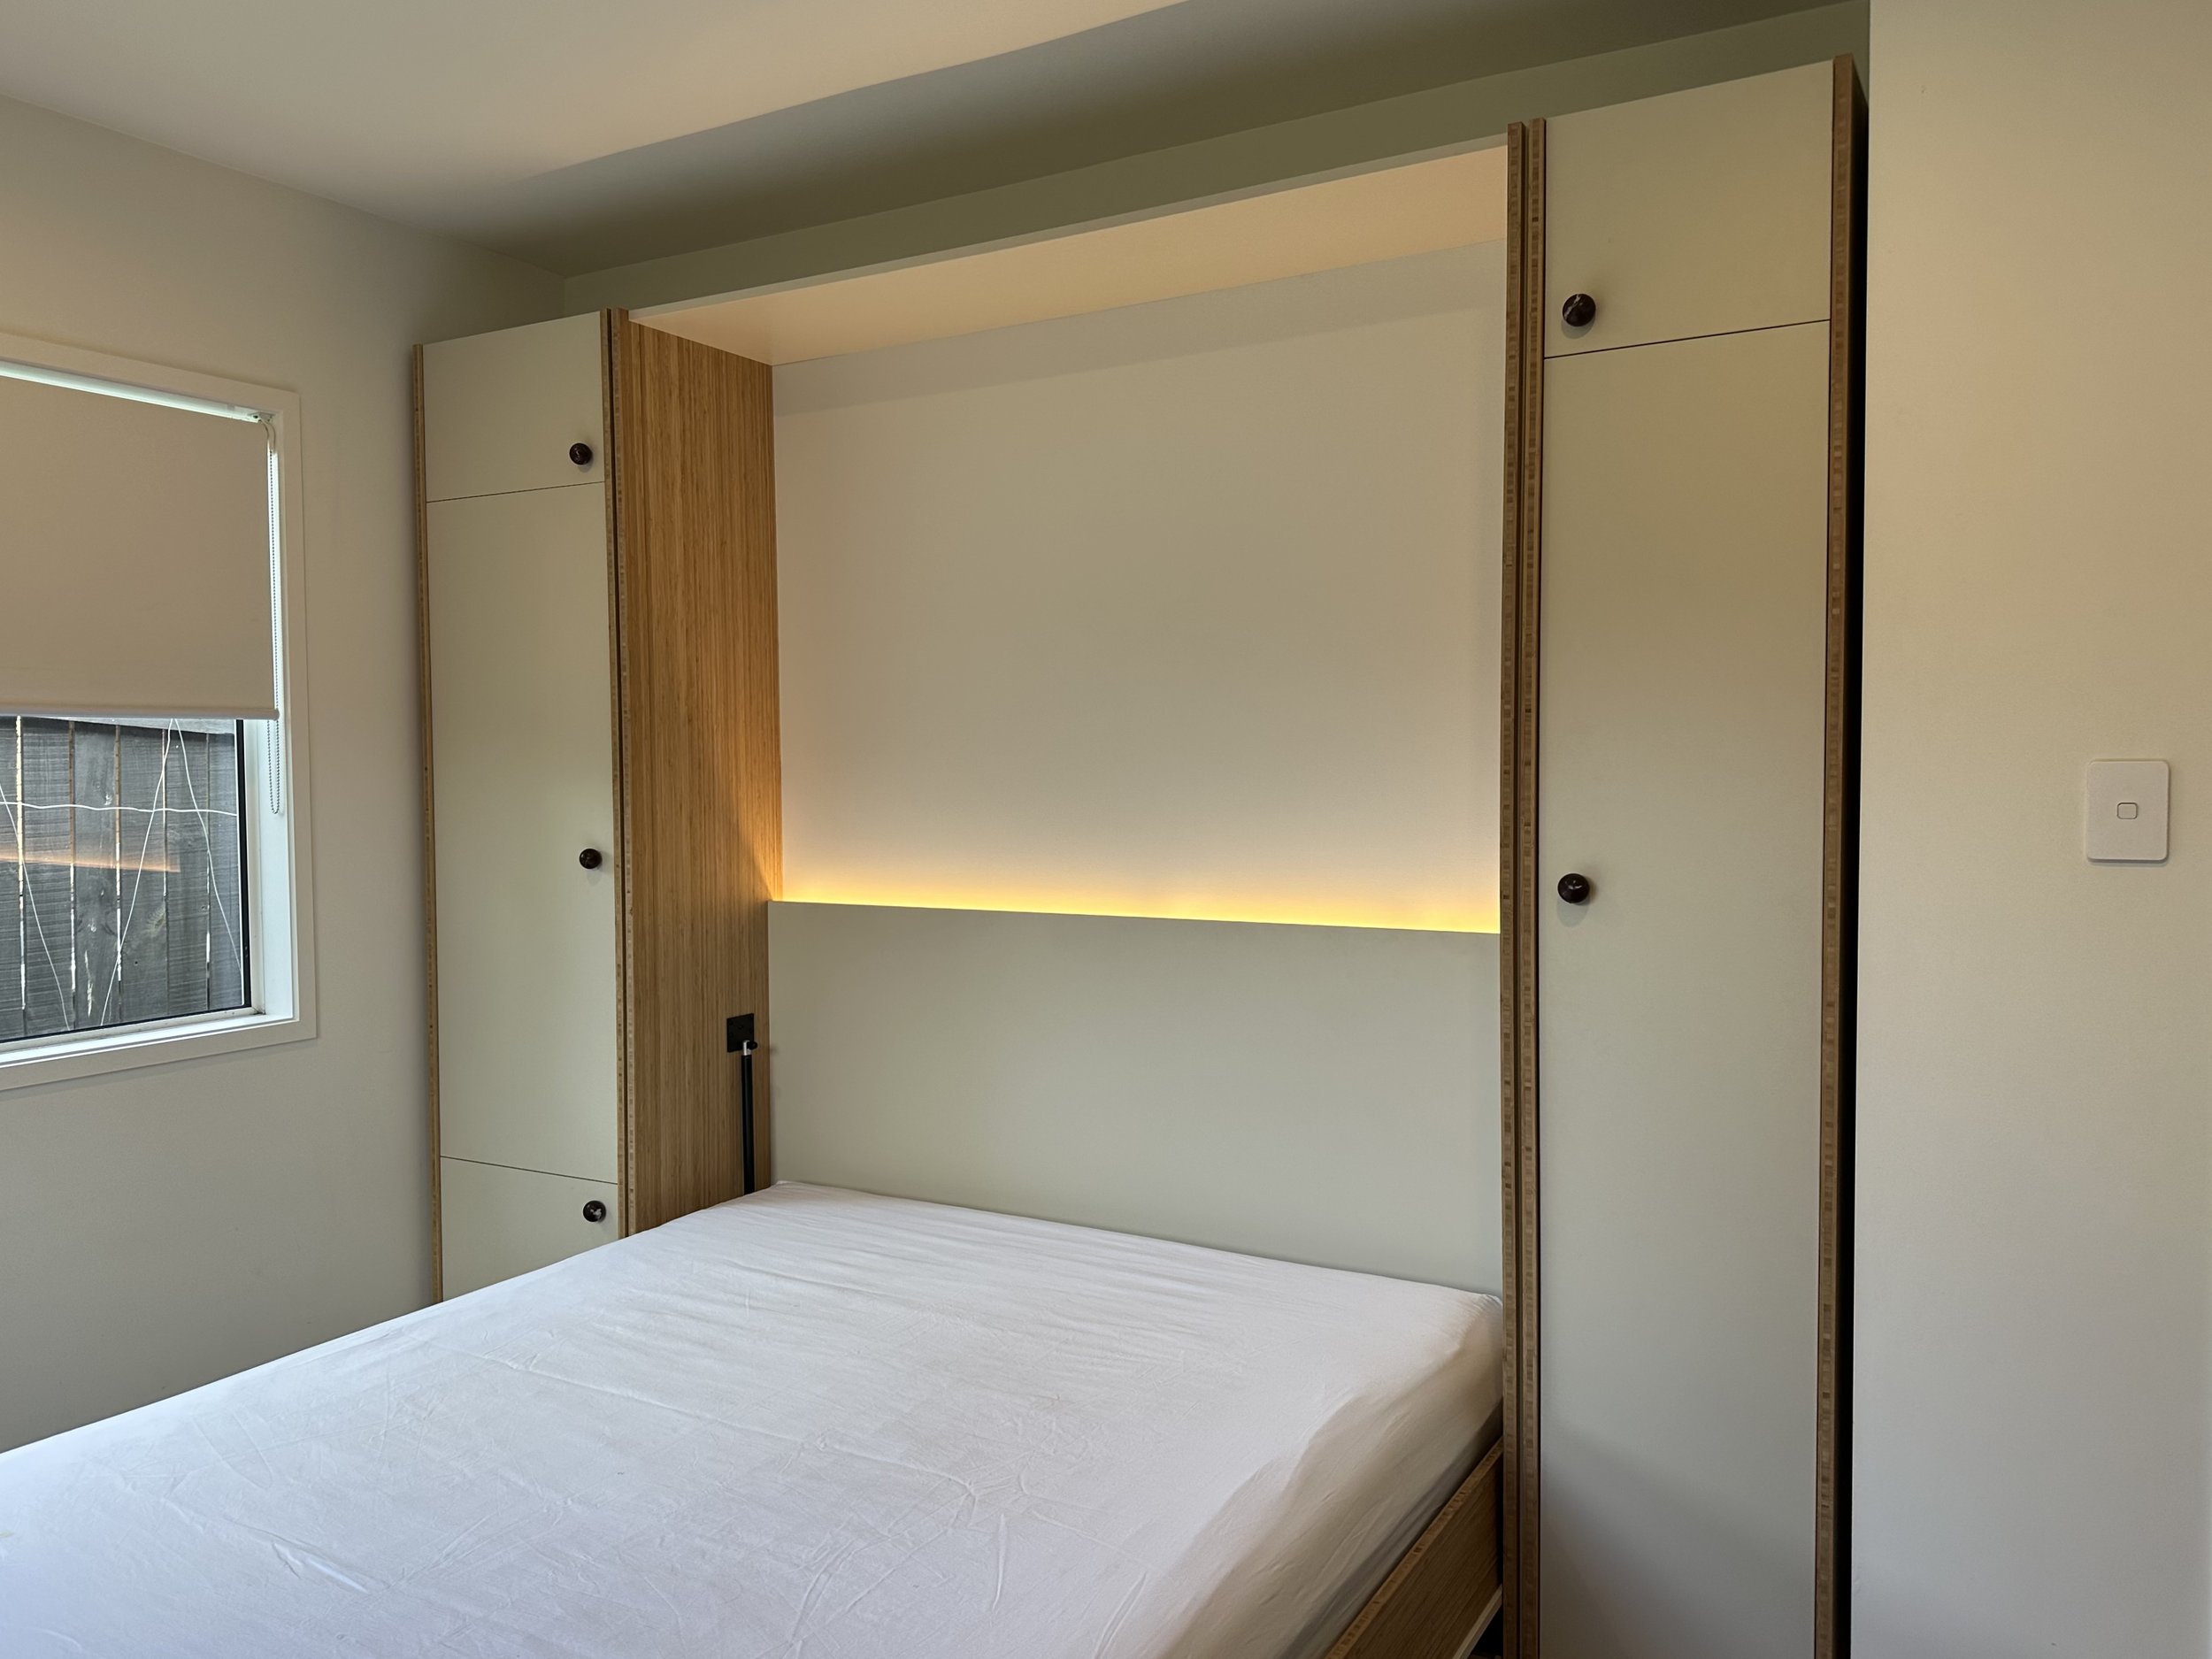
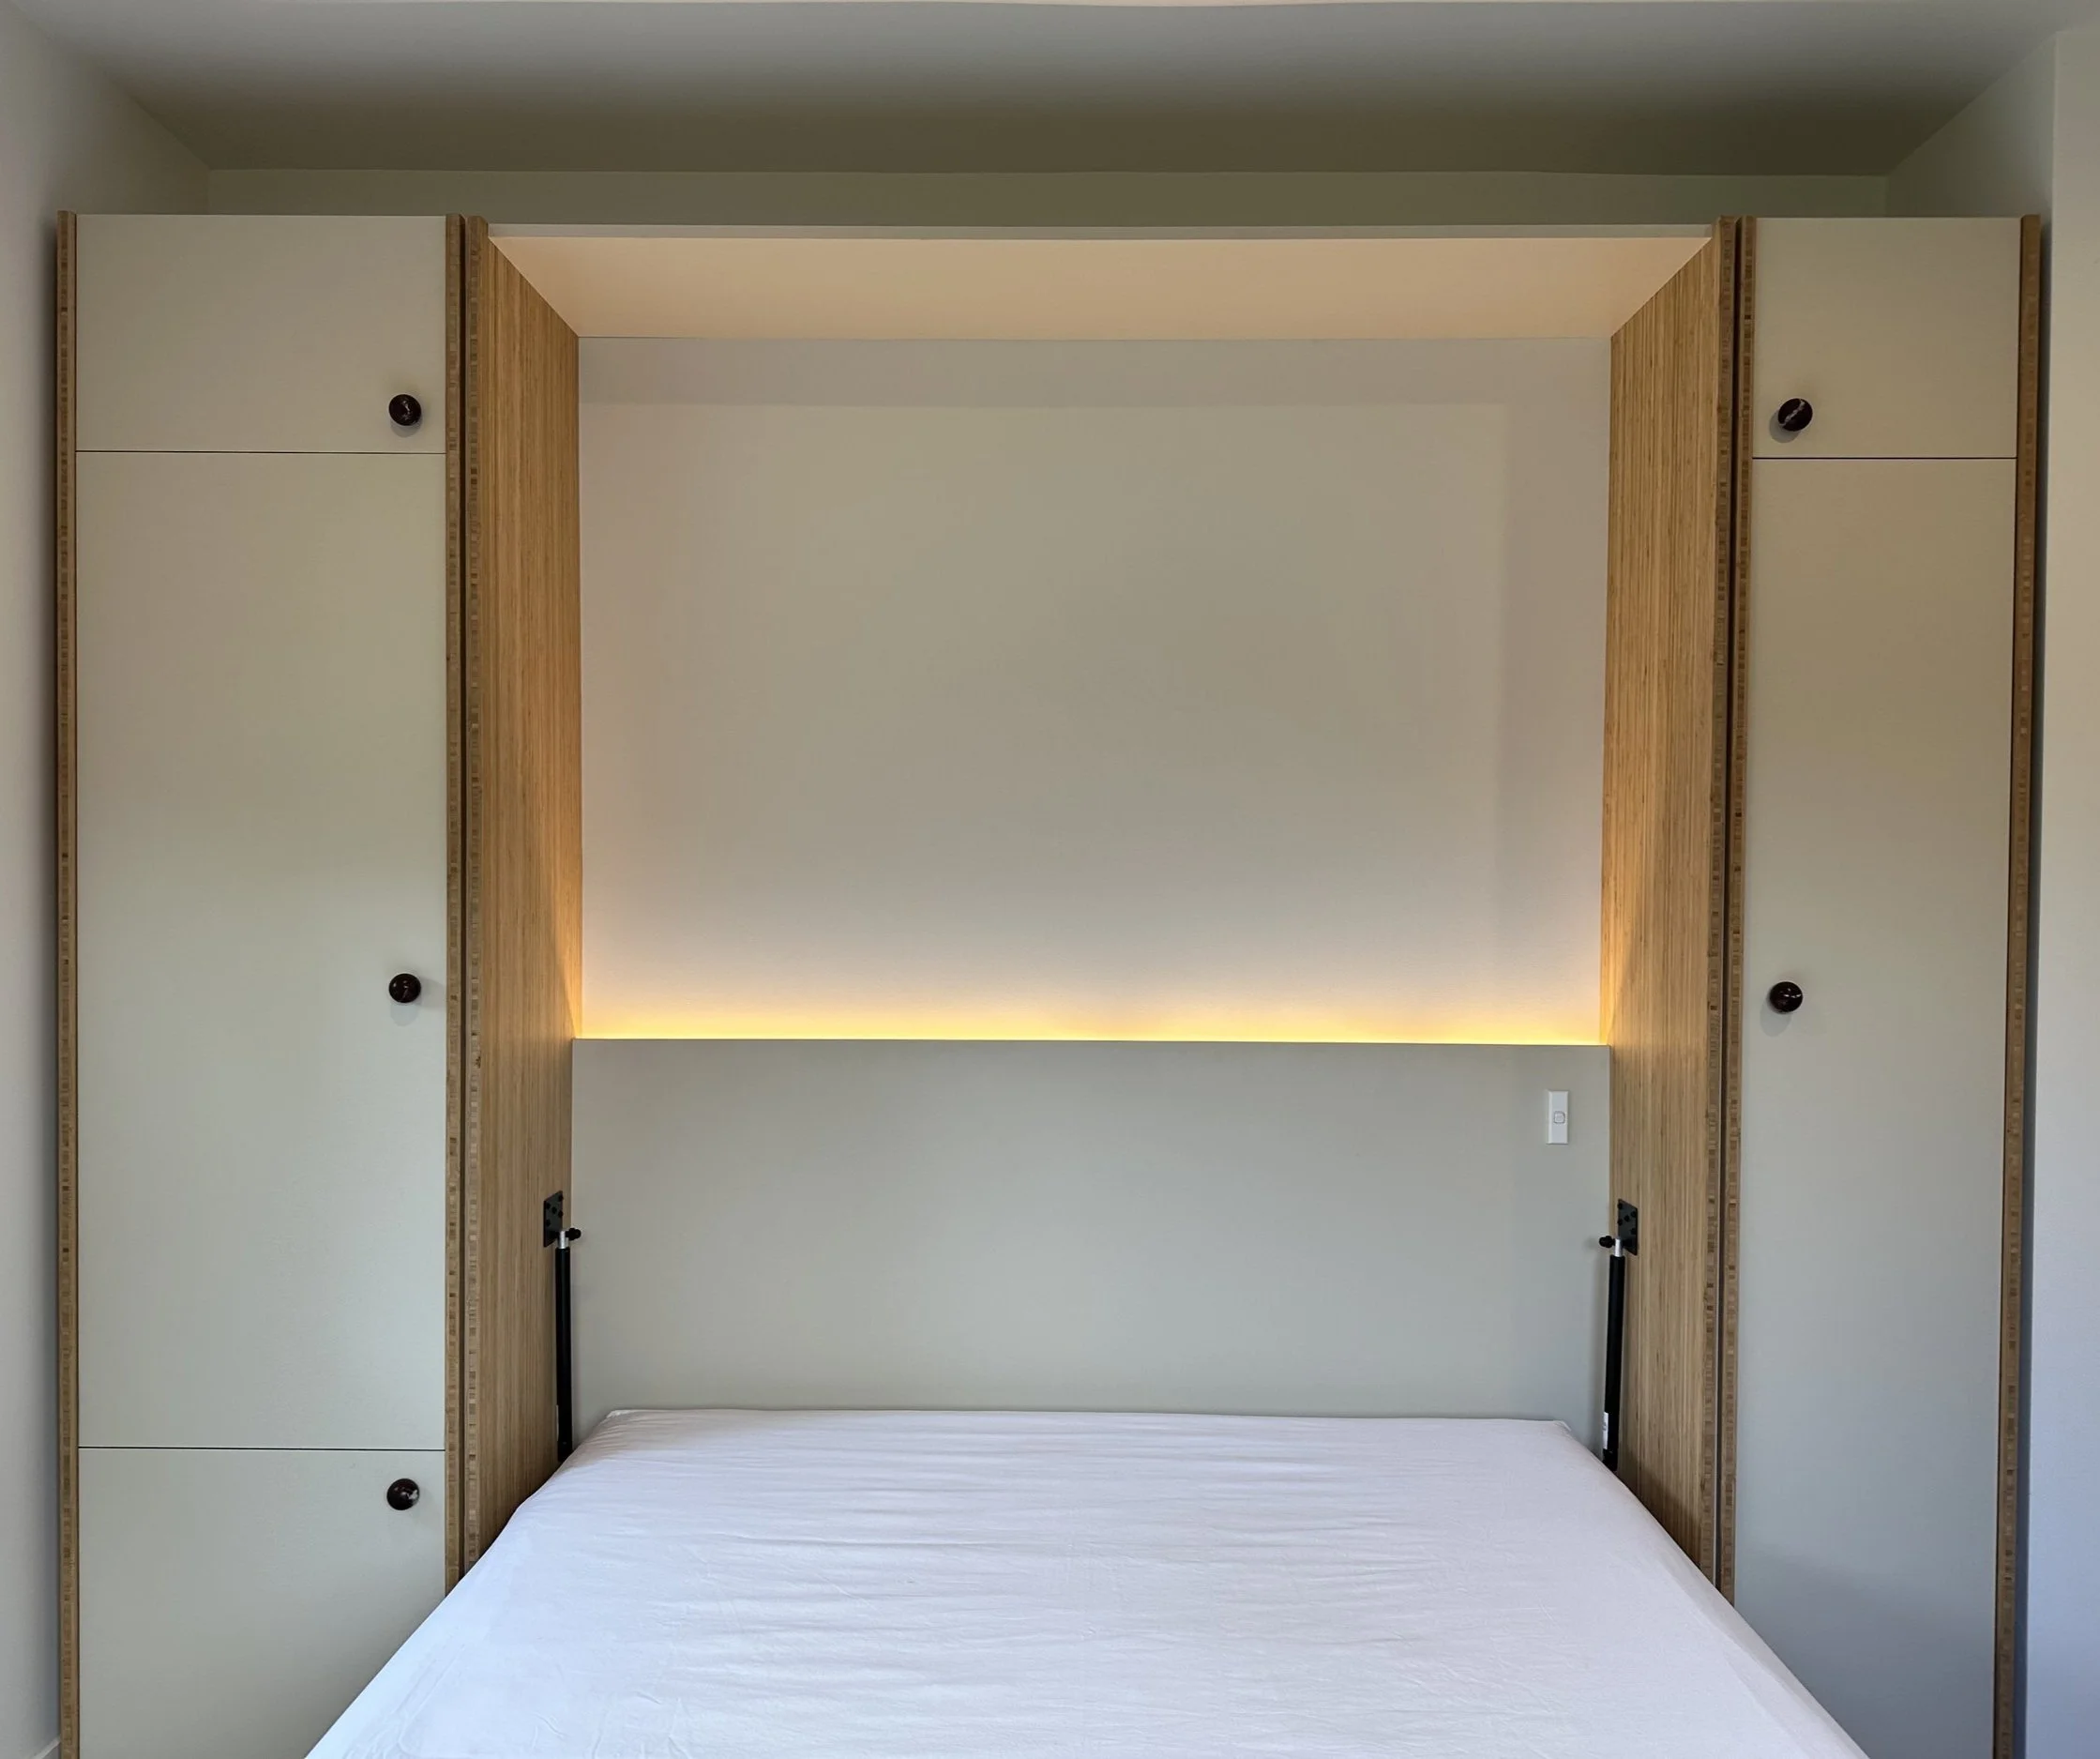
The completed Murphy Bed
The final result has given Sacha and Michael exactly what they needed: an extra room, without having to move house.
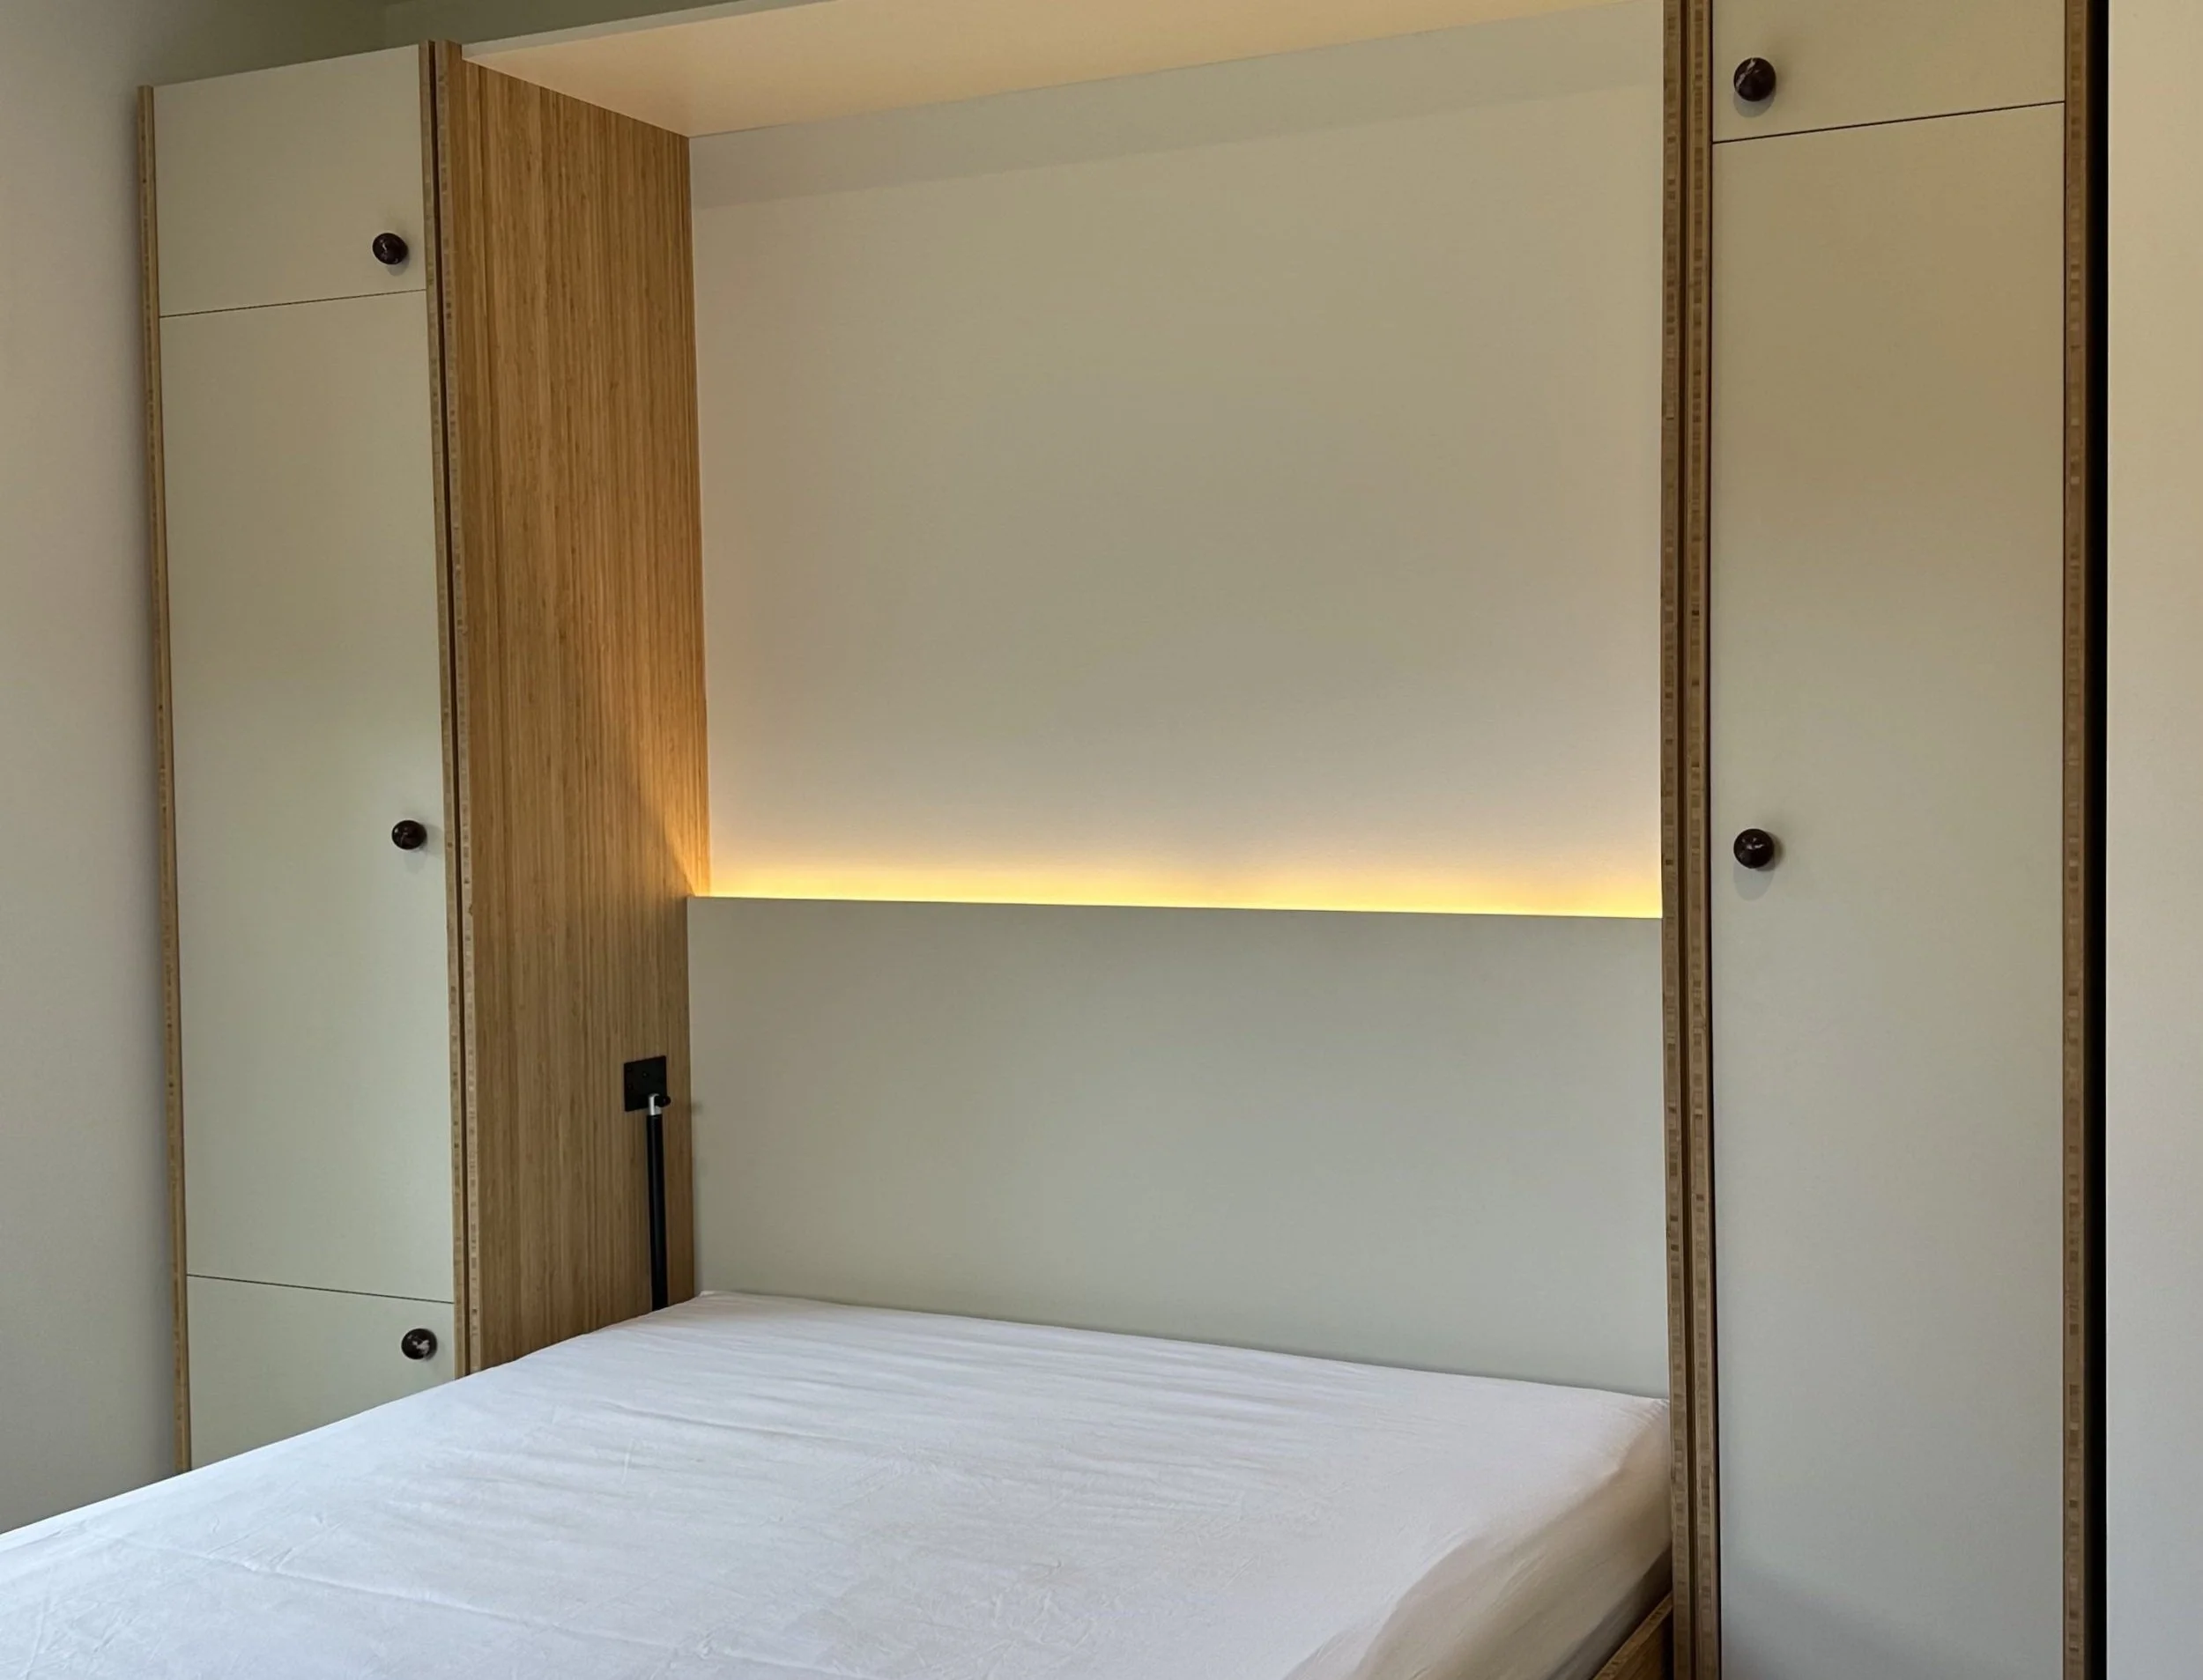
“What we ended up with is a folding bed kit that’s custom to us - designed to look good, with side cabinets that are adaptable to suit any size.”
Part two of the couple’s project is to refine the stay-level desk attachment:
“When the bed folds down, the desk bracket maintains a level surface meaning you don’t need to move the keyboard or screen. When the bed folds up again, the room returns to study mode with your computer accessible once again.
It looks amazing! I’ve had so many compliments on it. It has definitely meant that we can stay in this house for a lot longer. It’s quite transformational because, otherwise, we would have had to move house once our daughter arrived. So, it has made our lives a lot easier. And it’s beautiful too. It’s highly functional. I just love it.”
Making it available to everyone
With their Murphy bed complete, Sacha and Michael have decided they’d like to make it easy for others to achieve their own customised Murphy Bed too - without the mental gymnastics. Their Murphy Beds are now available to order, customised to suit your space and style.
“While the central Murphy Bed unit itself is set, the side units and materials are customisable. Anyone can put any handles on it that they want. The laminate colour can be any colour you want. There’s also a back panel - that you can see when the bed is open - which you could wallpaper, you could paint, you could put art on it.
“Now that the Murphy Bed is finished, the next step is to attach the desk. For now though, we’re just selling the Murphy Bed and side units. The desk is still a work in progress but we’ll be happy to share it once we feel we’ve nailed it.
“The way that I have it set up is that the left-hand side is for guests: it’s got space for clothes, a handrail for shirts, etc. And then the right-hand side is for my work-from-home setup. It’s very customisable. The options are, pretty much, endless.”
If you’d like to order your own customisable Murphy Bed, you can contact Sacha and Michael via the details below:
Ph: 0211626038
Email: onemoreroomnz@gmail.com
Contact Cutshop®
Do you have an intricate project in mind that you’d like to discuss? Schedule a time with our team: we’d love to have a chat about how we can help you bring your ideas to life.
Contact Cutshop® Mt Wellington
Contact Cutshop® North Shore
Contact Cutshop® Waikato