
The Charging Drawer: How to End the Powerboard on the Bench
The kitchen bench has been quietly losing this battle for years. A wall outlet behind the toaster. A six-way powerboard wedged behind the kettle. Three white cables snaking out of it, one charging a phone that's slid down behind the breadboard, one disappearing under a tea towel, and one that nobody can quite identify the owner of. The kids' iPad lives in the fruit bowl. The Apple Watch charger has been on the dining table for three weeks.
This isn't a problem any charging cradle from Briscoes is going to fix. The bench wasn’t designed for housing the family's charging station, and every cable, every dock, every "I'll tidy it up on Sunday" effort just shifts the mess around.
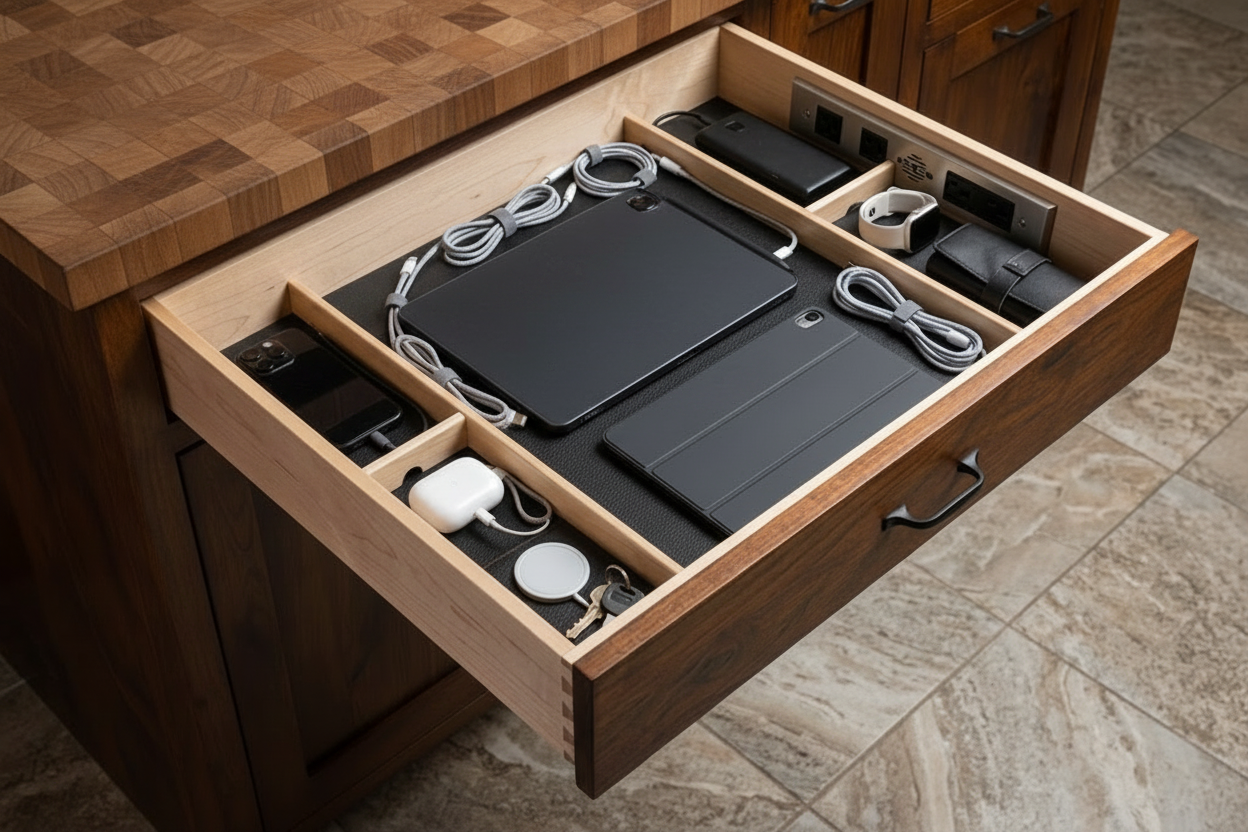
A charging drawer is the joinery answer. One drawer, fitted with a hidden powerboard at the back, USB-C ports cut flush into the front face of the divider tray, and compartments sized for each device that lives in it. Cables disappear. The bench is clear by morning. With Cutshop® precision-cut panels, it's one of the smallest custom builds you can take on, but also the one your family will thank you for most.

The powerboard problem
The bench loses this fight because charging has crept from a once-a-week phone job into something every member of the household has to do every day. Phones, tablets, smartwatches, wireless earbuds, kids' iPads, gaming headsets, e-readers, the spare battery for the power tool you only use on Sundays. Every one of them needs a cable and an outlet.
A powerboard on the bench was the obvious solution five years ago, when the device count was lower. Now the cables outnumber the people in the house, and the bench has become the de facto charging shelf. The visual mess quickly becomes so overwhelming you don’t even use the bench for what it was originally designed for anymore.
A designated drawer changes this. Out of sight, the drawer closes and your main kitchen surface is finally usable again.
What actually goes in a charging drawer?
The exact mix varies by household, but most families end up with some combination of:
E-readers
Handheld game consoles
Power banks
Camera batteries
Phones, each in its own slot
Tablets
Smartwatches
Wireless earbuds and over-ear headphones
Plus anything else you need, you’re in charge
A well-designed drawer can make room for everything you need to charge with a fitted divider tray. Phones stand upright in narrow slots so they're easy to grab on the way out. Airpods fit into their perfectly sized slot. Tablets lay flat with a small backstop. Watches sit on a recessed puck shelf. If you’ve got a Switch that slides into a slot tall enough for the dock. Bulky headphones can drop into a deeper compartment they can fold into.
Cutshop® Tip: Plan for one or two more slots than you currently need. A new device appears every year, and a drawer with one empty slot ages better than one that's already full.

Three places a charging drawer earns its keep
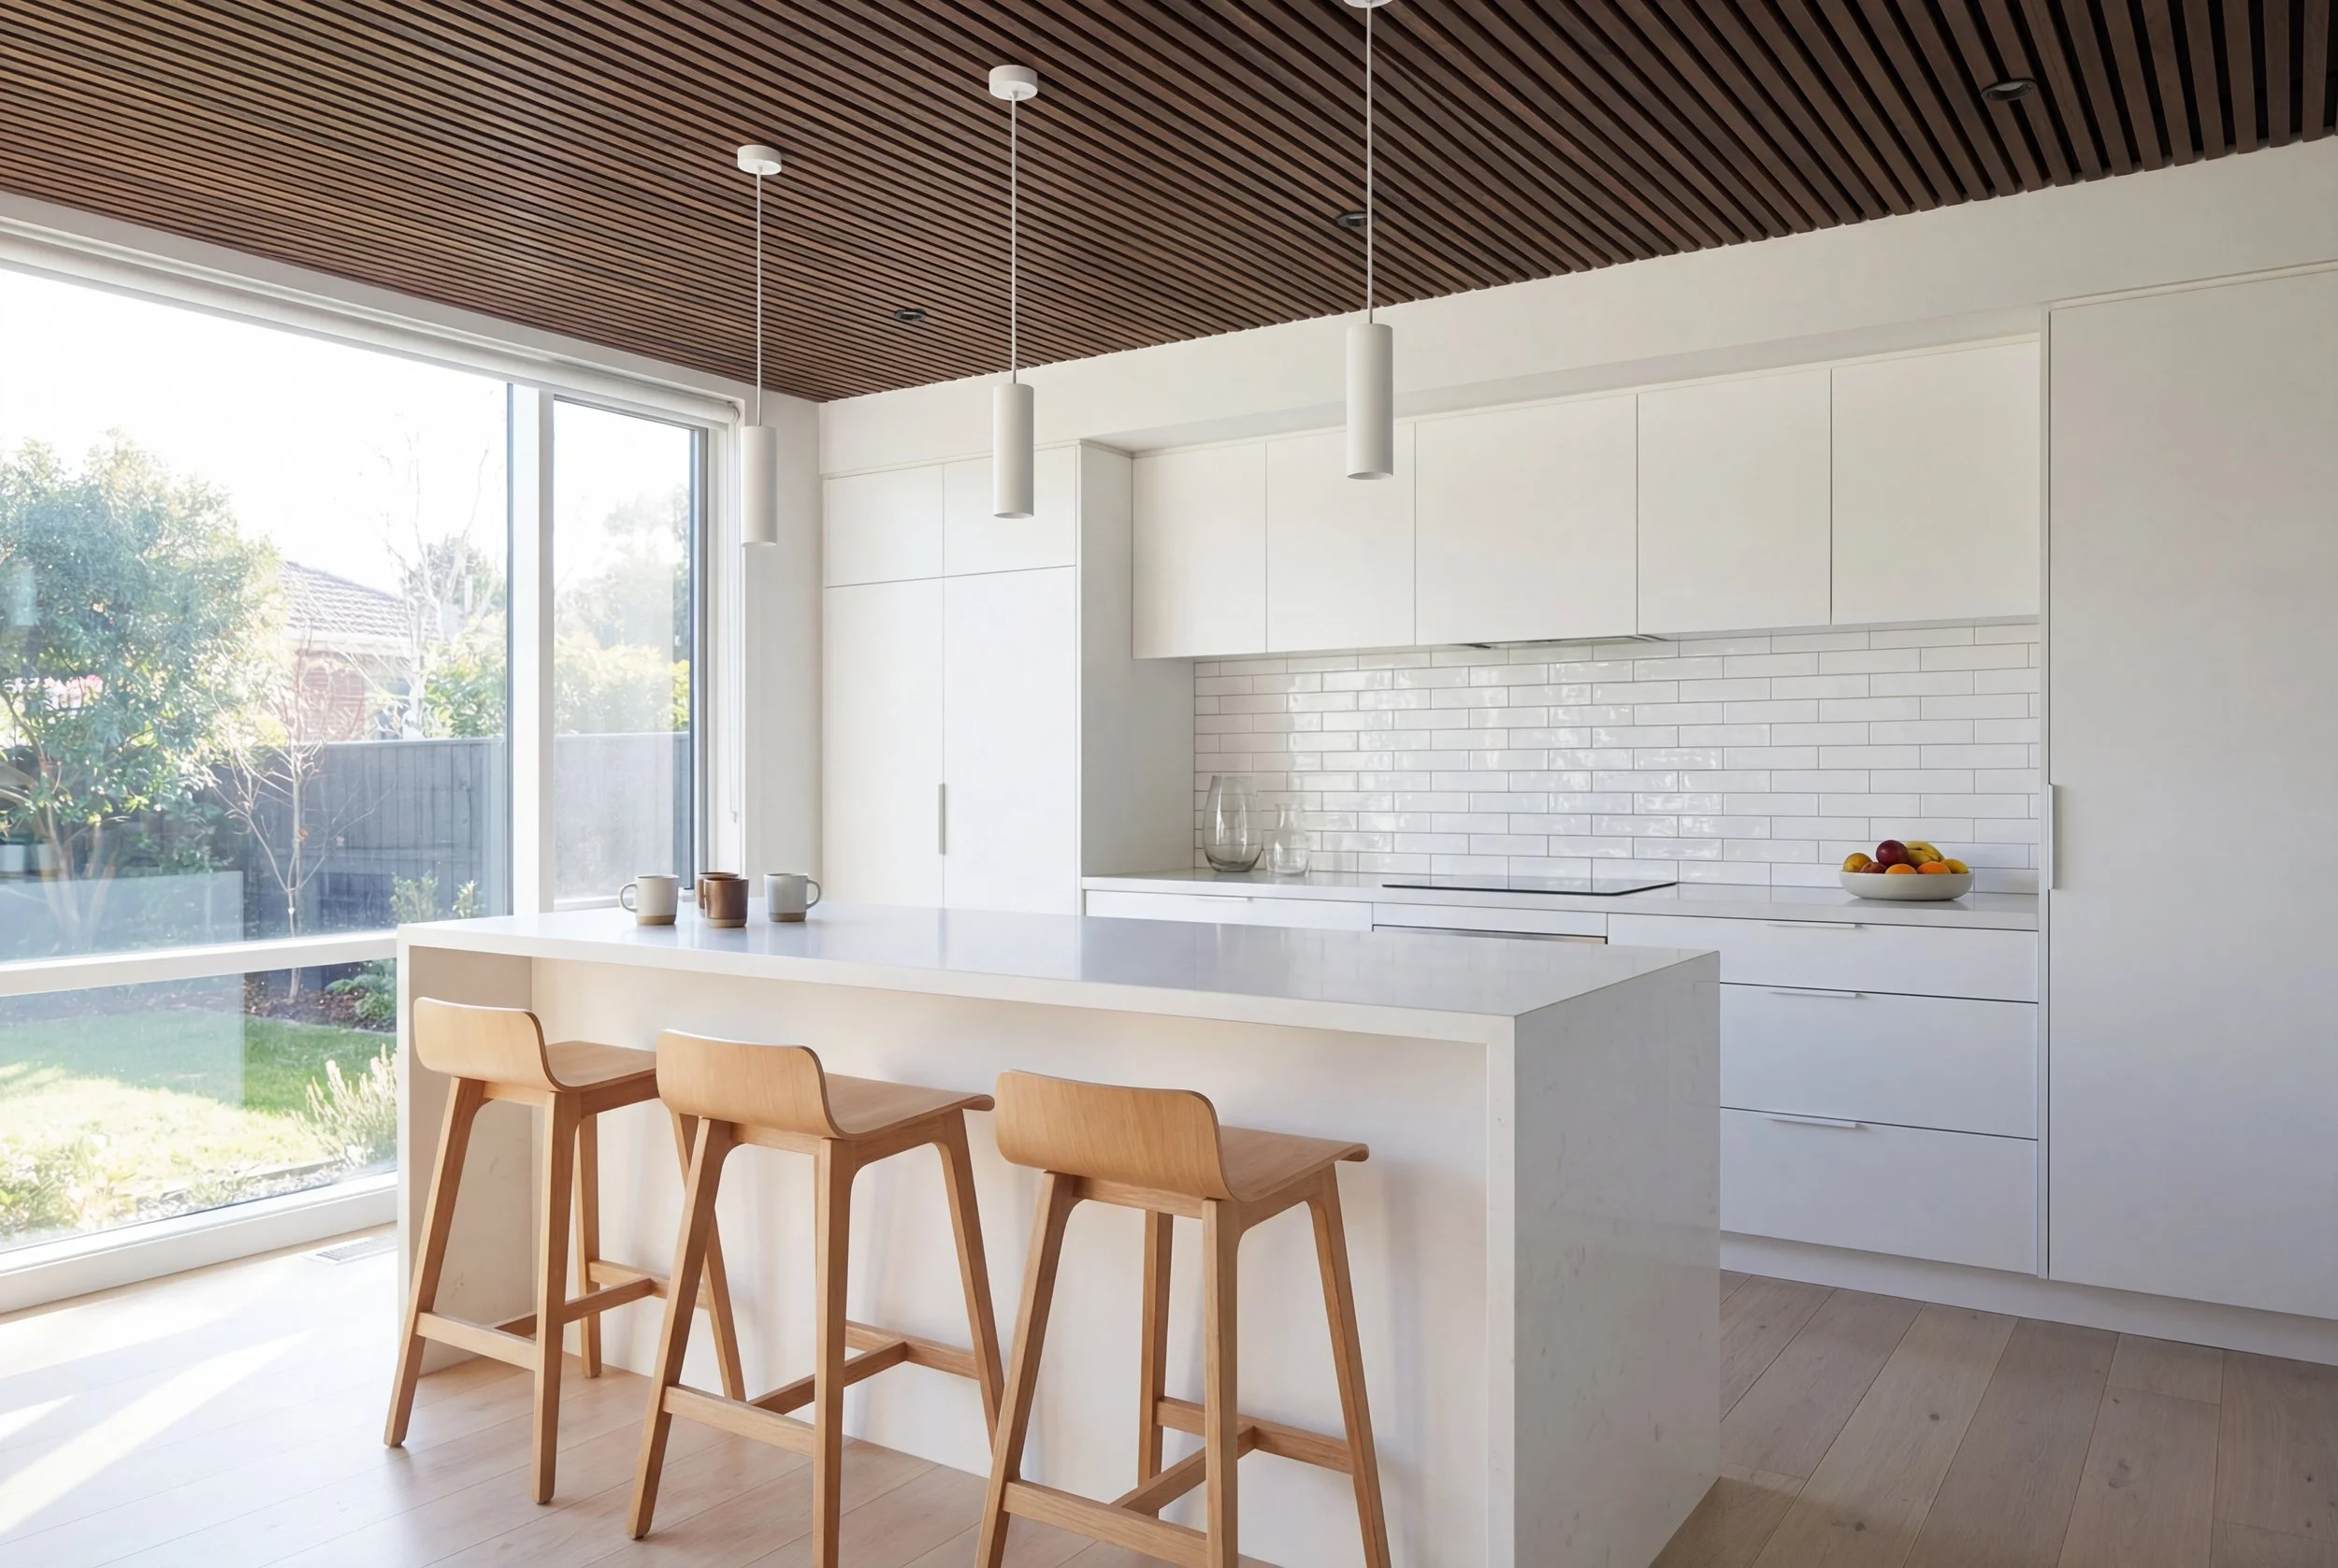
The kitchen island
The most common location, and the one that solves the bench problem most directly. A drawer at the end of the island. This is the natural drop-off point, it’s where everyone already empties their pockets at the end of the day.

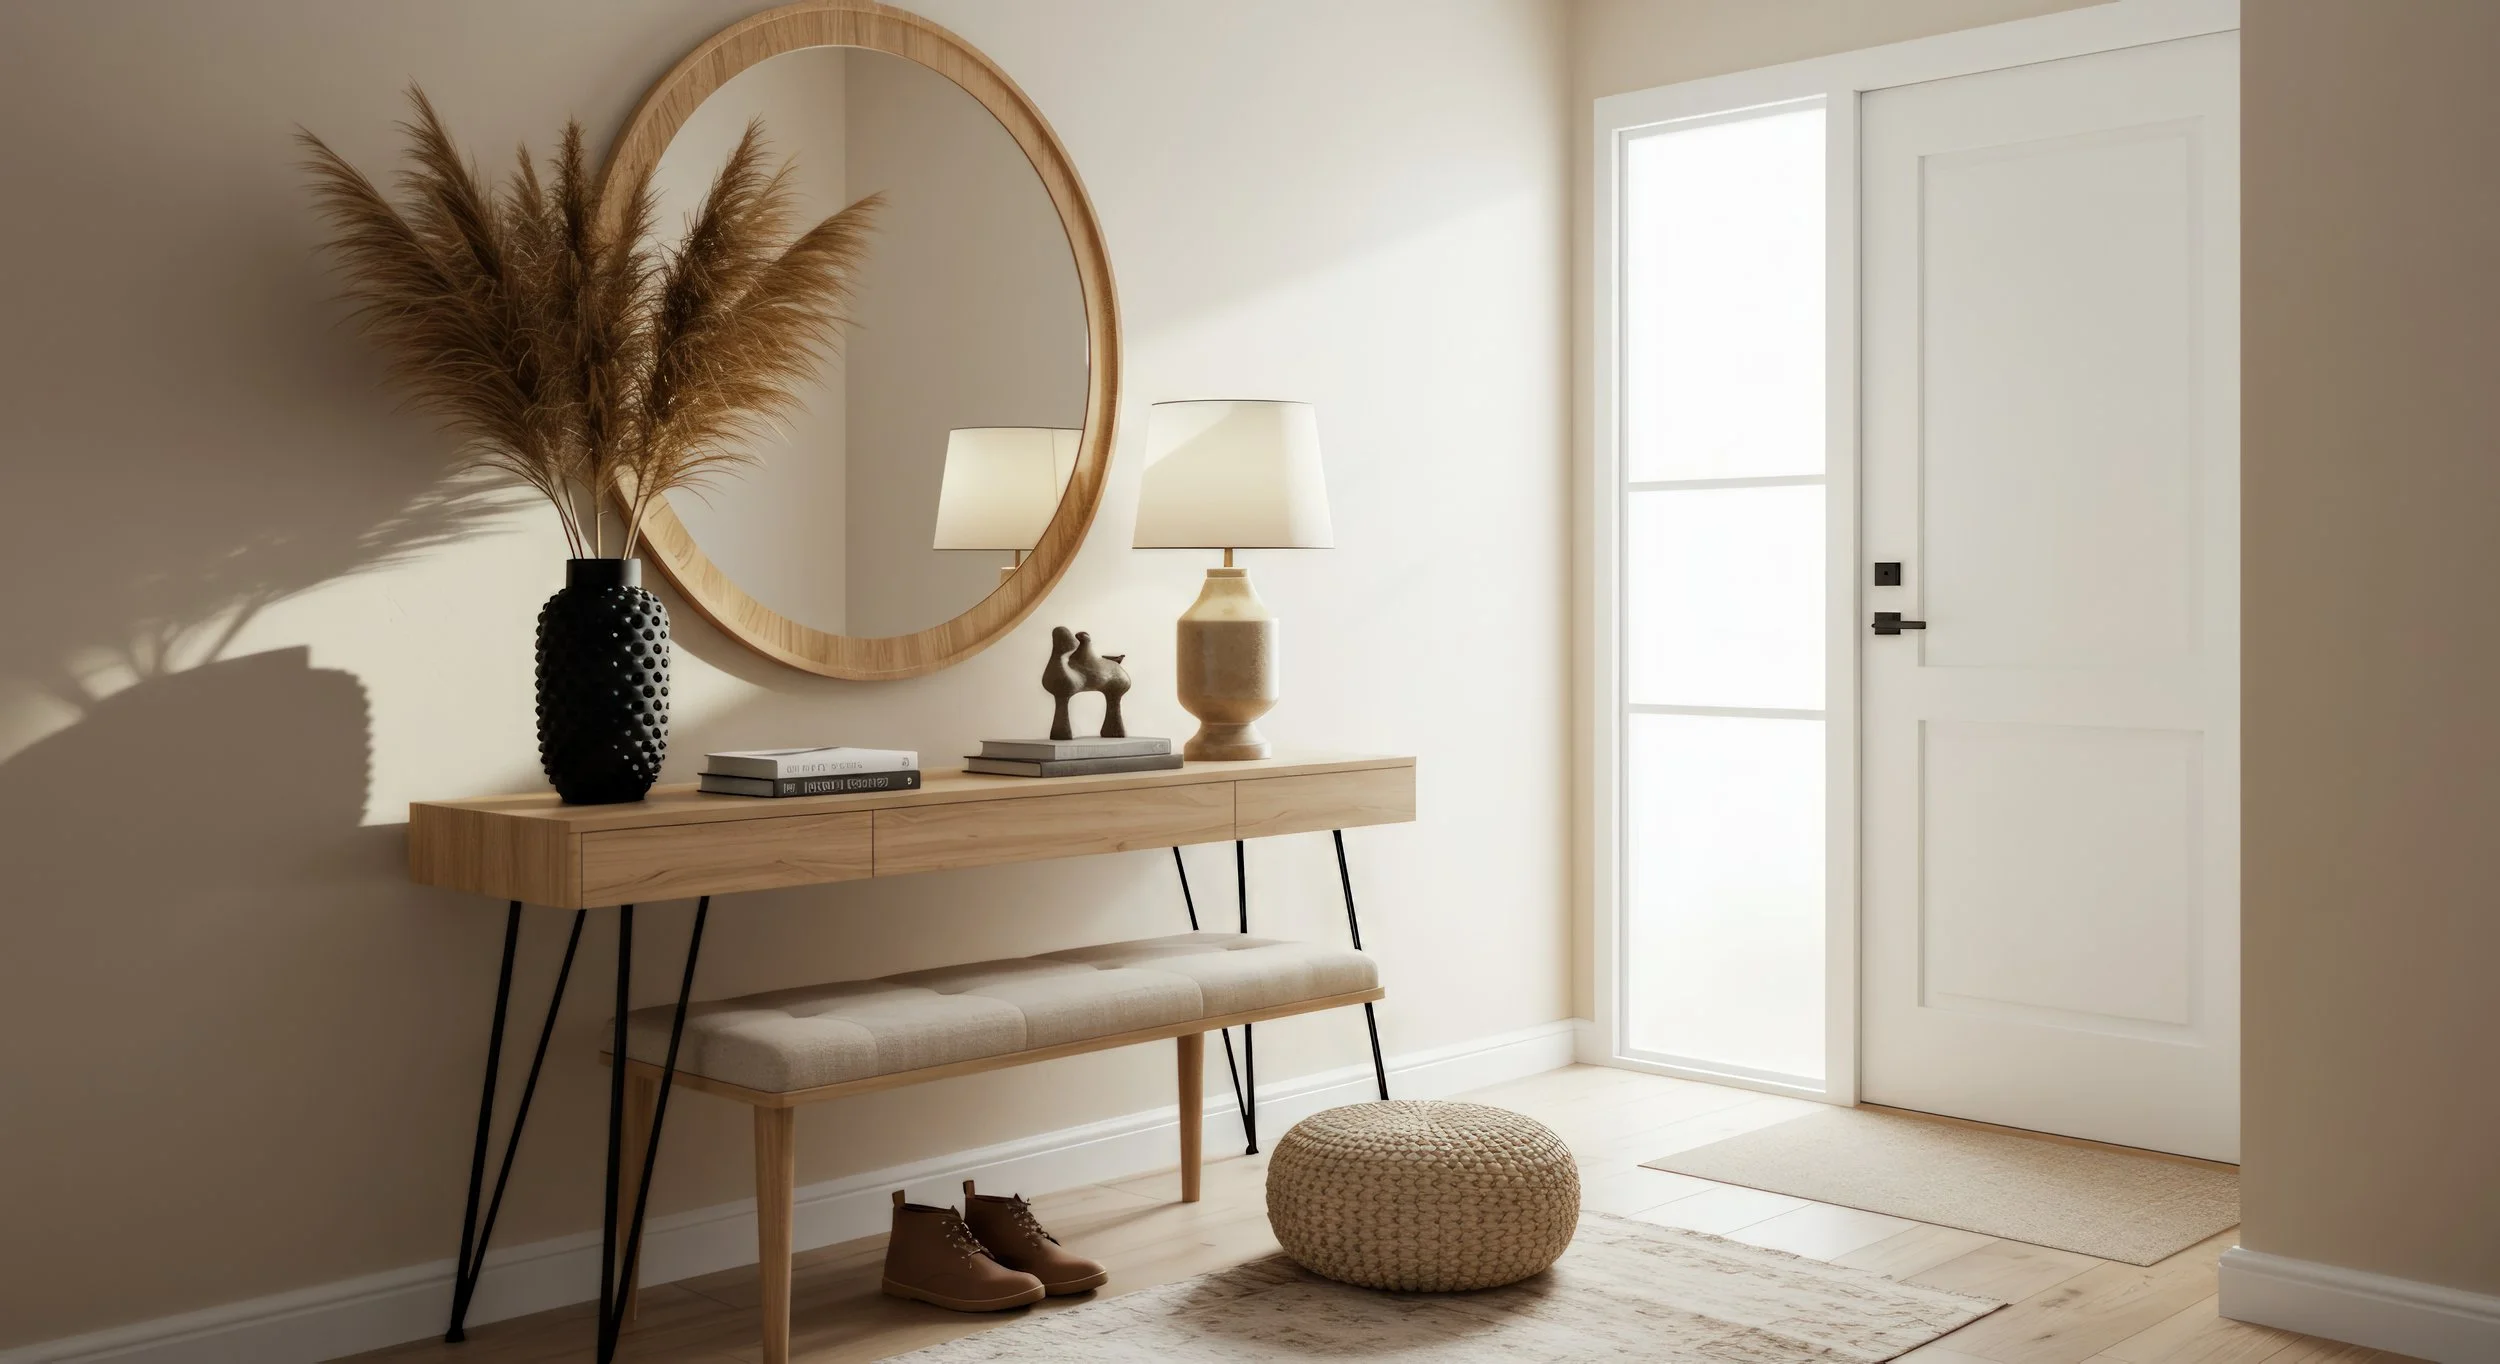
The hallway console or entry cabinet
If you've got a console table or cabinet near the front door. Keys, wallet, phone, watch all go in the same place on the way in, and they all come out charged on the way out. This works particularly well in townhouses and apartments where the kitchen island isn't the natural drop zone.
The bedside or bedroom dresser
A charging drawer built into the top of a custom bedside cabinet or a dresser. Phones charge overnight without the bedside table looking like a server room. Good for adults, not so much for kids who aren’t allowed to take devices to bed.

Important measurements
Drawer interior depth
80–100mm of clear interior height is enough for phones standing upright with the charging cable plugged in. To fit a tablet flat as well, plan for 120mm. For headphones or a Switch dock, go to 150mm.
Drawer width
A standard 600mm cabinet drawer fits most families. For larger households, a 900mm or 1200mm drawer can sit under an island and house everyone's devices in one go. But be careful, wider isn't always better, a 600mm drawer is easier to manage.
Divider layout
Sketch the layout from the device list before the panels are cut. Cutshop® can pre-cut the divider tray to match, with fitted partitions slotting into pre-routed grooves in the drawer base and each compartment sized to the device that lives in it. A drawer with fitted dividers always looks better than one with loose plastic organisers added later.
USB-C port positioning
The cleanest setup is a row of three to six USB-C ports cut flush into the front face of the divider tray, about 30–40mm above the drawer base, centred on each device slot. Cables run from the ports up to the device, with the powerboard hidden behind the divider wall.
Ventilation gap
Leave a 20–30mm gap at the back of the drawer cavity for warm air to escape. A powerboard generates low-level heat. A fully sealed drawer will run hotter than it should.
Wire it up once, do it properly
This is the part where a charging drawer goes from a cute idea to a build that actually works.
The cleanest setup is a dedicated power outlet inside the cabinet, fed off the existing kitchen circuit, with the powerboard plugged into that outlet at the back of the cabinet. The powerboard sits permanently inside the cavity behind the drawer, and short charging cables run from the powerboard through a routed slot in the back of the drawer divider to the USB-C ports on the front face. The drawer slides open and closed without disturbing any of the wiring.
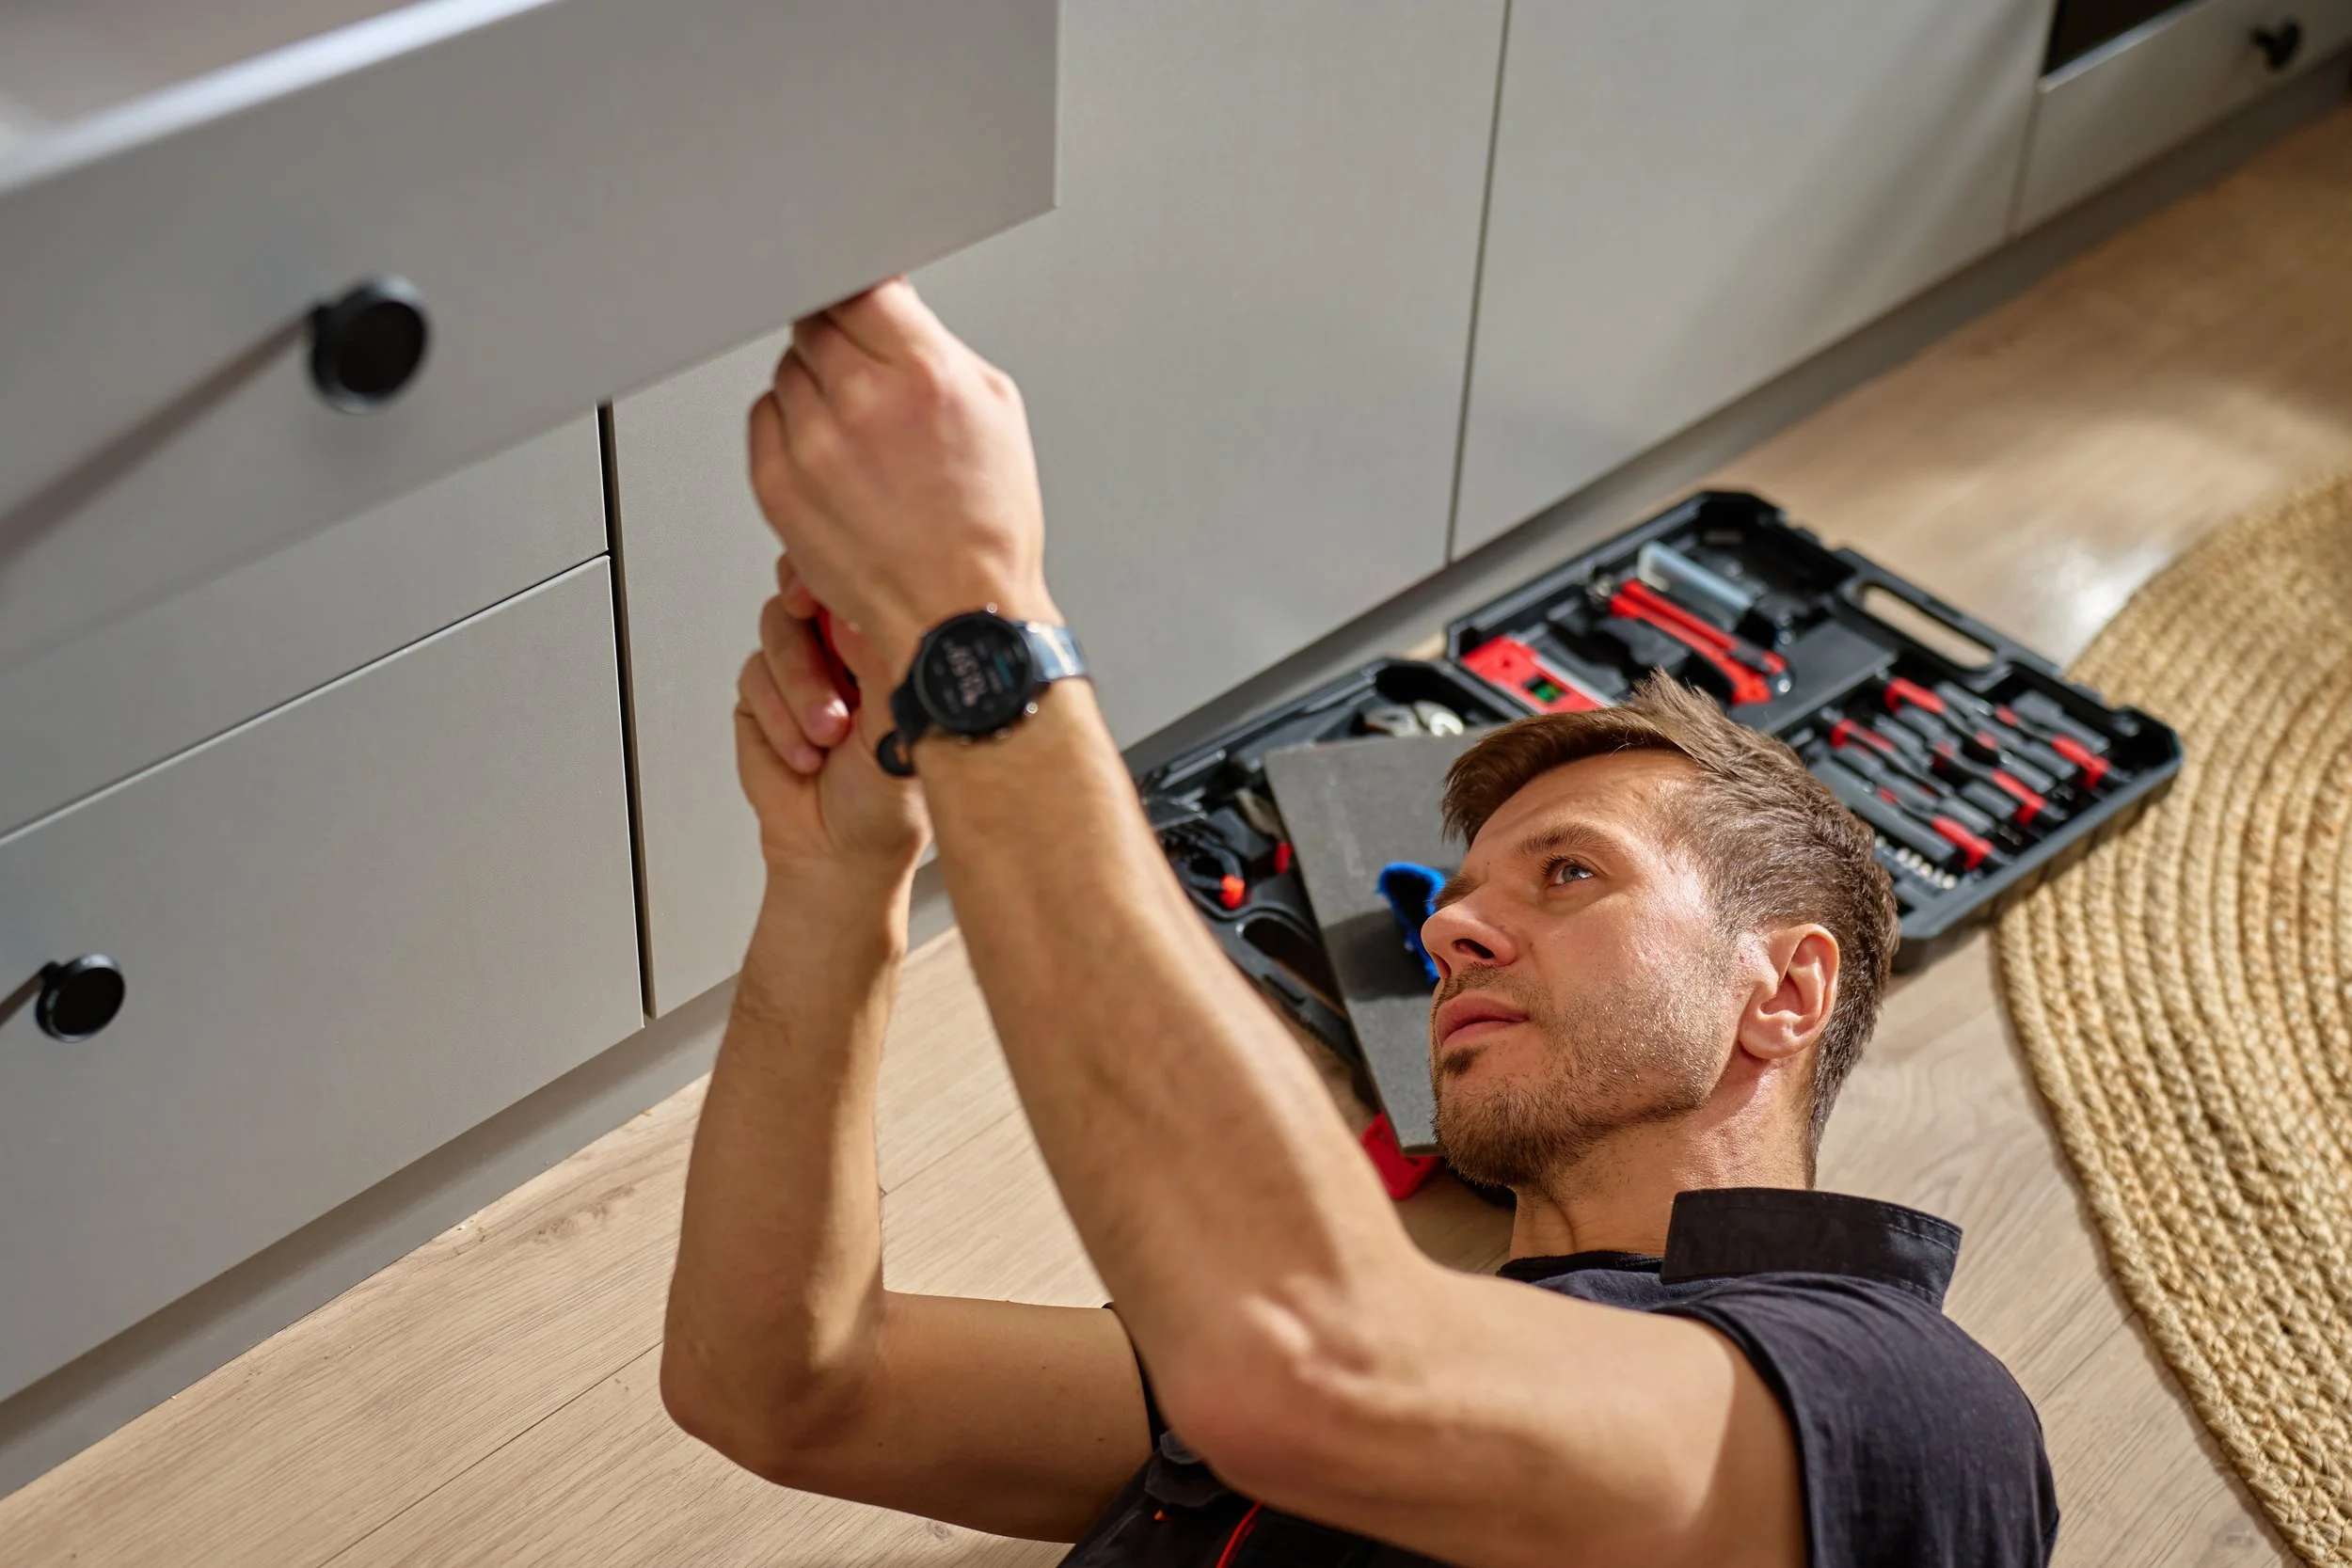
Have a registered electrician install the outlet
This part isn’t a DIY job. The work itself is small, but the Certificate of Compliance at the end is what makes the installation legal and what your insurer will want to see if anything ever goes wrong.
Choose a powerboard with built-in surge protection and a thermal cut-out. It's a $30 upgrade over the cheap option and worth every cent for a board that runs 24/7 inside a confined cavity.
Pick a board that handles the heat
A charging drawer runs warm. Not hot (modern USB-C chargers are efficient) but warmer than a regular drawer. Specify materials that handle that without complaint.
Melteca-faced board is fine for the drawer carcass and the front. It's stable, wipes clean, and pairs with whatever finish the rest of the kitchen is using.
HMR MDF is worth the upgrade for the divider tray and the back panel of the drawer cavity, where the powerboard sits. It holds its shape through the small temperature variations of a constantly-warm cavity better than standard MDF.
Skip timber veneer for the interior of the drawer where the cabling runs. Veneer can lift over time when exposed to consistent low-level heat. Solid Melteca or HMR handles it better.
ABS edging on every exposed edge is standard advice for any Cutshop® build, but particularly important on a drawer that gets opened and closed twice a day for the next ten years.
The morning the bench is finally empty
The first morning the bench is clear, no cables, no powerboard, no phone face-down behind the breadboard, is the morning you wonder why you didn't do it five years ago.
A charging drawer is the smallest custom build that punches above its weight in a busy household. It fits into joinery you've already got, doesn’t cost much at all, and solves a problem that gets quietly worse every year as the device count climbs.
Frequently Asked Questions
-
Yes but you can do most of it yourself. If you're adding a new outlet inside the cabinet to power the drawer. A registered electrician needs to install the new outlet and provide a Certificate of Compliance. The drawer build itself is DIY-friendly. Assembling the carcass, fitting the dividers, dropping in the USB-C ports is all easy stuff, but the wiring step needs a sparky. Budget for an hour of an electrician's time on top of the materials.
-
Not if the cavity is ventilated and you're using a powerboard with thermal protection. A 20–30mm gap at the back of the cavity allows warm air to escape upward into the cabinet. Modern USB-C chargers and surge-protected powerboards are designed to run continuously without overheating, and the gentle warmth inside the cavity is no different from the warmth behind a TV cabinet. If you want extra peace of mind, a small thermostat-controlled fan can be wired into the cavity for under $50, but usually isn’t necessary.
-
Possibly, but probably not the best idea. Laptops draw more current than phones or tablets, generate more heat, and benefit from airflow during charging. They're better off on a desk or benchtop. A charging drawer earns its keep with small devices that charge slowly overnight: phones, tablets, watches, headphones, e-readers, handheld consoles. Save the laptop for the desk.
-
Yes, and it's a popular addition for watches, AirPods cases and newer phones. A Qi or MagSafe pad sits flat in its own recessed compartment, wired up to the same hidden powerboard at the back of the drawer. The compartment depth needs to be slightly deeper than for a wired phone (around 110–120mm) to allow the pad and the device on top of it to sit without contact with the underside of the bench. One caveat: wireless charging generates a bit more heat than cable charging, so don't pack a wireless slot tight against the powerboard cavity. Give it 20–30mm of clearance on either side.
-
The fitted divider tray does most of the work, every cable lives in the slot of the device it charges, so it never crosses paths with another cable. The remaining trick is cable length. Long charging cables are where tangle starts, so use minimum length cables that reach from the USB-C port up to the device sitting in its slot. Braided cables hold their shape better than soft rubber ones and don't develop the spaghetti coil. A small clip on the inside back wall of each slot, holding the cable to the divider, keeps the cable parked when the device isn't plugged in.