
Upgrade your TV set-up: It Deserves Better Than a Freestanding Unit.
A media wall does something a freestanding TV unit never quite manages: it makes the television feel like part of the room rather than a piece of gear dropped into it. The screen, the storage, the shelving and the cables all sit inside one considered piece of joinery, fitted to the wall it lives on.
Modern TVs have also outgrown the furniture we used to put them on. A 65-inch screen perched on a 1200mm console looks top-heavy before you've even sorted where the soundbar goes or how to route the cables.
A built-in media wall settles all of it in one move. And with flat-pack panels cut to your exact measurements by Cutshop®, it's a project a confident DIYer can complete without needing to pay for a builder.
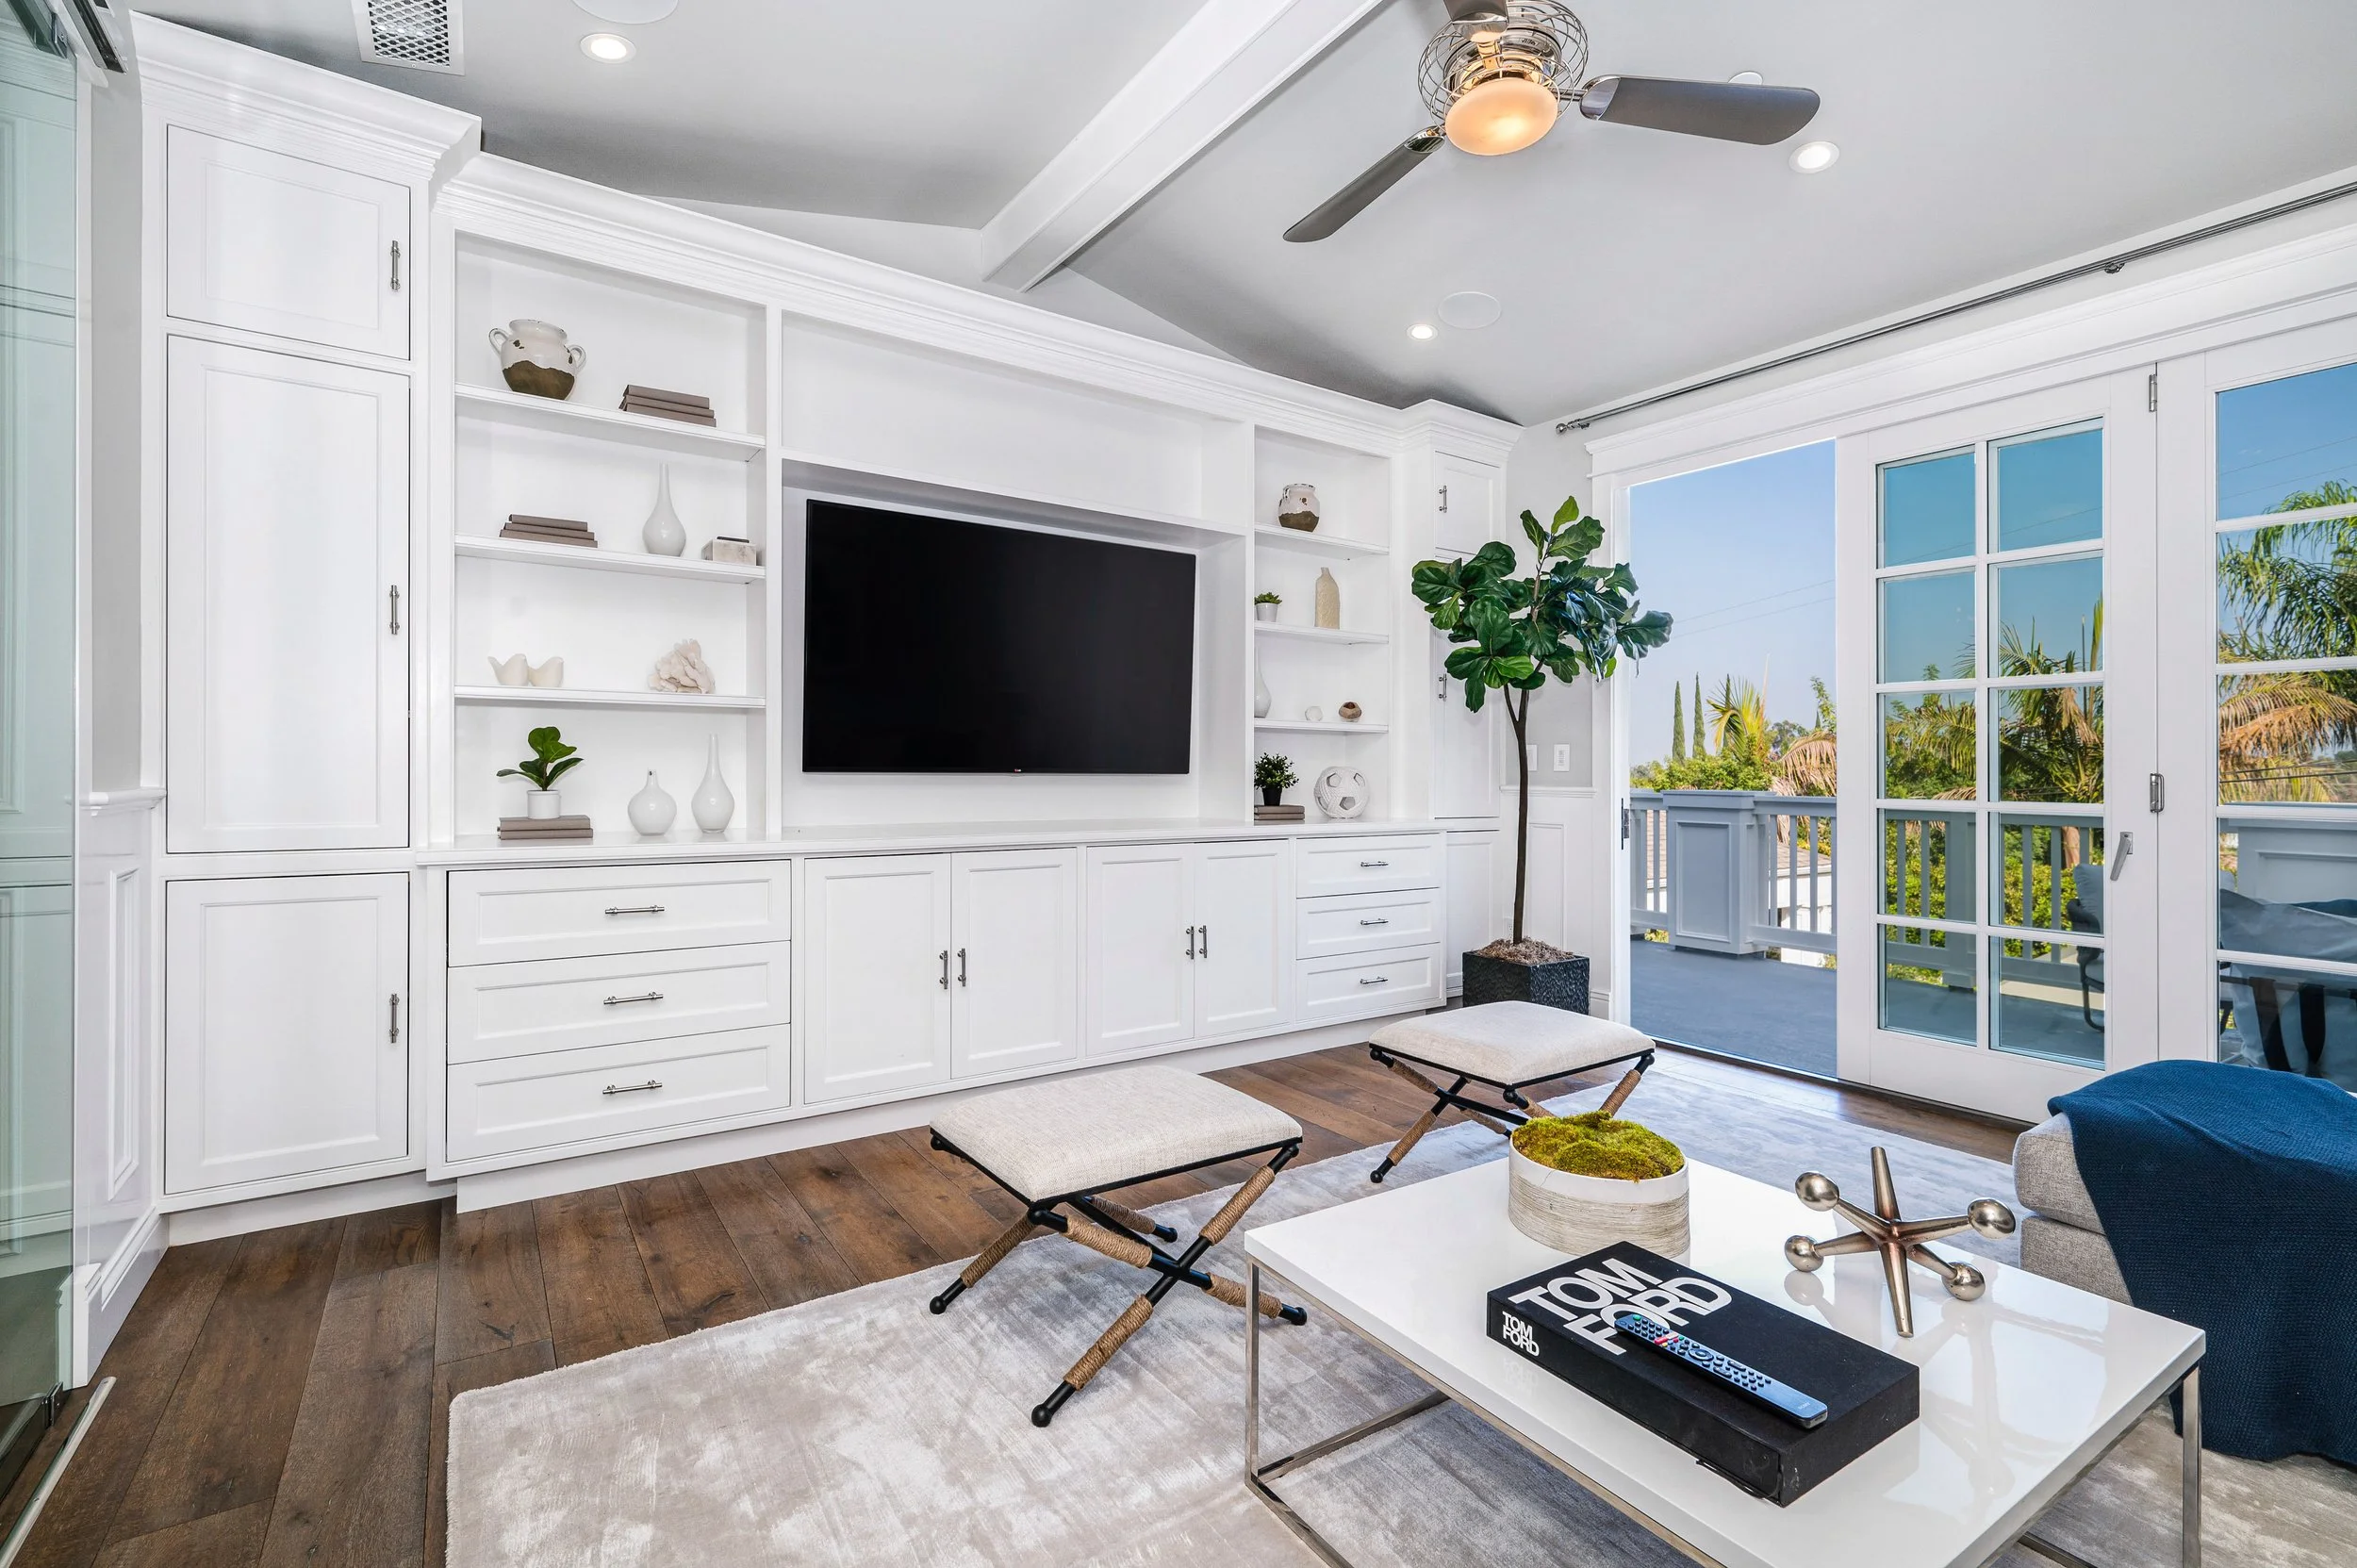
Why Does Freestanding TV Furniture Always Fall Short?
Because living rooms aren't designed around furniture catalogues. They're designed around walls, and walls come in specific widths that rarely correspond to the dimensions of anything you'll find in a store.
A standard freestanding TV unit is typically 1200 - 1800mm wide. If your wall is 3600mm, you're left with a unit that occupies half the wall and leaves the rest looking unaddressed.
There's also the height problem. Most freestanding TV units position the screen at around 500 - 600mm from the floor, far too low for comfortable viewing from a sofa at normal seating height. The standard recommendation is for the centre of the screen to sit at roughly eye level when seated, which for most adults is around 1000–1100mm from the floor. Freestanding units never achieve this without adding a separate mount, which doesn’t look good.
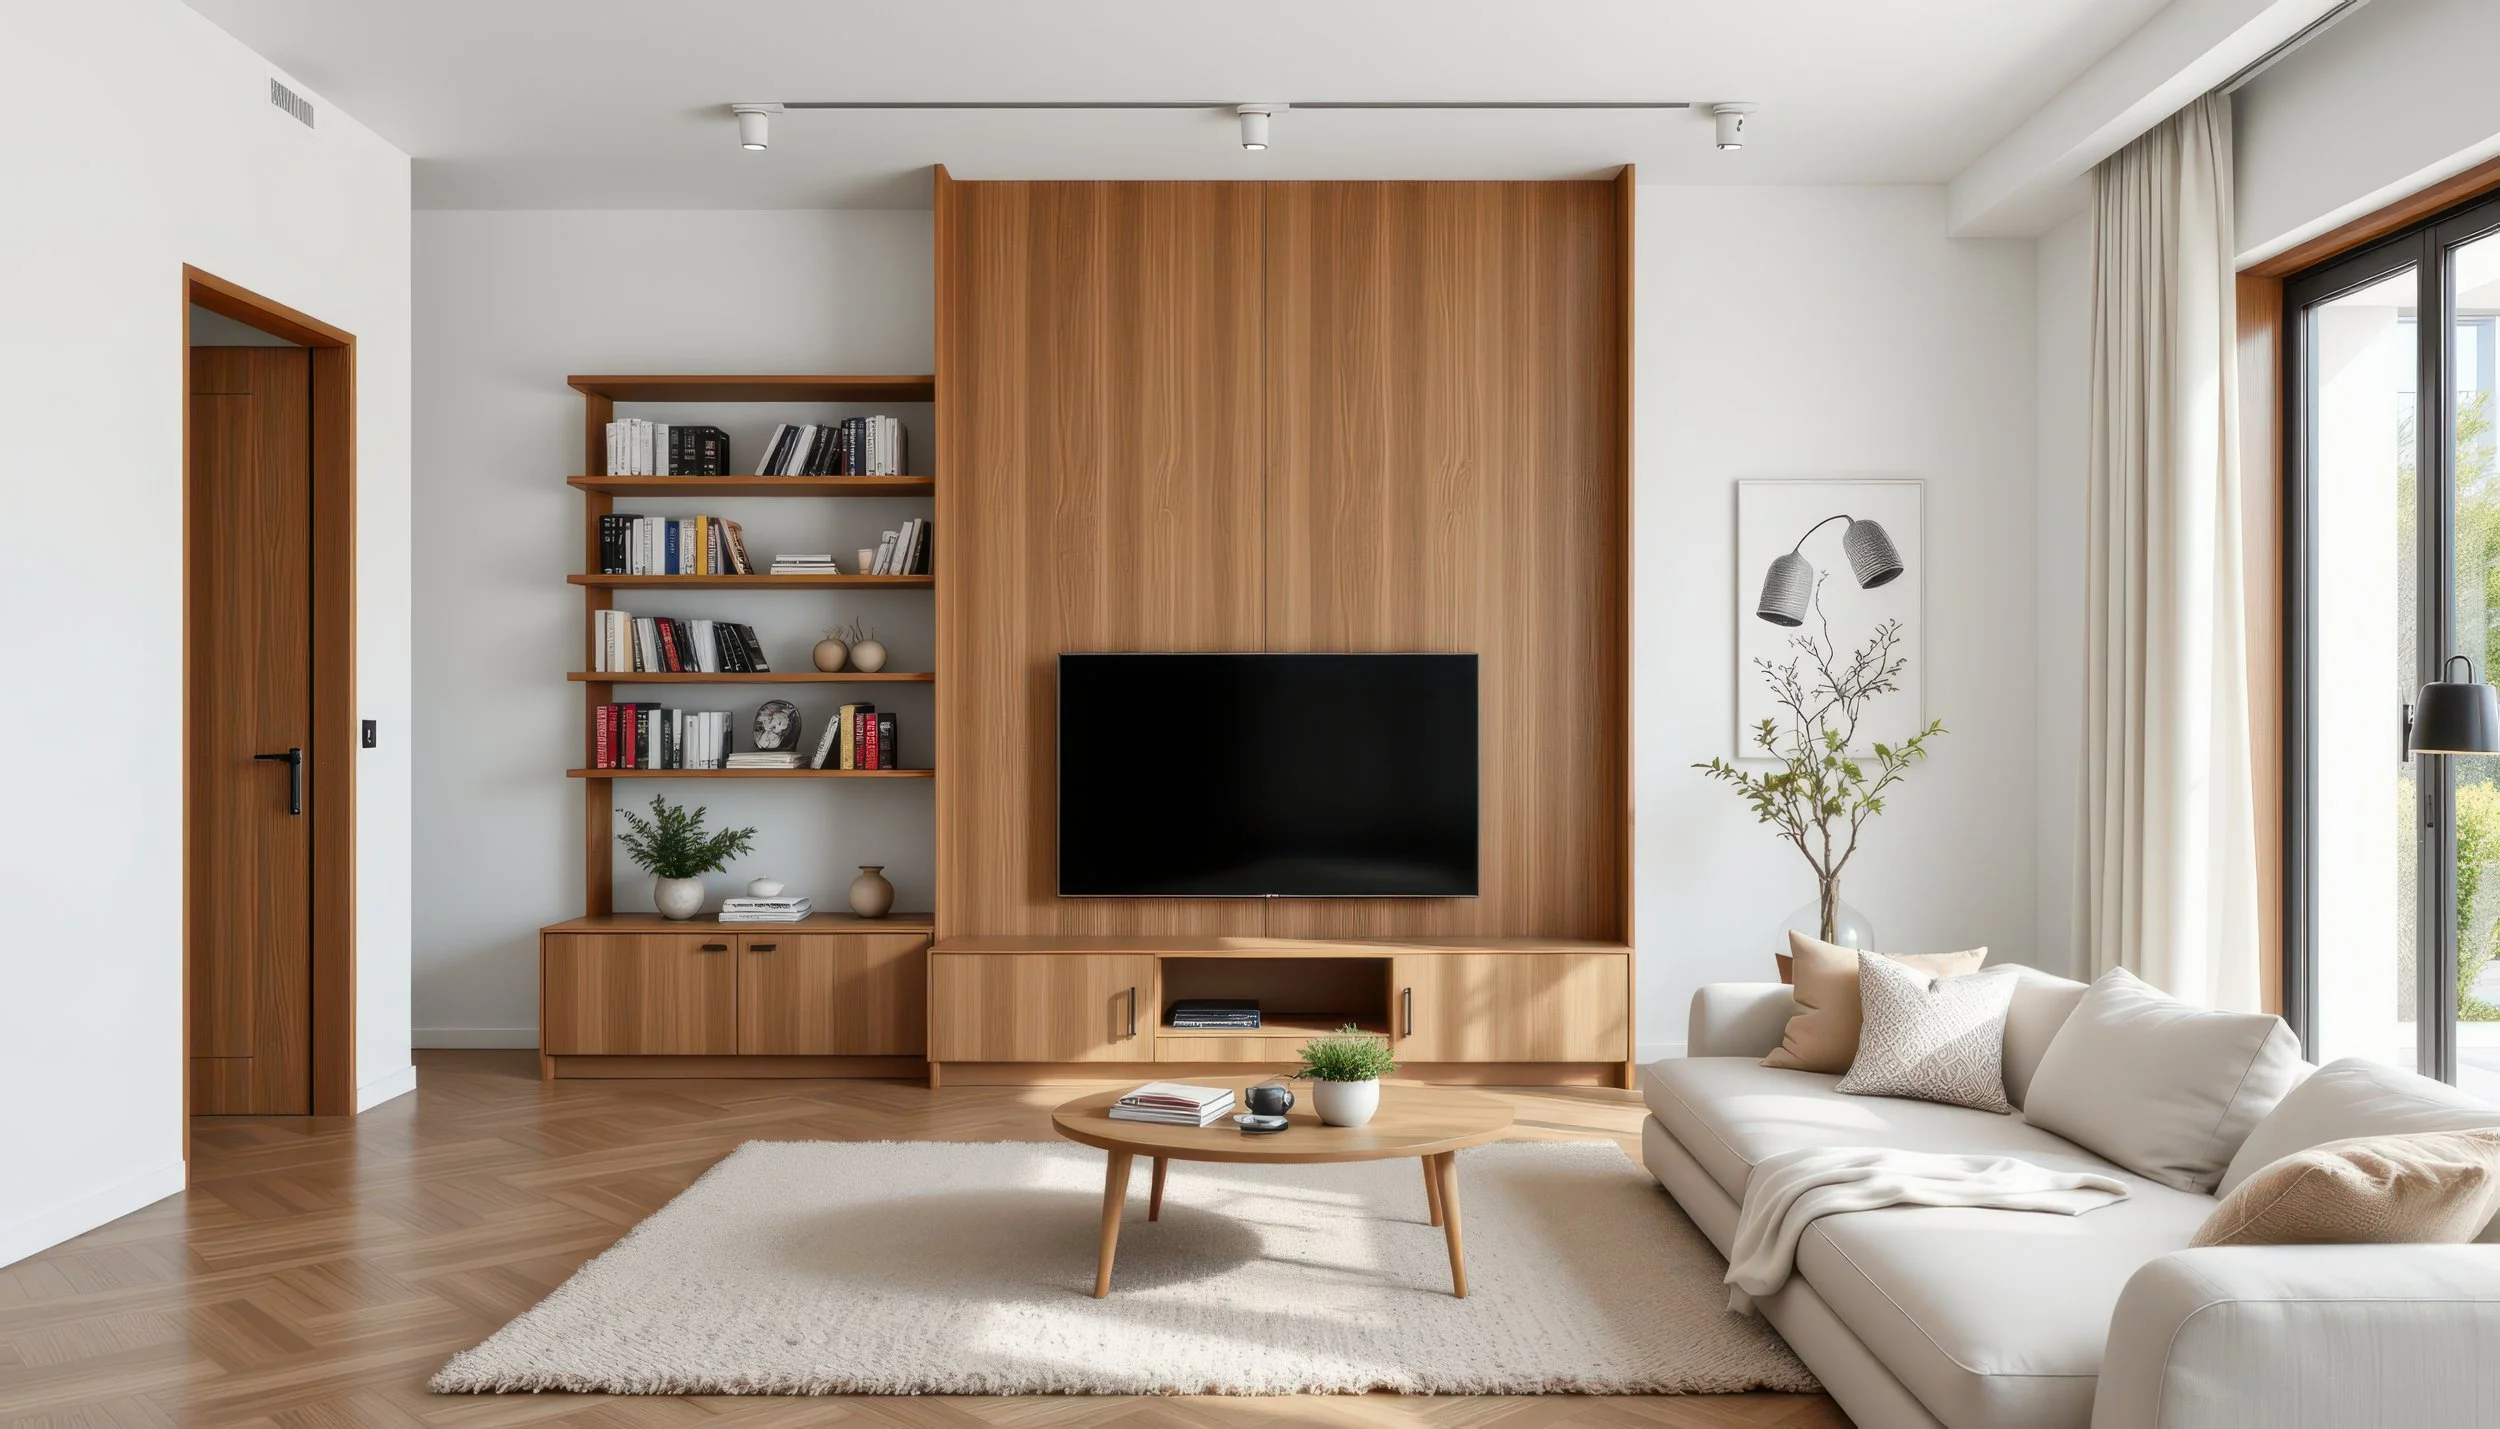
Custom-built cabinetry works from your wall width outward. The units fill the available space exactly. The TV recess is positioned at the correct height for your specific sofa and seating arrangement. The flanking panels span the full width of the wall. The result isn't furniture in a room. It's a wall that's been properly designed.

What Does a Built-In Media Wall Actually Include?
The configuration varies depending on the wall and the room, but a well-designed media wall typically covers five things:
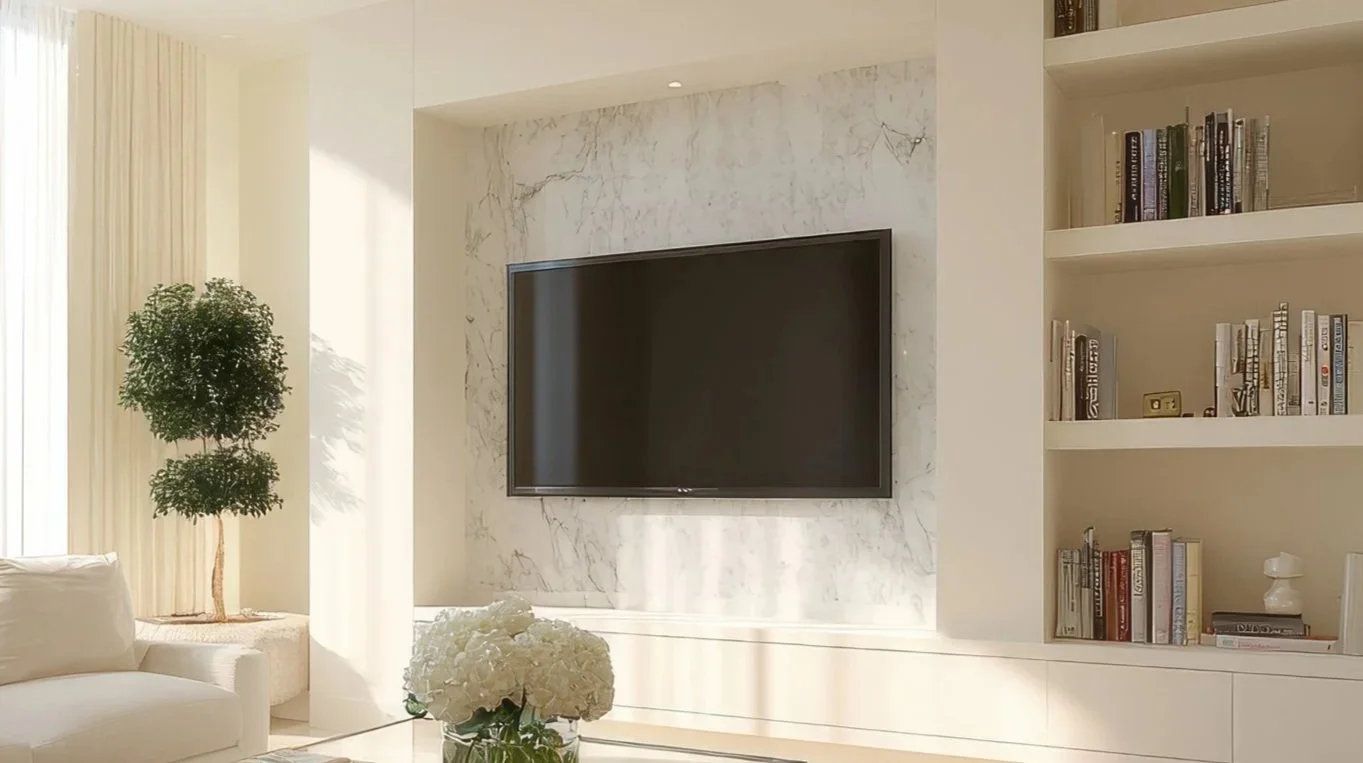
The TV Panel
The centrepiece of the wall. A recessed section, either a shadow-line recess routed into a flat panel, or a framed opening between two flanking columns, that positions the screen at the correct height and gives it a defined home rather than having it float on a wall bracket with nothing around it.
The TV panel width should match your current screen size with enough margin to accommodate an upgrade. For a 65" screen, a recess of around 1600 - 1700mm wide and 1000mm tall gives comfortable clearance. A backing panel in a contrasting colour or finish (a dark grey or charcoal behind a light room palette, for example) makes the screen recede when it's off and frames it intentionally when it's on.
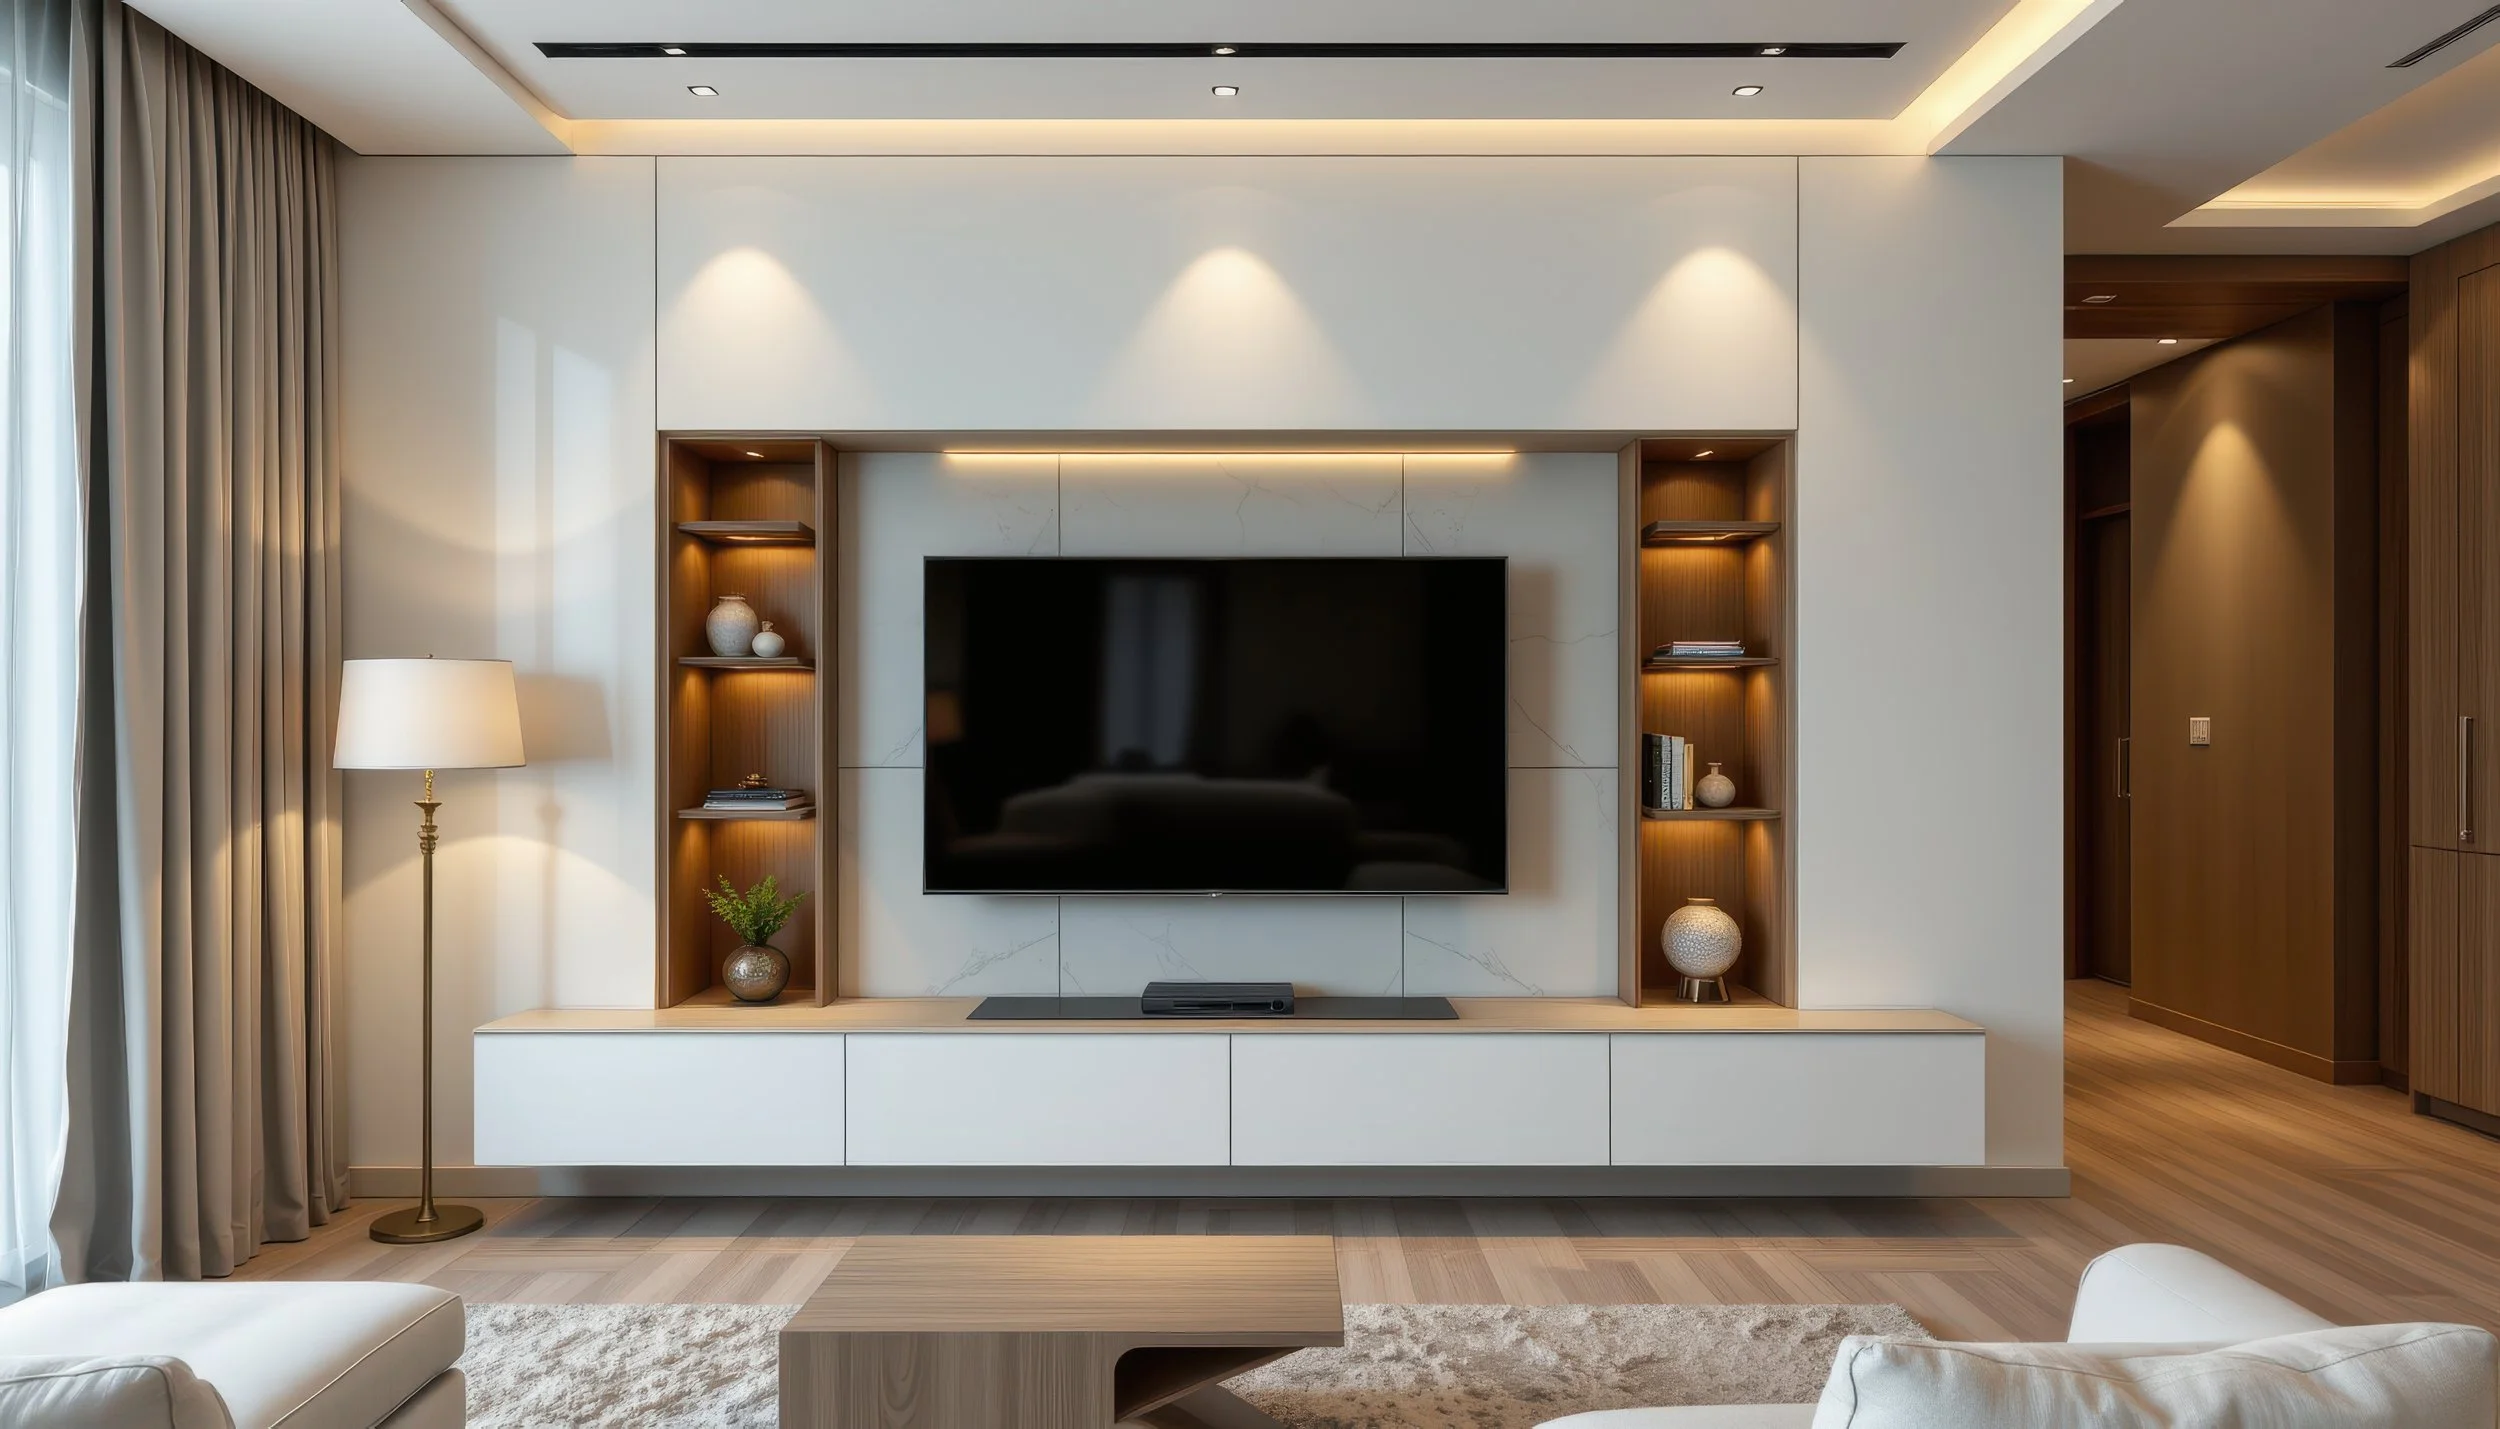
Closed Cabinetry Below
The section below the TV panel is where the practical work happens. Two or three cabinet units with doors (sized to house the console, streaming devices, hard drives, and anything else that lives in the media setup) keep everything contained and out of sight. Deep shelves (400 - 450mm) accommodate most AV equipment comfortably.
Leave ventilation gaps at the back of these cabinets. AV receivers and game consoles generate heat, and a sealed cabinet will cause them to overheat. A 20 - 30mm gap at the back of each shelf, with matching gaps at the top and bottom of the cabinet, allows convection airflow without any noticeable visual impact from the front.
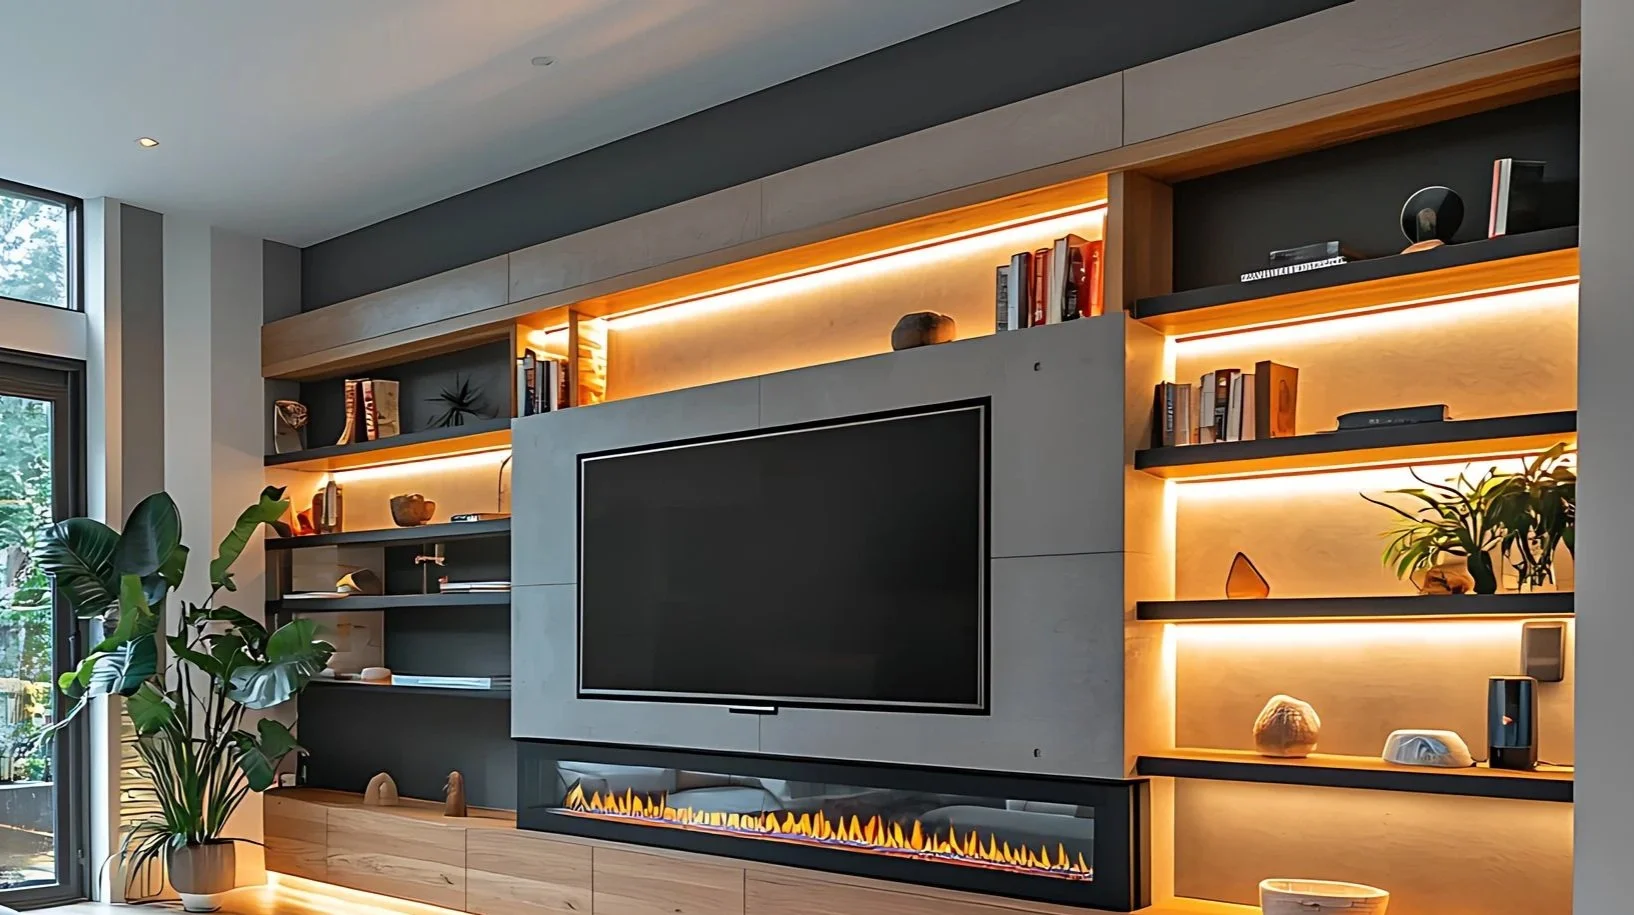
Open Shelving Above and Beside
The sections flanking the TV panel, and the wall above it, are where the room gets to breathe. Open shelving for books, plants, framed photos, and decorative objects softens the cabinetry and stops the wall from looking like a fitted kitchen. The key is varying the shelf heights, a mix of taller and shorter bays looks more considered than uniform spacing.
A good rule of thumb: run closed cabinetry below the TV height and open shelving above. This keeps the lower half of the wall visually tidy and gives the upper half room to feel more personal.
Cable Management
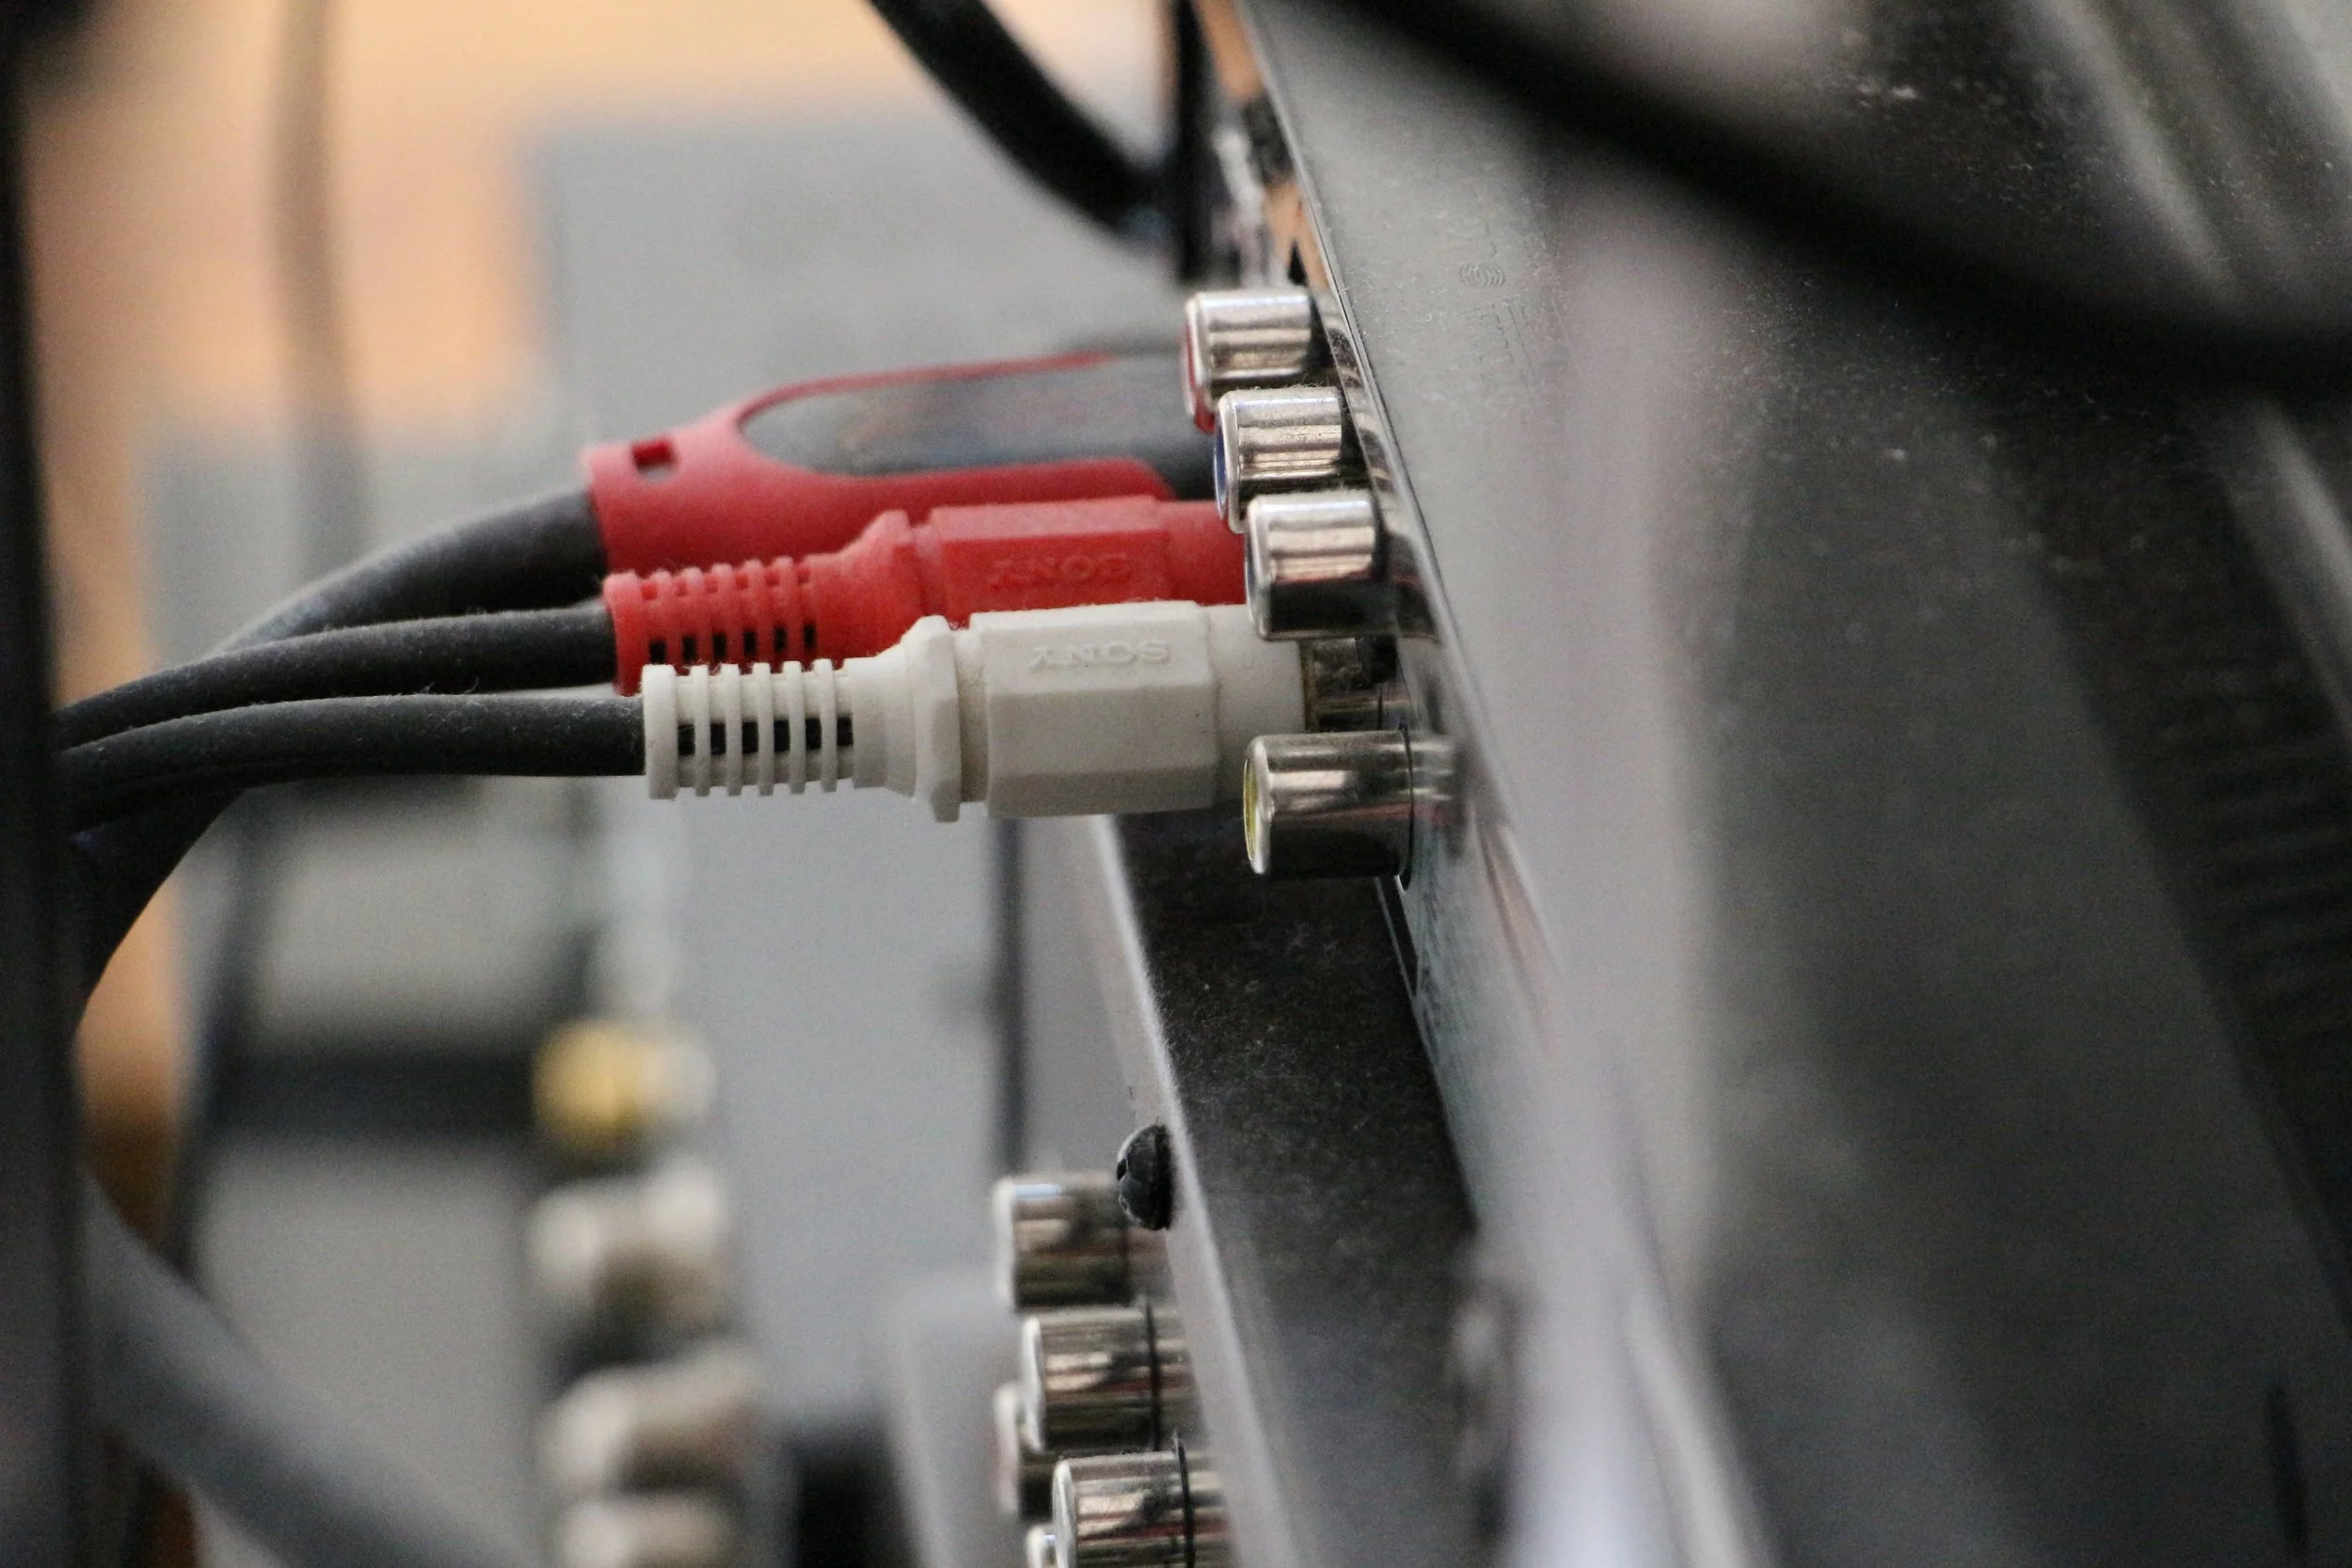
This is the detail that separates a built-in media wall from a freestanding unit with a fascia board in front of it. A proper built-in solves the cable problem at the design stage: a vertical cable chase routed through the back panels, with a power outlet positioned inside the lower cabinet and an HDMI pass-through behind the TV panel, means not a single cable is ever visible from the front.
Plan the cable routing before you finalise the panel design. Identify exactly where the power outlet will sit, where the TV signal cable enters the wall, and where each device connects. Routing this through the cabinetry at build time takes minutes. Retrofitting it afterwards is a much bigger job.
Integrated Lighting
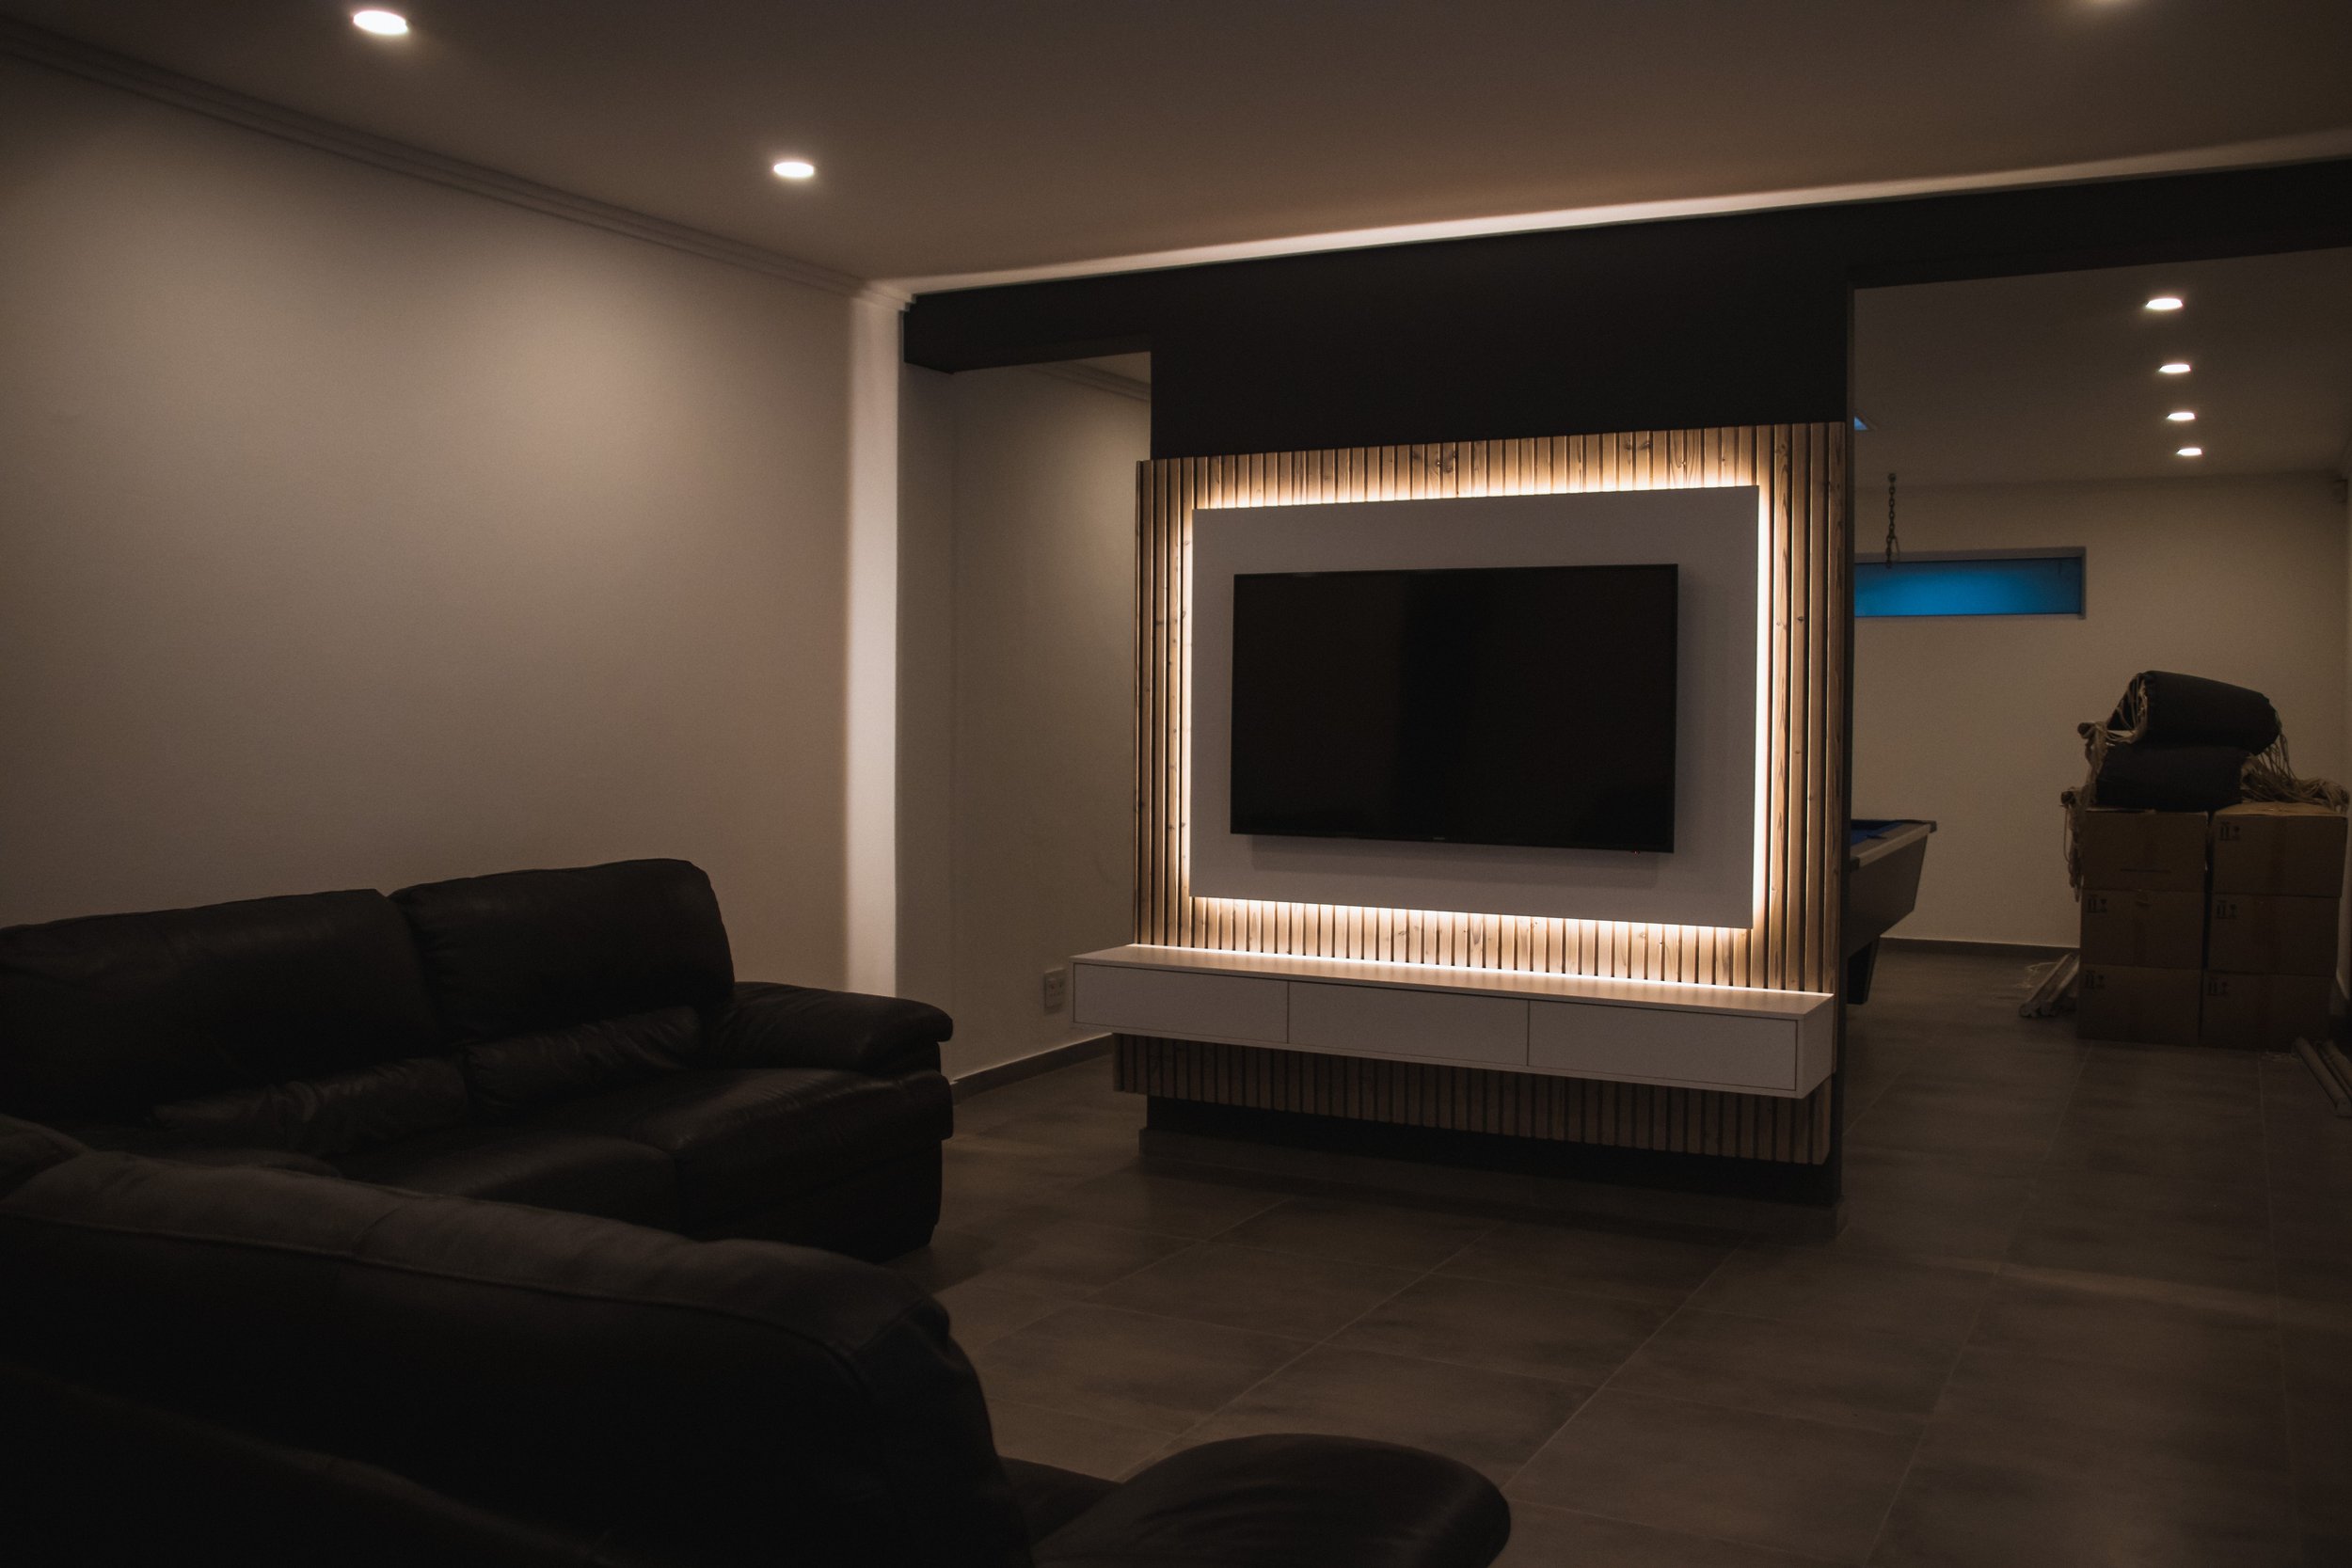
LED strip lighting recessed into the underside of shelves, or behind the TV panel as a backlight, transforms a media wall from a storage unit into a feature. A warm white strip behind the TV panel reduces eye strain during evening viewing and makes the room feel like it was designed rather than decorated.
What Are Your Configuration Options?
Full-Width Wall
The most impactful option. Cabinetry running the full width of the wall from corner to corner, with the TV panel centred and flanking shelving either side. This works best in larger living rooms where the wall is at least 3000mm wide and there's no risk of the cabinetry feeling oppressive.
Partial Wall With Returns
For a wall that has a doorway, window, or architectural feature to one side, the cabinetry runs from the TV panel to the nearest break point. Returns are shallow panels that wrap around a corner. These can extend the unit into an adjacent wall to add storage without overcommitting the main wall.
Floor-to-Ceiling
A floor-to-ceiling media wall is the most architectural option and has the biggest impact on how the room feels.
Mid-Height
Mid-height cabinetry (up to around 1800mm, with wall above left clear) is a less committed option that suits rooms with lower ceilings or where you want the wall to feel lighter.
Cutshop® tip for villas and bungalows: Stopping the cabinetry at picture rail height and leaving the upper zone clear is almost always the right call. The heritage proportions of the room are preserved, and the built-in feels like it belongs.
What Materials Work Best For Media Walls?
For the cabinet carcasses, Melteca-faced board is the standard choice: cost-effective, available in a wide range of finishes, and easy to keep clean. A matte white or warm grey finish integrates cleanly into most living rooms.
For the TV backing panel or any feature section, a contrasting finish — dark charcoal, deep navy, or a timber veneer effect — adds visual depth and makes the cabinetry feel more intentional.
ABS edging on every exposed edge is non-negotiable, particularly on shelves that will take regular use. It protects the panel core and gives the finished piece the clean edge that separates well-built cabinetry from a rushed job.
For any section near a heat source (a fireplace recess integrated into the media wall, for example), HMR MDF is worth specifying. It handles temperature variation without the movement that standard MDF can develop over time.
Is It Hard to Build?
The assembly itself is straightforward. A media wall is essentially a run of rectangular cabinet carcasses joined at the sides, with a back panel and a face frame or door overlay. If you're comfortable with basic DIY — a drill, a level, a few clamps — you can build a clean media wall in a weekend.
The part that makes or breaks the build is the cutting. Panels that arrive at rough dimensions and need trimming on site are where mistakes happen and edges get damaged. With Cutshop's® precision CNC cutting, every panel arrives at exact dimensions, edge-banded and ready to assemble. The TV recess opening is cut cleanly. The cable chase is routed. You're assembling, not manufacturing.
If you're working with a builder or cabinet maker, Cutshop® provides the precision-cut panels so they can focus on the installation.

Frequently Asked Questions
-
Absolutely. Because every order is cut to your exact measurements, you can build the media wall in stages. Start with the TV panel and central cabinet section, then extend the flanking shelving when budget allows. As long as your measurements are consistent, each addition will join cleanly with what's already there.
-
The most common mistake is treating the soundbar as an afterthought. If you're using a soundbar, size the TV recess or the shelf directly below the TV panel to accommodate it before you cut anything. A typical soundbar runs 800–1100mm wide and 70–90mm tall. The cleaner option is a dedicated soundbar shelf built into the panel just below the screen, with a cable chase running directly into the lower cabinet so the power and optical cables are never visible.
-
Push-to-open (also called handleless or touch-latch) is the most popular choice for the lower cabinets on a media wall, and for good reason: it keeps the front face clean and uninterrupted, which matters when the cabinetry is competing visually with a large screen. Finger-pull recesses routed into the door edge are a good middle ground if you want something more tactile without visible hardware.
-
The main thing to get right is the recess width. A 65-inch screen is 1440mm wide; an 85-inch screen is around 1890mm. If you build a recess sized exactly to your current TV, the next upgrade will either not fit or look lost in the opening. The smarter approach is to size the recess to the largest screen you'd realistically buy and use a backing panel in a contrasting finish to frame a smaller screen in the meantime. Cable chases and power positions are also worth over-specifying now; running an extra HDMI pass-through or a second power circuit inside the cabinet costs almost nothing at build time and saves significant disruption later.
