
Why More Kiwis Are Choosing to Build Their Own Wardrobe
(And Why It’s Not as Hard as You Think)
You’ve got a quote in your inbox for built-in wardrobes, and it has more digits than you expected. You’re standing in the doorway with a tape measure, looking at a perfectly ordinary wall, thinking: it’s basically just a big box. How does it cost that much?
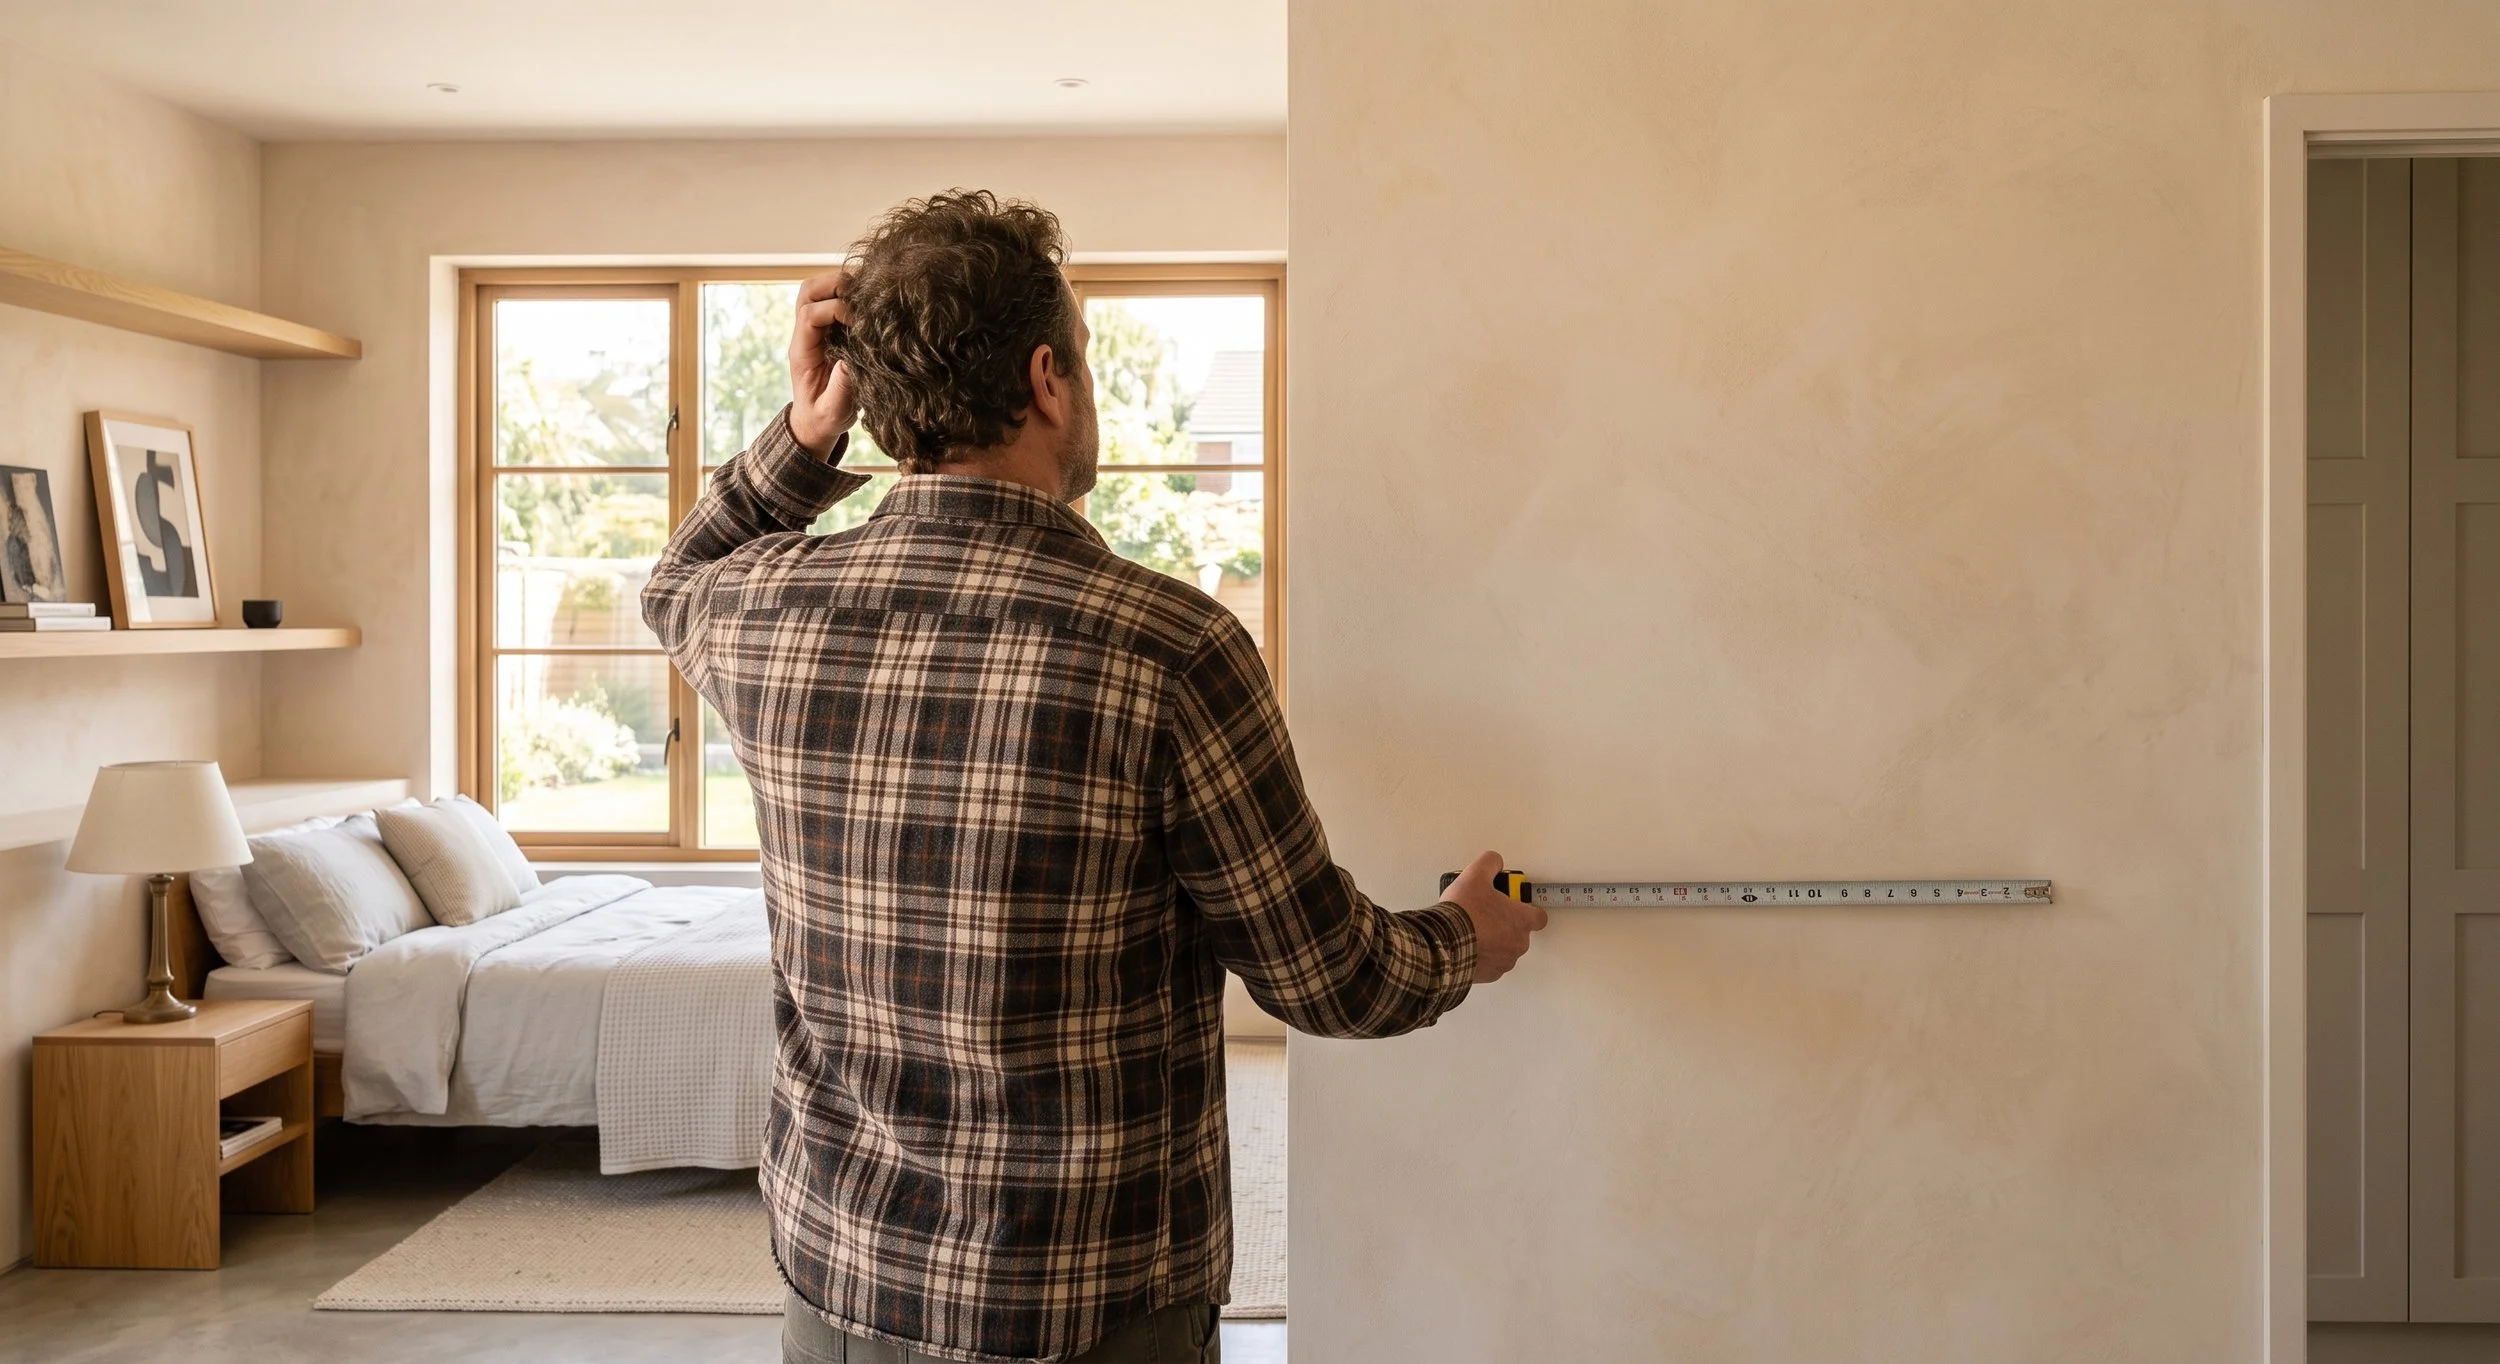
Years ago that thought went nowhere. You either paid the quote or you drove to a retailer and bought a cheap compromise.
Now there are other options, better options. People are measuring the wall themselves, having the panels cut to those exact numbers, and putting the wardrobe together over a weekend. Not because they’re builders. Because the barrier that used to make it impossible disappeared, all thanks to Cutshop®
Something has shifted in how we renovate
A 2026 Kiwi Home Improvement Report surveyed 645 homeowners across February and March. Seventy-eight percent were planning or seriously considering a project this year. The average planned spend was around $27,000, with close to 70% keeping their budget under $35,000. Nearly eight in ten were funding the work from savings rather than borrowing.
That last number tells you something about the mood. This is careful money. It’s been set aside deliberately, and people want it to go a long way.
But the most interesting finding is about motive. Only 10% named increasing property value as their main reason for renovating. Nearly 40% said they were doing it to improve their lifestyle or refresh a space that had gone stale.
People aren’t renovating for a future buyer any more. They’re renovating for the next ten years of their own lives. And once that’s the goal, a wardrobe stops being a piece of furniture you tolerate and starts being something worth getting right.
The same report found 22% of homeowners intended to take on at least part of the work themselves. That’s not a fringe. That’s one in five, and it lines up with something researchers at Lincoln University have described for years: DIY isn’t a hobby here so much as a national habit, one that’s been part of New Zealand life since the 1950s.
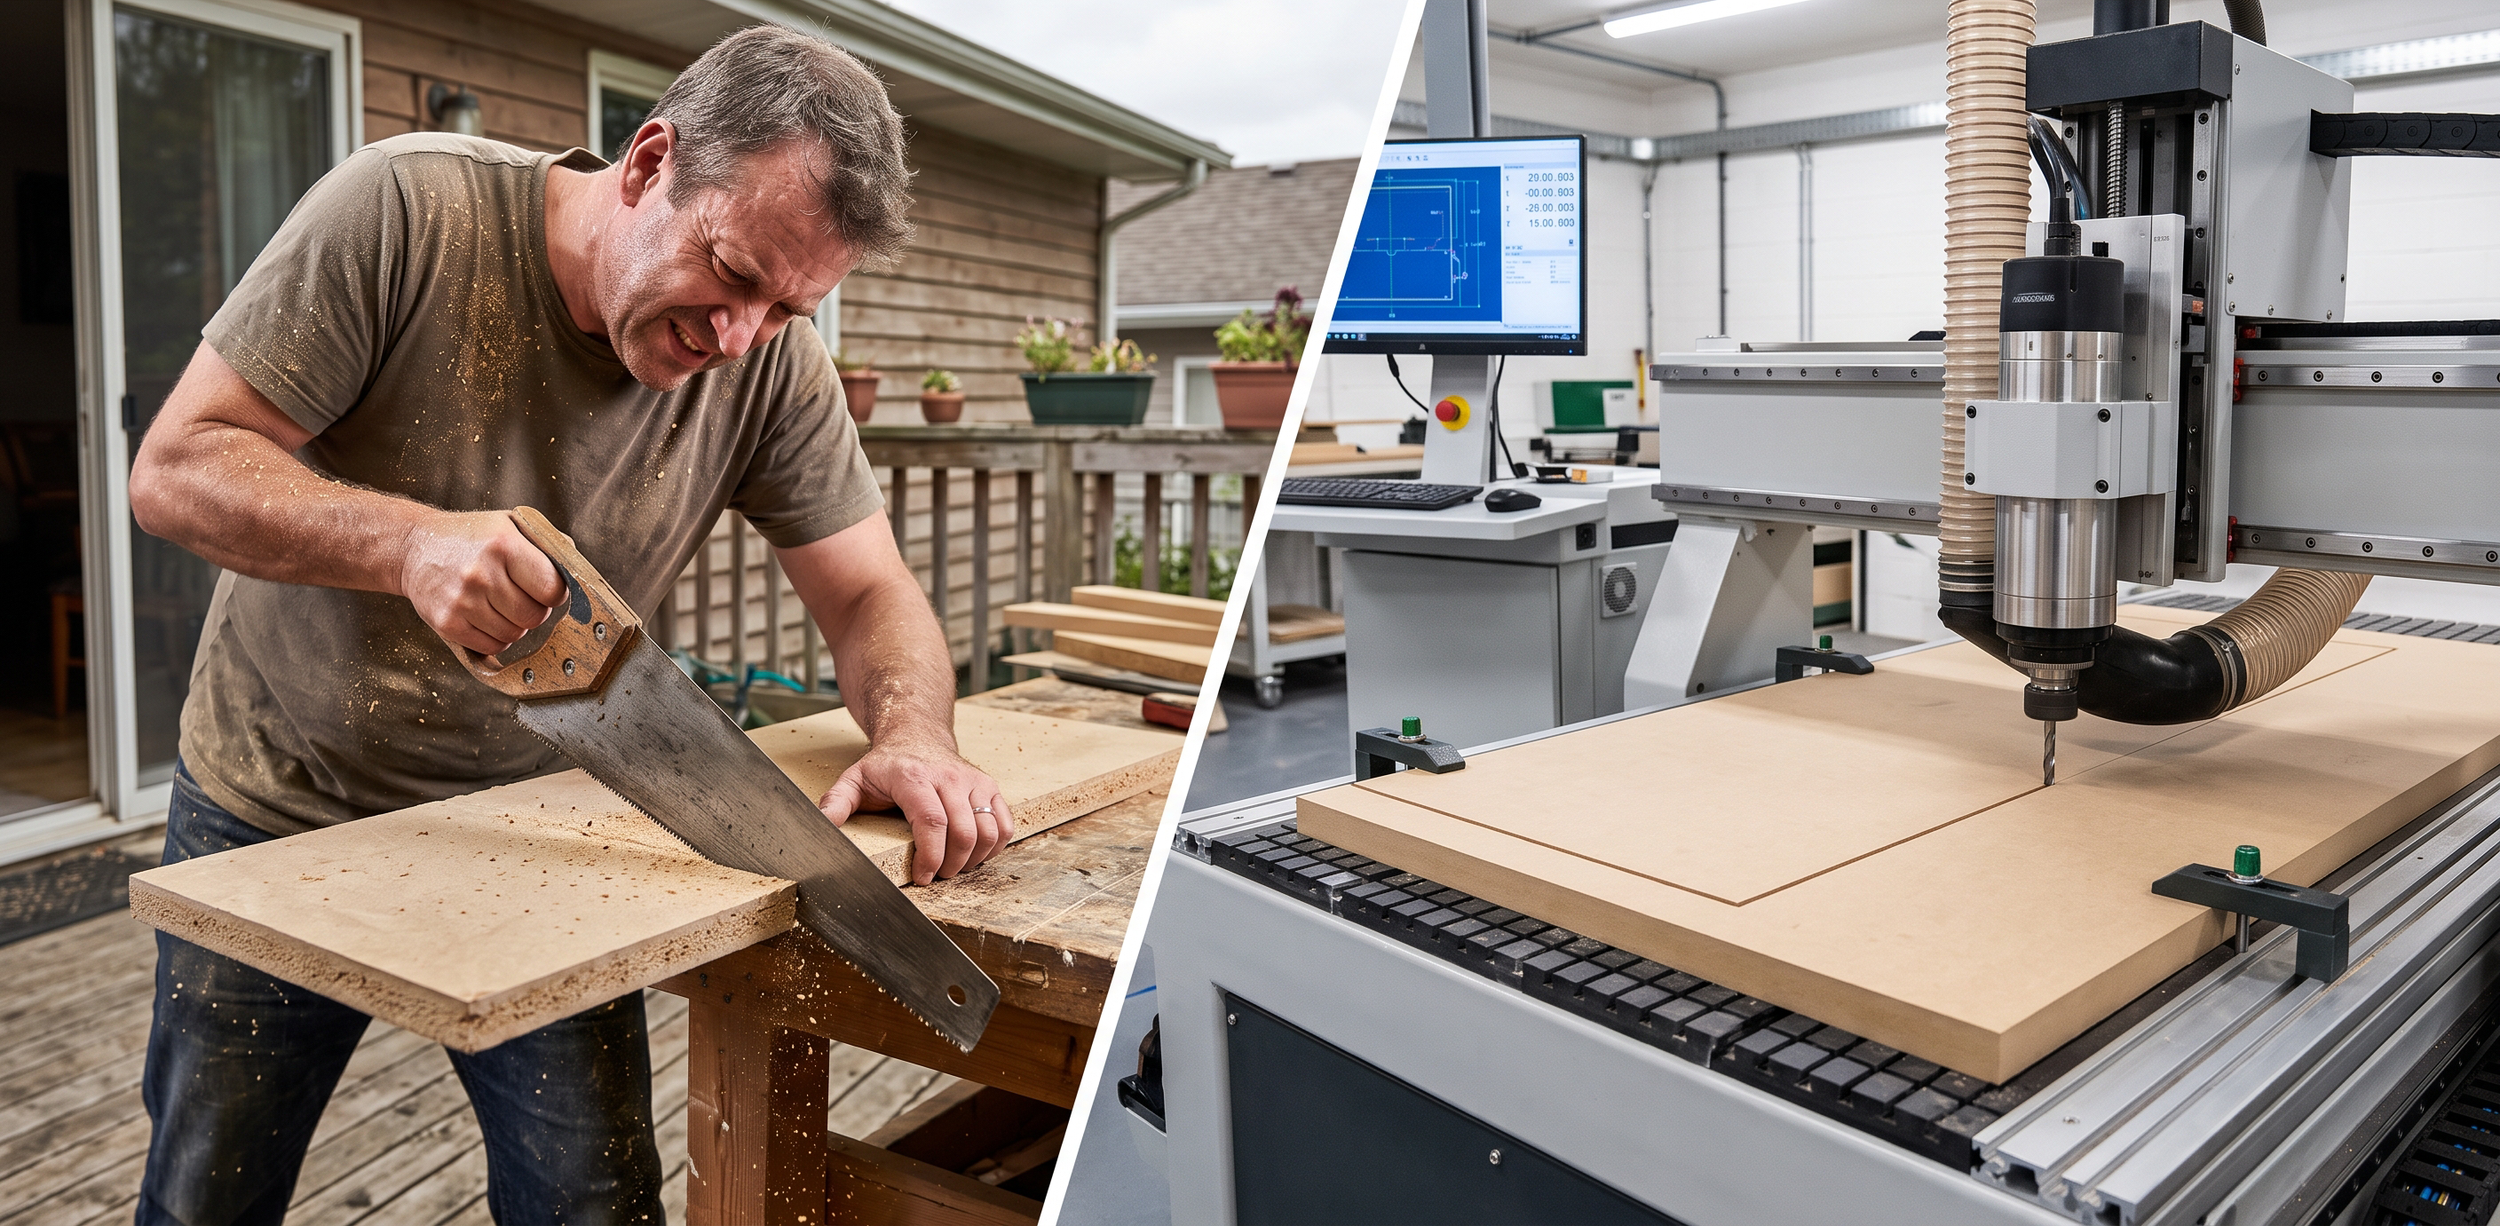
The hard part was never the building. It was the cutting.
This is the bit most people haven’t caught up with, and it’s the whole reason the maths has changed.
Built-in furniture was never difficult to assemble. It was difficult to cut. Getting eight or ten panels of 18mm board perfectly square, identical to each other, to within a millimetre. Then sealing every raw edge so it doesn’t chip or swell. That takes a panel saw and an edgebander; workshop equipment. It was the reason you needed a joiner, not for the screwing together, but for the precision that came before it.
CNC cutting moved that barrier. You supply the measurements, a sketch with dimensions, a cutlist, or a DXF file if you’ve drawn it up. The machine holds a tolerance no hand tool in a home garage will ever match. The panels come back edge-banded, labelled, and stacked in the order you need them.
What’s left for you is assembly: joining square things to other square things and fixing them securely to a wall. That is a genuinely different skill from cabinetmaking, and it’s one most people already have or can pick up in an afternoon.
There’s a supply-side reason this matters too. Carpenter and Joiner sits on Immigration New Zealand’s Green List: the register of occupations in critical, ongoing shortage. Skilled joiners are scarce, which is why lead times stretch and quotes climb. That’s not anyone gouging you. It’s just supply and demand. Taking the assembly on yourself sidesteps the bottleneck entirely.
What building your own wardrobe actually involves
Here’s the honest version, start to finish.
1. Measure the opening properly
Measure the width in three places: at the floor, at head height, and at the ceiling. Do the same for the height at both ends. In most New Zealand homes those numbers won’t match exactly, and that’s fine, Cutshop® can accommodate for that, retailers can’t.
2. Decide what goes where
Plan the inside in thirds: long hang, double hang, and shelves or drawers. Standard depth is 580–600mm, which is what a coat hanger needs to sit square; drop to 450mm or less in a tight room and turn the rail side-on. Go floor to ceiling while you’re at it, allowing around 50mm of clearance to tilt the carcass upright during assembly.
3. Send it to be cut
Hand over your dimensions and choose your board and edging. If drawings aren’t your thing, take your measurements into your local Cutshop® and talk it through, working out layouts is a normal part of the conversation, our team are always keen for a chat.
4. Build the carcasses
This is the satisfying part and it goes faster than people expect. Lay the panels out, check your labels, and join them square. Clamps are your second pair of hands. A carcass that’s square at this stage stays square forever.
5. Fix it, hang the doors, adjust
Find your studs and fix into them, not into plasterboard alone. Then hang the doors. Modern cup hinges adjust in three directions with a screwdriver, so if a door sits slightly proud you can just tweak it rather than rebuilding anything.
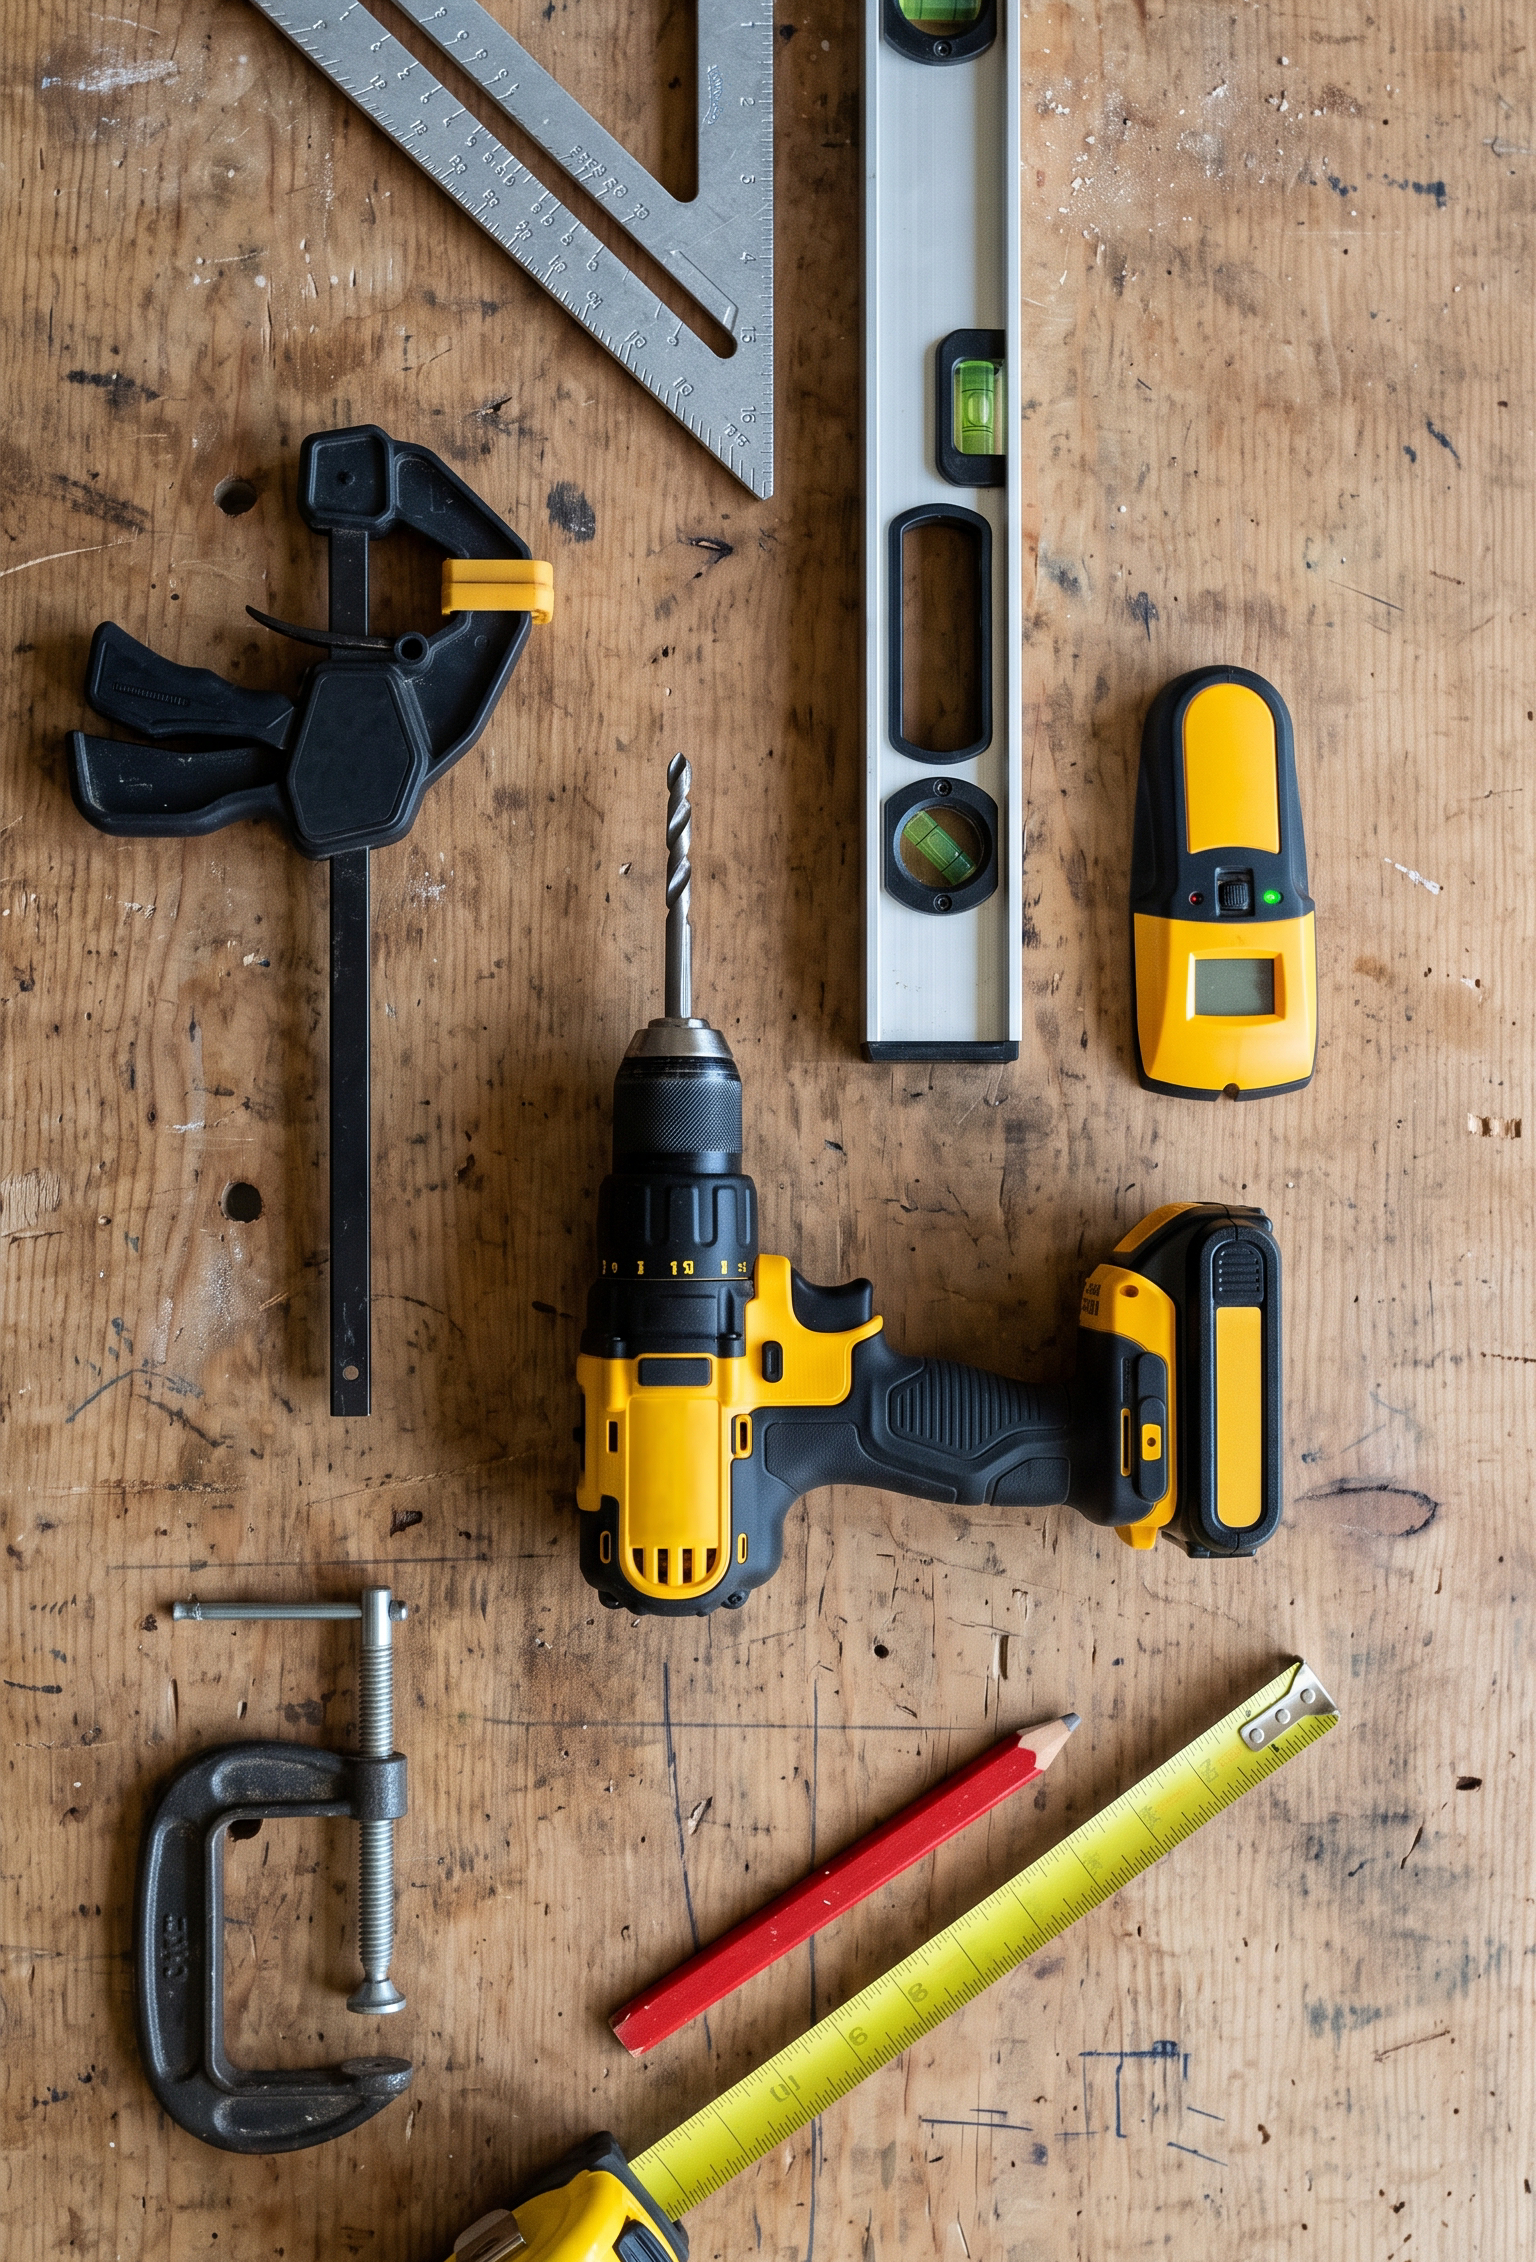
The only tools you need
A drill
A tape measure and a pencil
A spirit level
A square
A couple of clamps
A stud finder (or a good ear)
That’s it, nothing fancy or expensive.
Most households already own most of that list if not all. Notice what isn’t there: no table saw, no router, no workshop. That’s the whole point, the equipment-heavy work already happened before the panels reached you.
The three things people worry about
“My walls aren’t square”
They almost certainly aren’t. Villas settle, floors slope, and corners in older homes are rarely a true 90 degrees. This isn’t a problem to solve so much as a fact to design around: build the carcass square, set it plumb, and let a scribe filler take up the difference against the wall. That’s exactly what a joiner does. Out-of-square walls are an argument for cutting to your own measurements, not against it.
“What if I measure it wrong?”
Measure twice, and write it down both times. Photograph the wall with the tape in shot. And when you send your numbers through, say what they’re for: an alcove, a full wall, a sloping ceiling, etc, because context lets our CNC programmers catch a number that looks wrong before anything is cut.
“I’m not a builder”
You don’t need to be. All you need to be is someone who can follow a plan, keep things level, and not rush the job. If you’ve assembled flat-pack before, you’ve done a harder version of this with worse instructions and thinner material.

The part that surprises people
When the doors are on and you step back into the doorway and the wardrobe looks like it was built with the house. No gap at the ceiling. Nothing wedged into a space that shouldn’t be there. It reads as though it was part of the architect's plans all along.
That’s the thing the survey numbers were circling. When only one homeowner in ten is renovating for resale, the rest are doing it for the feeling of a house that looks finished. A wardrobe is a small enough project to be your first one and a big enough one to change how your bedroom feels every single morning.
Start with the wall you’ve got.
Take a look at Cutshop®’s custom wardrobe options or upload your drawings, DXF files or cutlist for a quote. If you want to chat about your ideas instead, we'd love to hear from you call 0800 CUTSHOP.
